
Genmitsu Kortek 10W
Genmitsu Kortek 10W Laser Engraver Instruction Manual
Model: Kortek 10W
1. Introduzzjoni u Fuqview
The Genmitsu Kortek 10W Laser Engraver is a versatile desktop laser cutting and engraving machine designed for precision and ease of use. It features a 10W (10000mW) laser module, offering deep cutting performance and high-precision engraving with ±0.01mm repeatability. This compact and portable device supports wireless control via the Genmitsu APP and is compatible with LightBurn and LaserGRBL software.
It is capable of cutting materials up to 10mm thick, such as wood and opaque acrylic, and engraving various materials including glass, ceramic, and stainless steel. Its design prioritizes safety with Class 1 laser certification, automatic tilt-stop protection, and an emergency safety switch.
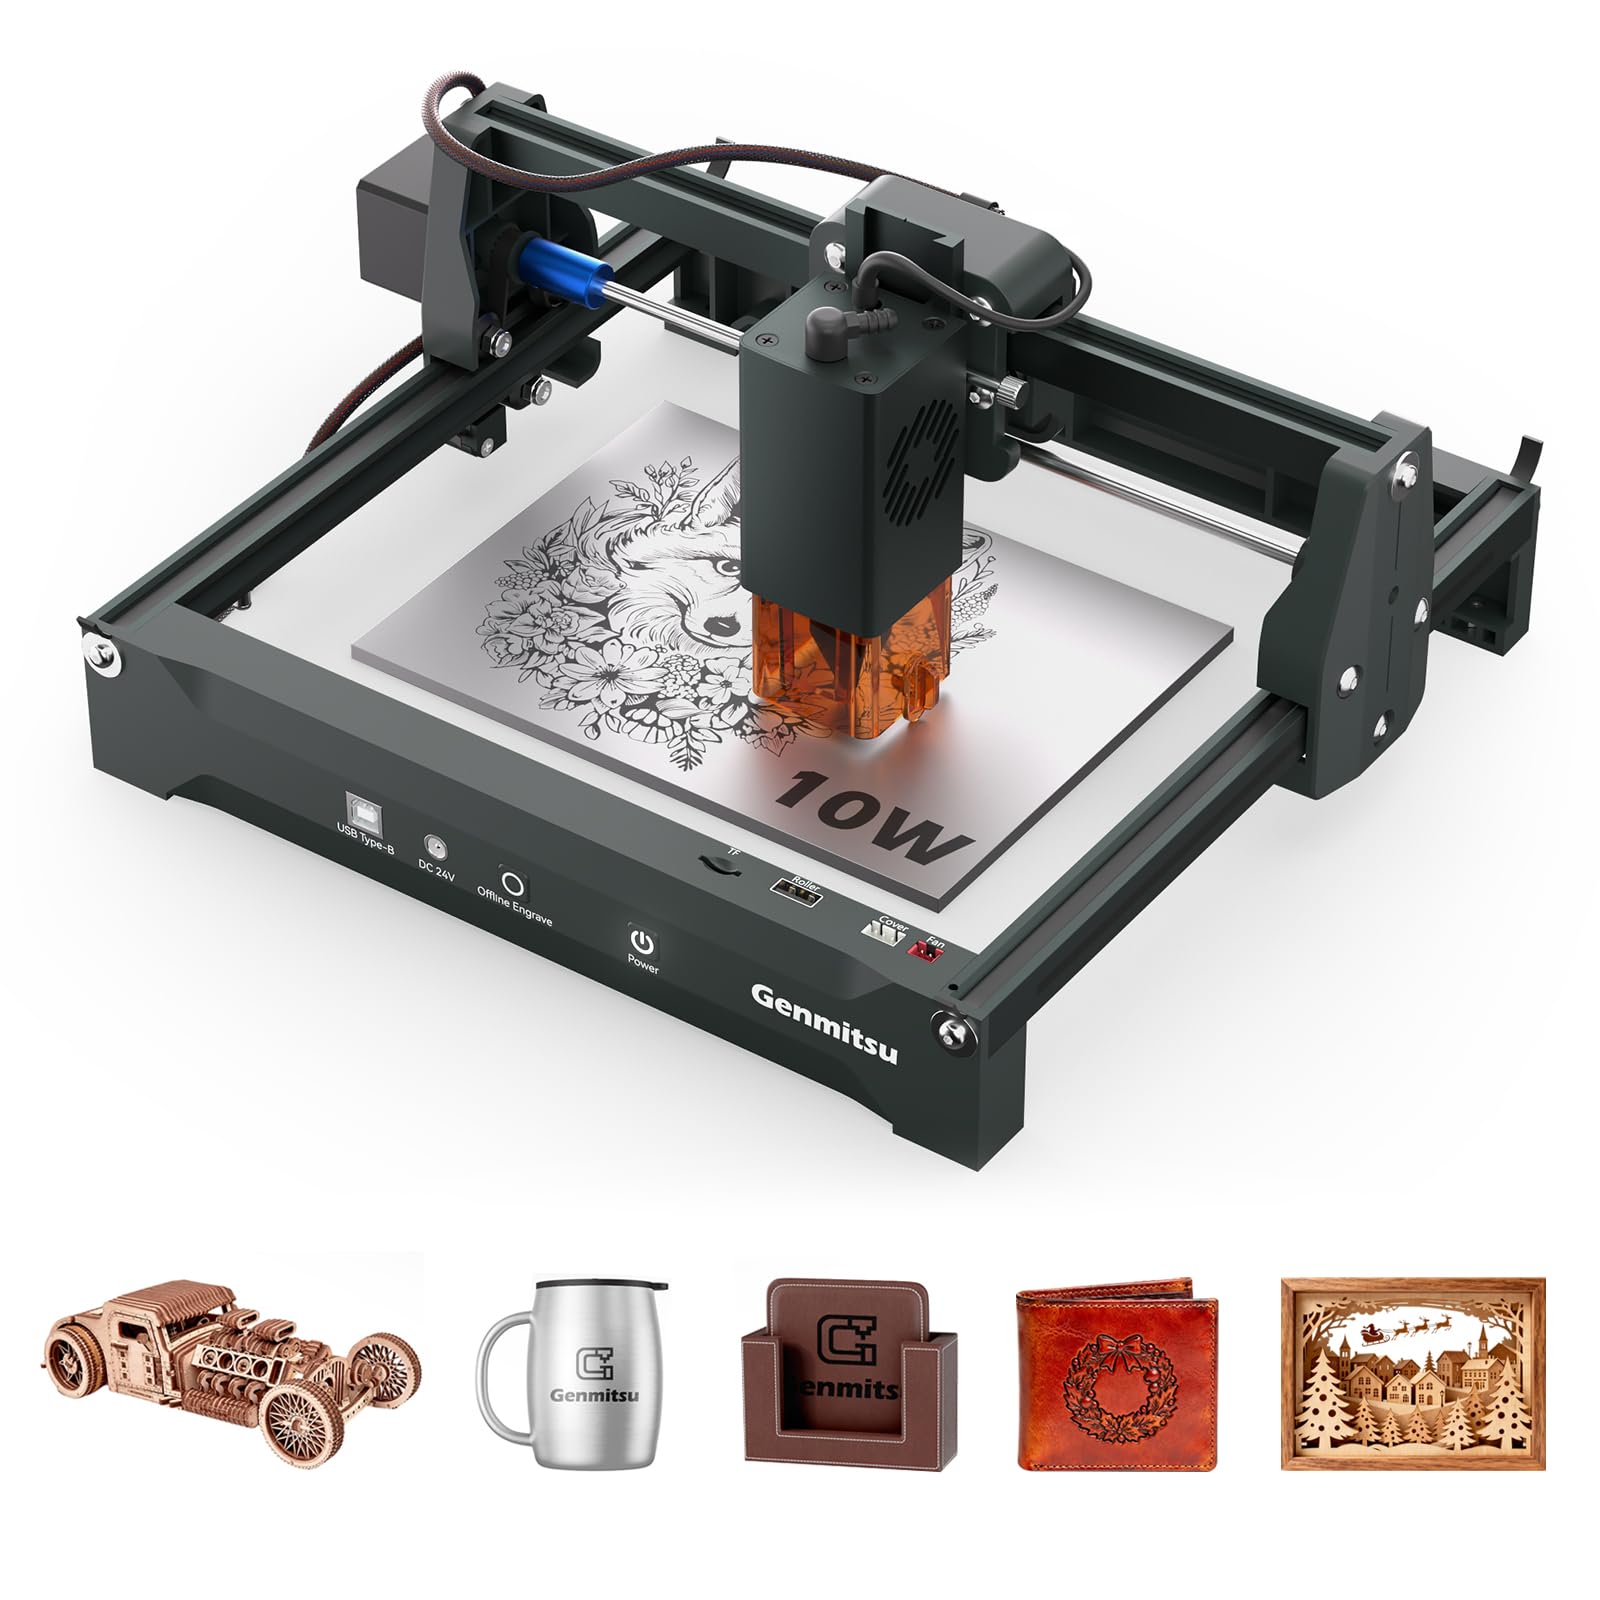
Figure 1: Genmitsu Kortek 10W Laser Engraver.
2. Informazzjoni dwar is-Sigurtà
Your Genmitsu Kortek 10W Laser Engraver is engineered with multiple safety features. Always adhere to the following guidelines to ensure safe operation:
- Class 1 Laser Certification: The device meets Class 1 laser safety standards.
- Protective Laser Shield: The laser module includes a protective shield to minimize direct laser exposure.
- Laser Goggles: Always wear the provided laser goggles during operation to protect your eyes from scattered laser light.
- Automatic Tilt-Stop Protection: The machine is equipped with a sensor that automatically stops operation if the device is tilted or moved unexpectedly.
- Emergency Safety Switch: An emergency stop switch is present for immediate shutdown in critical situations.
- Ensure proper ventilation when operating the laser engraver, especially when cutting or engraving materials that produce fumes.
- Qatt tħalli l-magna waħedha waqt it-tħaddim.
- Żomm materjali li jaqbdu 'l bogħod miż-żona tax-xogħol.

Figure 2: Key safety features of the Kortek Laser Engraver.
3. X'hemm fil-Kaxxa
Upon opening the Genmitsu Kortek 10W Laser Engraver package, you will find the following components:
- Genmitsu Kortek Laser Engraver Machine (pre-assembled)
- Gwida għall-Utent
- 3mm Plywood samples
- Nuċċalijiet tas-Sigurtà
- Modulu tal-lejżer (10W)
- Tools and Accessories (e.g., USB cable, power adapter)
- Power Pack (24V at 2.5A)
Video 1: Unboxing and initial look at the Genmitsu Kortek Laser Engraver. This video demonstrates the contents of the package and the pre-assembled nature of the machine.
4. Setup
The Genmitsu Kortek 10W Laser Engraver comes largely pre-assembled. Follow these steps for initial setup:
- Pjazzament: Place the engraver on a stable, level surface in a well-ventilated area.
- Konnessjoni tal-Enerġija: Connect the power pack to the engraver and plug it into a suitable power outlet.
- Installazzjoni tal-Modulu tal-Laser: Ensure the laser module is securely attached to the gantry.
- Aġġustament tal-Focus: Adjust the focus height of the laser module according to the material thickness. This is typically done by loosening a screw, moving the module up or down until the laser dot is at its smallest point on the material, and then tightening the screw.
- Software/App Installation: Install the Genmitsu APP on your smartphone or tablet, or LightBurn/LaserGRBL software on your computer.

Figure 3: Different angles of the Kortek Laser Engraver, highlighting its compact structure.
5. Istruzzjonijiet Operattivi
5.1 Using the Genmitsu APP
The Genmitsu APP provides wireless control for your Kortek Laser Engraver. Follow these steps to connect and operate:
- Niżżel u Installa: Download the Genmitsu APP from your device's app store.
- Qabbad mal-Wi-Fi:
- Open the APP and select "Laser Engraver".
- Click "Connect to New Machine".
- Go to your phone's Wi-Fi settings and connect to the network named "Genmitsu_Kortek" (default password: "12345678").
- Return to the Genmitsu APP and click "Next Step".
- Select "Kortek" as the machine model.
- Enter your home Wi-Fi network name and password to connect the engraver to your local network.
- Restart the Kortek engraver by turning it off and on.
- Go to your phone's Wi-Fi settings and ensure your phone is connected to the same home Wi-Fi network you entered in the APP.
- Return to the Genmitsu APP. The Kortek engraver should now be discoverable.
- Design and Engrave:
- In the APP, click the link icon next to the Kortek device and select "Creation" or "Control".
- For "Creation", select a photo from your phone.
- Use the "Trace the image" function and adjust settings (Fuzziness Threshold, Denoising, Smoothness) as needed.
- Adjust the size and engraving parameters (Power, Speed, Type - Line/Fill) based on your material.
- Click "Preview" to name your work.
- Adjust the focus height on the machine manually.
- Use the "Outline" function in the APP to confirm the engraving position on your material.
- Click "Start" to begin the engraving process.
Video 2: Genmitsu APP User Guide for Kortek Laser Engraver. This video provides a step-by-step demonstration of connecting the engraver to the APP and initiating an engraving project.

Figure 4: Wireless control via the Genmitsu APP for preview, pożizzjonament, u inċiżjoni.
5.2 Using LightBurn Software
The Kortek 10W is compatible with LightBurn. Follow these steps to connect and operate:
- Qabbad: Connect the Kortek to your PC using a USB cable.
- Installa Driver: Install the corresponding driver for your operating system (MacOS or Windows). All necessary files are located on the provided SD card.
- Softwer Miftuħ: Launch LightBurn.
- Agħżel il-Port COM: Select the correct COM number in the console.
- For Windows: Find the COM number in Device Manager under "Ports" (e.g., CH341 COM).
- For MacOS: The COM number should be "Wchusbserial" or similar.
- Import Device Profile: Click "Devices" and then "Import" to add the device file. Dan file, typically named "Kortek_Lightburn_Firmware.lbdev", can be found on the SD card under "Kortek_04_Software_GRBL - Lightburn Parameter".
- Ivverifika l-Konnessjoni: If the status shows "Ready", the connection is successful.
- Inċiżjoni: Adjust engraving parameters (power, speed, passes) within LightBurn according to your material and desired outcome. Use the "Frame" function to confirm the engraving area before starting.
Video 3: LightBurn Tutorial for Kortek Laser Engraver. This video guides users through connecting the engraver to LightBurn software and setting up an engraving task.
5.3 Using LaserGRBL Software
The Kortek 10W is also compatible with LaserGRBL. Follow these steps to connect and operate:
- Qabbad: Connect the Kortek to your PC using a USB cable.
- Installa Driver: Install the corresponding driver for your operating system (MacOS or Windows). All necessary files are located on the provided SD card.
- Softwer Miftuħ: Launch LaserGRBL.
- Agħżel il-Port COM: Select the correct COM number in the console.
- For Windows: Find the COM number in Device Manager under "Ports" (e.g., CH341 COM).
- For MacOS: The COM number should be "Wchusbserial" or similar.
- Inċiżjoni: Load your design, adjust power and speed settings, and use the framing function to ensure correct placement before starting the engraving process.
6. Manutenzjoni
Regular maintenance ensures optimal performance and longevity of your laser engraver:
- Naddaf il-Lenti: Naddaf il-lenti tal-lejżer perjodikament b'ċarruta ratba u mingħajr suf u soluzzjoni għat-tindif tal-lentijiet biex iżżomm il-kwalità tal-inċiżjoni.
- Ċar Debris: Remove any dust or debris from the working area and the machine's rails to prevent interference with movement.
- Lubricate Rails: Apply a small amount of lubricant to the linear rails occasionally to ensure smooth movement of the laser module.
- Aġġornamenti tal-Firmware: Iċċekkja l-Genmitsu website or APP for any available firmware updates to ensure your machine has the latest features and improvements.
7 Issolvi l-problemi
Hawn huma xi kwistjonijiet komuni u s-soluzzjonijiet tagħhom:
| Ħruġ | Soluzzjoni |
|---|---|
| Cannot connect to Wi-Fi via APP | Ensure the engraver is powered on and your phone is connected to the "Genmitsu_Kortek" network (password: 12345678) during initial setup. After setting up your home Wi-Fi, ensure both your phone and the engraver are on the same network. Restart the engraver if connection issues persist. |
| Engraving is too light or inconsistent | Check the laser focus height. Ensure the laser module is properly focused on the material. Adjust power and speed settings in your software/APP. Higher power or slower speed generally results in deeper engraving. |
| Machine not responding to software commands | Verify the USB connection. Ensure the correct COM port is selected in LightBurn/LaserGRBL. Restart the software and the engraver. Reinstall drivers if necessary. |
| Can Kortek engrave metal? | Yes, with a 10W laser module, it can mark materials like brass, aluminum, and stainless steel. Ensure the metal surface is not reflective before engraving. Recommended settings:
|

Figure 5: Common questions and answers regarding the Kortek Laser Engraver.
8. Speċifikazzjonijiet
| Karatteristika | Dettall |
|---|---|
| Numru tal-Mudell | Kortek 10W |
| Qawwa tal-Laser | 10W (10000mW) |
| Ripetibbiltà | ± 0.01mm |
| Żona tax-Xogħol | 200 x 150 mm |
| Dimensjonijiet tal-Prodott | 14.57 x 12.99 x 7.48 pulzieri |
| Piż tal-oġġett | 5.96 liri (2.65 kg) |
| Tip ta' Mutur | 35mm Stepper Motors |
| Karatteristiċi tas-Sigurtà | Class 1 Laser Certification, Automatic Tilt-Stop Protection, Emergency Safety Switch |
| Konnettività | Wireless APP Support, USB, TF Card |
| Kompatibilità tas-Software | Genmitsu APP, LightBurn, LaserGRBL |
| Kapaċità tat-Tqattigħ | Up to 10mm wood and opaque acrylic |
| Materjali tal-Inċiżjoni | Wood, Acrylic, Leather, Metal, Fiber, Glass, Ceramic, Stainless Steel |

Figure 6: The 200x150mm working area of the Kortek Laser Engraver.

Figure 7: The portable design of the Kortek Laser Engraver, weighing only 1.2 kg.

Figure 8: Precision of the 35mm stepper motor with ±0.01mm repeatability.

Figure 9: Demonstration of the 10W laser module's capability to cut 10mm pine wood in one pass.
9. Aċċessorji Fakultattivi
Enhance the capabilities of your Genmitsu Kortek 10W Laser Engraver with these optional accessories:
- 1W Infrared Laser Head (1064nm): Ideal for marking metals and plastics with high precision.
- Rotary Roller: Enables engraving on cylindrical objects such as cups, bottles, or rings.
- Sodda tax-xehda: Provides a flat, stable, and heat-dissipating surface for cutting, improving airflow and reducing burn marks on the underside of materials.
- Air Assist Pump: Directs a stream of air to the laser's focal point, clearing smoke and debris, which results in cleaner cuts and engravings and prevents lens contamination.
- Smoke Purifier: Filters and extracts fumes and particles generated during laser processing, improving air quality in your workspace.
- Camera for Laser Engraver: Allows for precise positioning of designs on materials by providing a live view taż-żona tax-xogħol.

Figure 10: The 1W 1064nm Infrared Laser Module accessory for metal engraving.

Figure 11: Honeycomb bed and air pump accessories for improved cutting and engraving.
10. Garanzija u Appoġġ
Għal informazzjoni dwar il-garanzija, appoġġ tekniku, jew mistoqsijiet dwar is-servizz, jekk jogħġbok irreferi għall-websajt uffiċjali ta' Genmitsu webis-sit jew ikkuntattja s-servizz tal-konsumatur tagħhom. Żomm l-irċevuta tax-xiri tiegħek għal talbiet ta’ garanzija.
Ask a question about this manual
Ask about setup, troubleshooting, compatibility, parts, safety, or missing instructions. Manuals+ will review the question and use this page’s manual context to help answer it.