
SCULPFUN C1
SCULPFUN C1 Mini 3W Laser Engraving Machine User Manual
Mudell: C1
1. Introduzzjoni
The SCULPFUN C1 Mini Laser Engraving Machine is a compact and portable 3W laser engraver designed for high-precision engraving on various materials. Featuring an ultra-fine 0.04mm laser spot, it is ideal for detailed photo engravings and intricate designs. This machine is pre-assembled for immediate use, making it suitable for beginners and creative professionals alike. Its robust safety features and broad software compatibility ensure a reliable and versatile engraving experience.
2. Istruzzjonijiet Importanti dwar is-Sigurtà
- Sigurtà tal-Laser: Always wear the provided protective glasses when the laser is operating. Never look directly at the laser beam.
- Ventilazzjoni: Operate the machine in a well-ventilated area to dissipate smoke and fumes produced during engraving.
- Periklu tan-Nar: Do not leave the machine unattended during operation, especially when engraving flammable materials. Keep a fire extinguisher nearby.
- Tfal u Pets: Keep children and pets away from the engraving machine during operation.
- Waqfien ta' Emerġenza: Familiarize yourself with the power switch location for quick shutdown in emergencies.
- Magnetic Protective Cover: Ensure the magnetic protective cover is correctly installed to filter harmful wavelengths (100–500 nm).
- Swiċċijiet tal-limitu: The machine is equipped with X and Y axis limit switches for precise positioning and safe operation.
3. Kontenut tal-Pakkett
Ivverifika li l-oġġetti kollha huma preżenti fil-pakkett:
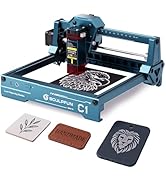
Image: Contents of the SCULPFUN C1 Mini Laser Engraver package.
- C1 Body
- Kap tal-Laser
- Metal Protective Plate
- Acrylic Focusing Sheet
- Manwal għall-Utent
- Adapter tal-Enerġija
- Għodod tat-Tiswija
- Kejbil tad-Data
- Nuċċalijiet Protettivi
- Metal Business Card (sample)
- Kraft Paper (sample)
- Plywood (sample)
- Drapp tat-Tindif
4. Prodott Aktarview
The SCULPFUN C1 features a compact design with clearly labeled ports and safety mechanisms.

Image: SCULPFUN C1 Mini Laser Engraver with key components and dimensions labeled.
Komponenti Ewlenin:
- Kap tal-lejżer: The core component for engraving, featuring a 3W single-beam laser.
- X and Y Axis: Movement system for precise laser positioning.
- Swiċċijiet tal-limitu: Located on X and Y axes for automatic reset and safety.
- Magnetic Protective Cover: Red, removable cover over the laser head to filter harmful light and aid in smoke evacuation.
- Port tal-Enerġija: Tqabbad l-adapter tal-enerġija.
- Port tad-Dejta: Connects to your computer for software control.
- Swiċċ tal-Enerġija: Ixgħel/itfi l-apparat.
- Dawl Indikatur: Shows the device's operational status.
5. Gwida ta' Setup
The SCULPFUN C1 Mini is designed for quick and easy setup, being largely pre-assembled.
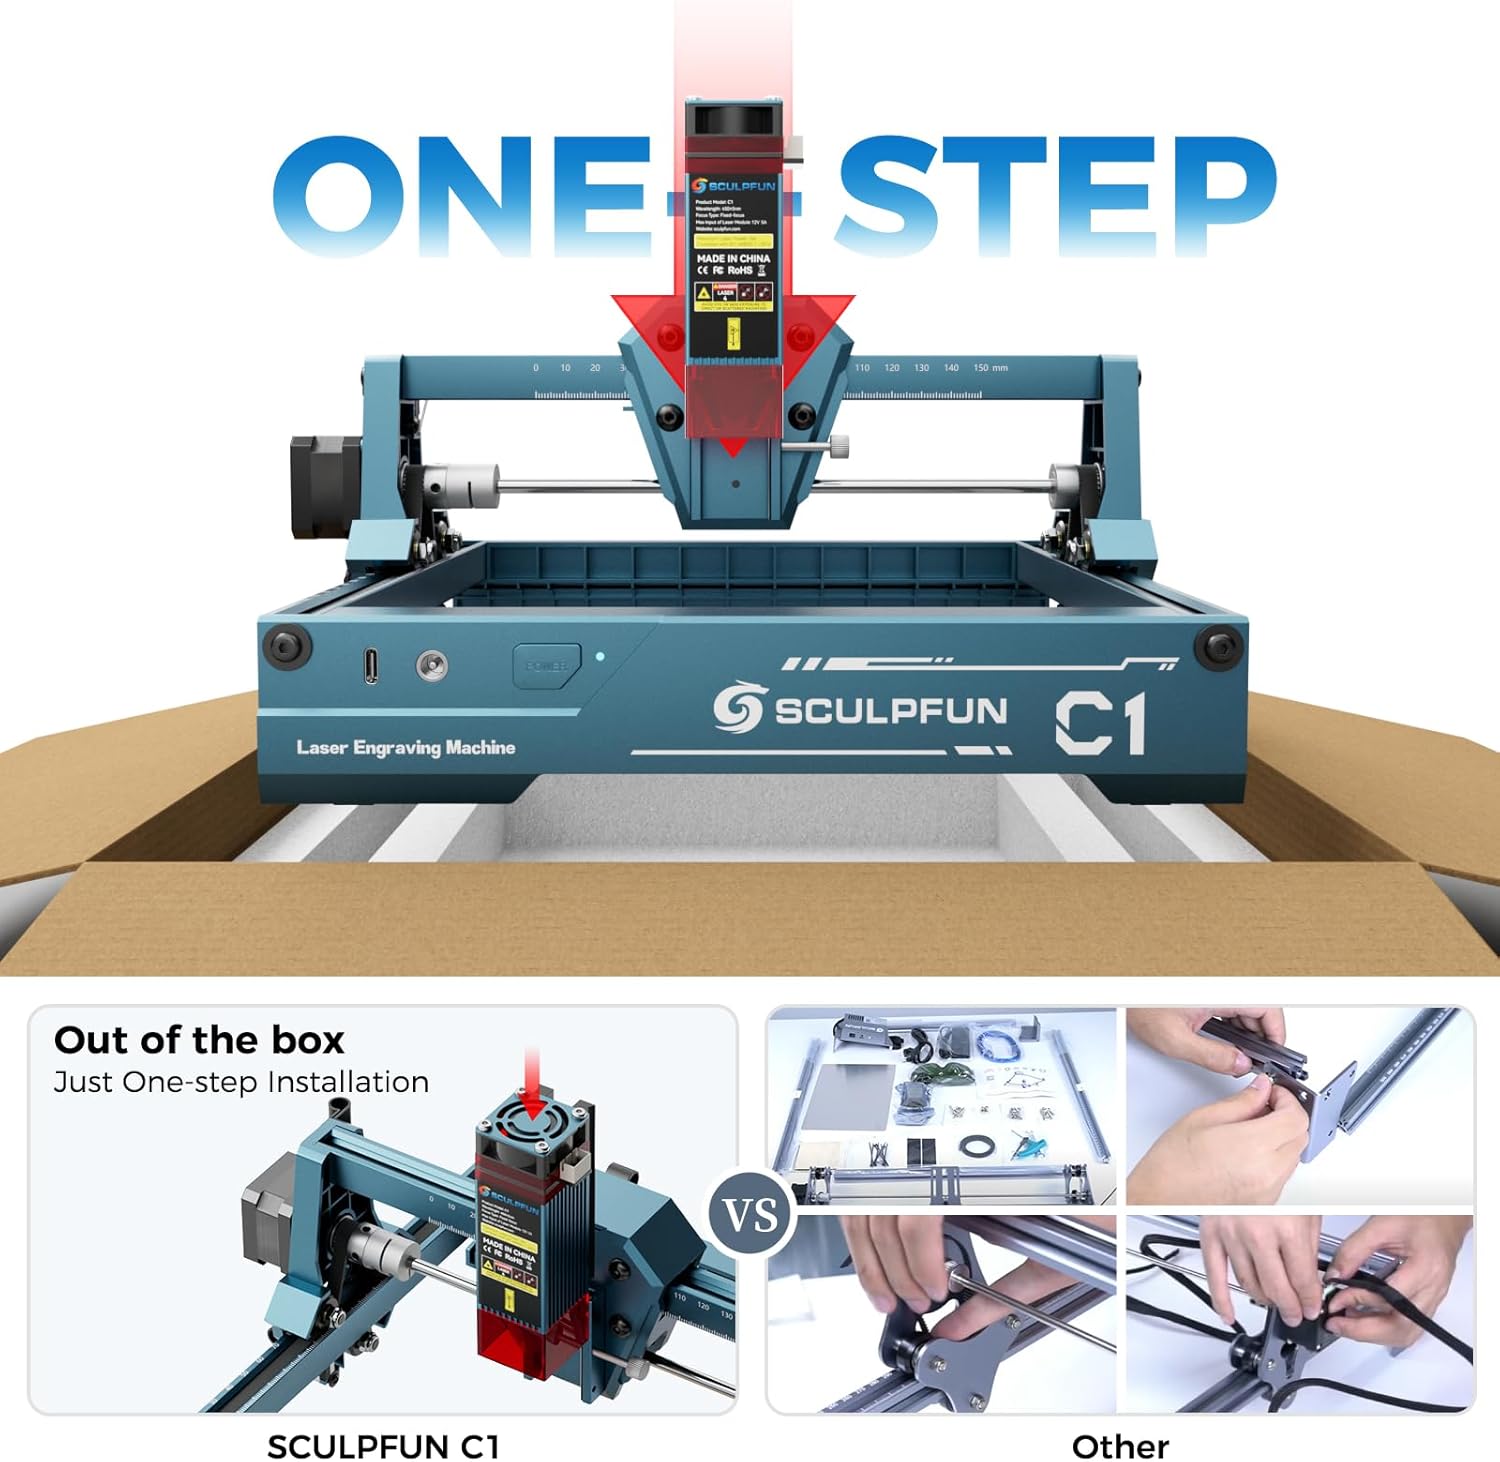
Image: The SCULPFUN C1 Mini is ready to use out of the box with minimal assembly.
- Ippakkja: Carefully remove the SCULPFUN C1 Mini from its packaging.
- Pjazzament: Place the machine on a stable, level surface in a well-ventilated area.
- Qabbad l-Enerġija: Plug the power adapter into the Power Port on the machine, then into a suitable power outlet.
- Qabbad id-Data: Connect the data cable from the Data Port on the machine to your computer.
- Installa Software: Install the recommended engraving software (LightBurn or LaserGRBL) on your computer. Refer to the software's documentation for installation instructions.
- Ilbes Nuċċali Protettivi: Always put on your protective glasses before turning on the machine.
6. Istruzzjonijiet Operattivi
6.1 Kompatibilità tas-Software
The SCULPFUN C1 Mini is compatible with popular laser engraving software:
- LightBurn: Professional laser control software (additional purchase may be required).
- LaserGRBL: Free and open-source software with an easy-to-use interface.
Both software options are compatible with Windows and macOS operating systems. Supported image formats include JPG, PNG, BMP, GIF, SVG, and AI.

Image: Software compatibility and supported file formats for the SCULPFUN C1 Mini.
6.2 Proċess tal-Inċiżjoni
- Ipprepara Materjal: Place your material (e.g., wood, acrylic, paper) within the engraving area (150 x 130 mm). Ensure it is flat and secured.
- Iffoka l-Laser: Use the acrylic focusing sheet to set the correct focal length for optimal engraving quality.
- Disinn tat-Tagħbija: Open your chosen software (LightBurn or LaserGRBL) and load your desired image or design.
- Aġġusta Settings: Configure engraving parameters such as speed, power, and line interval (recommended 0.04–0.06 mm for ultra-fine details).
- Ibda l-Inċiżjoni: Initiate the engraving process from the software. Monitor the machine closely.

Image: Demonstrating the 0.04mm ultra-fine laser spot for high-precision engraving.
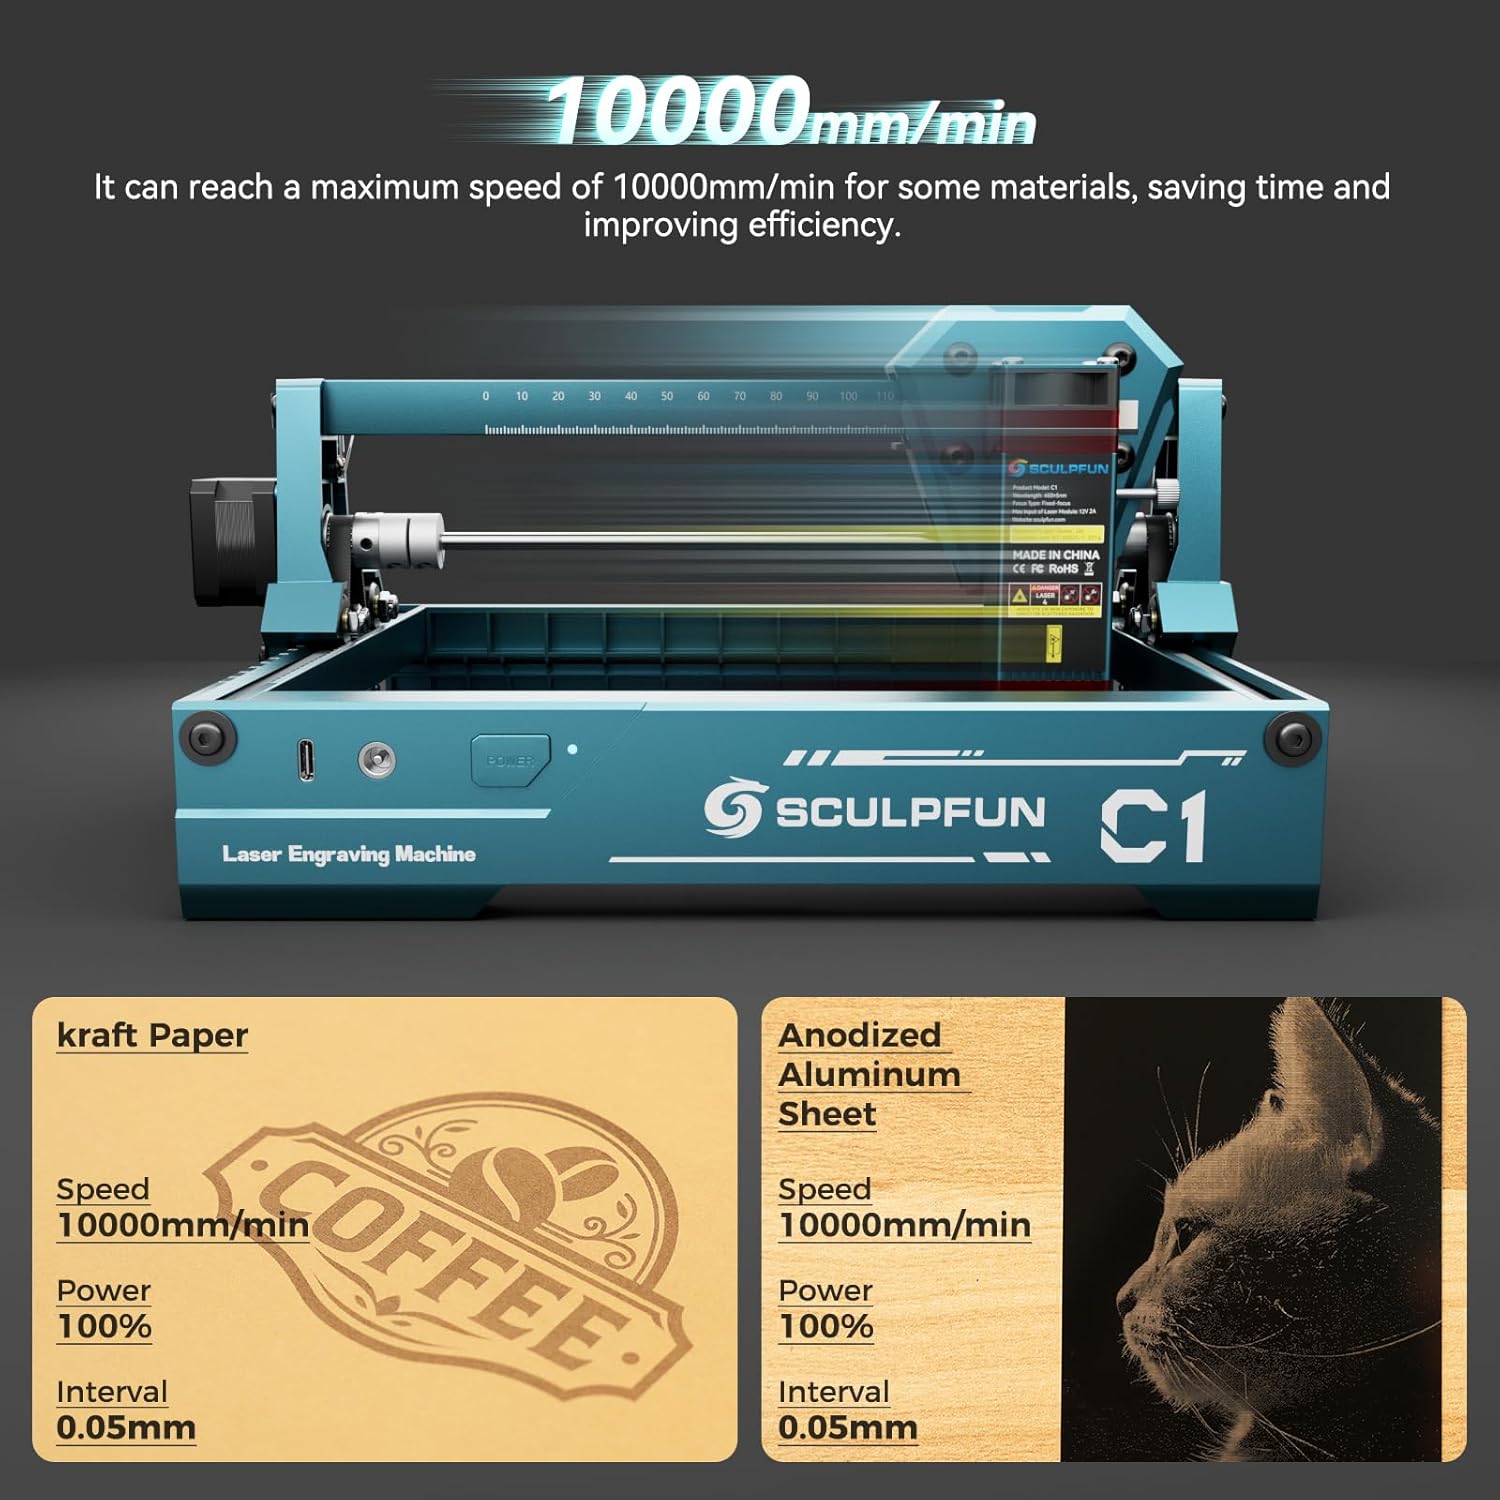
Image: High-speed engraving capabilities of the SCULPFUN C1 Mini.
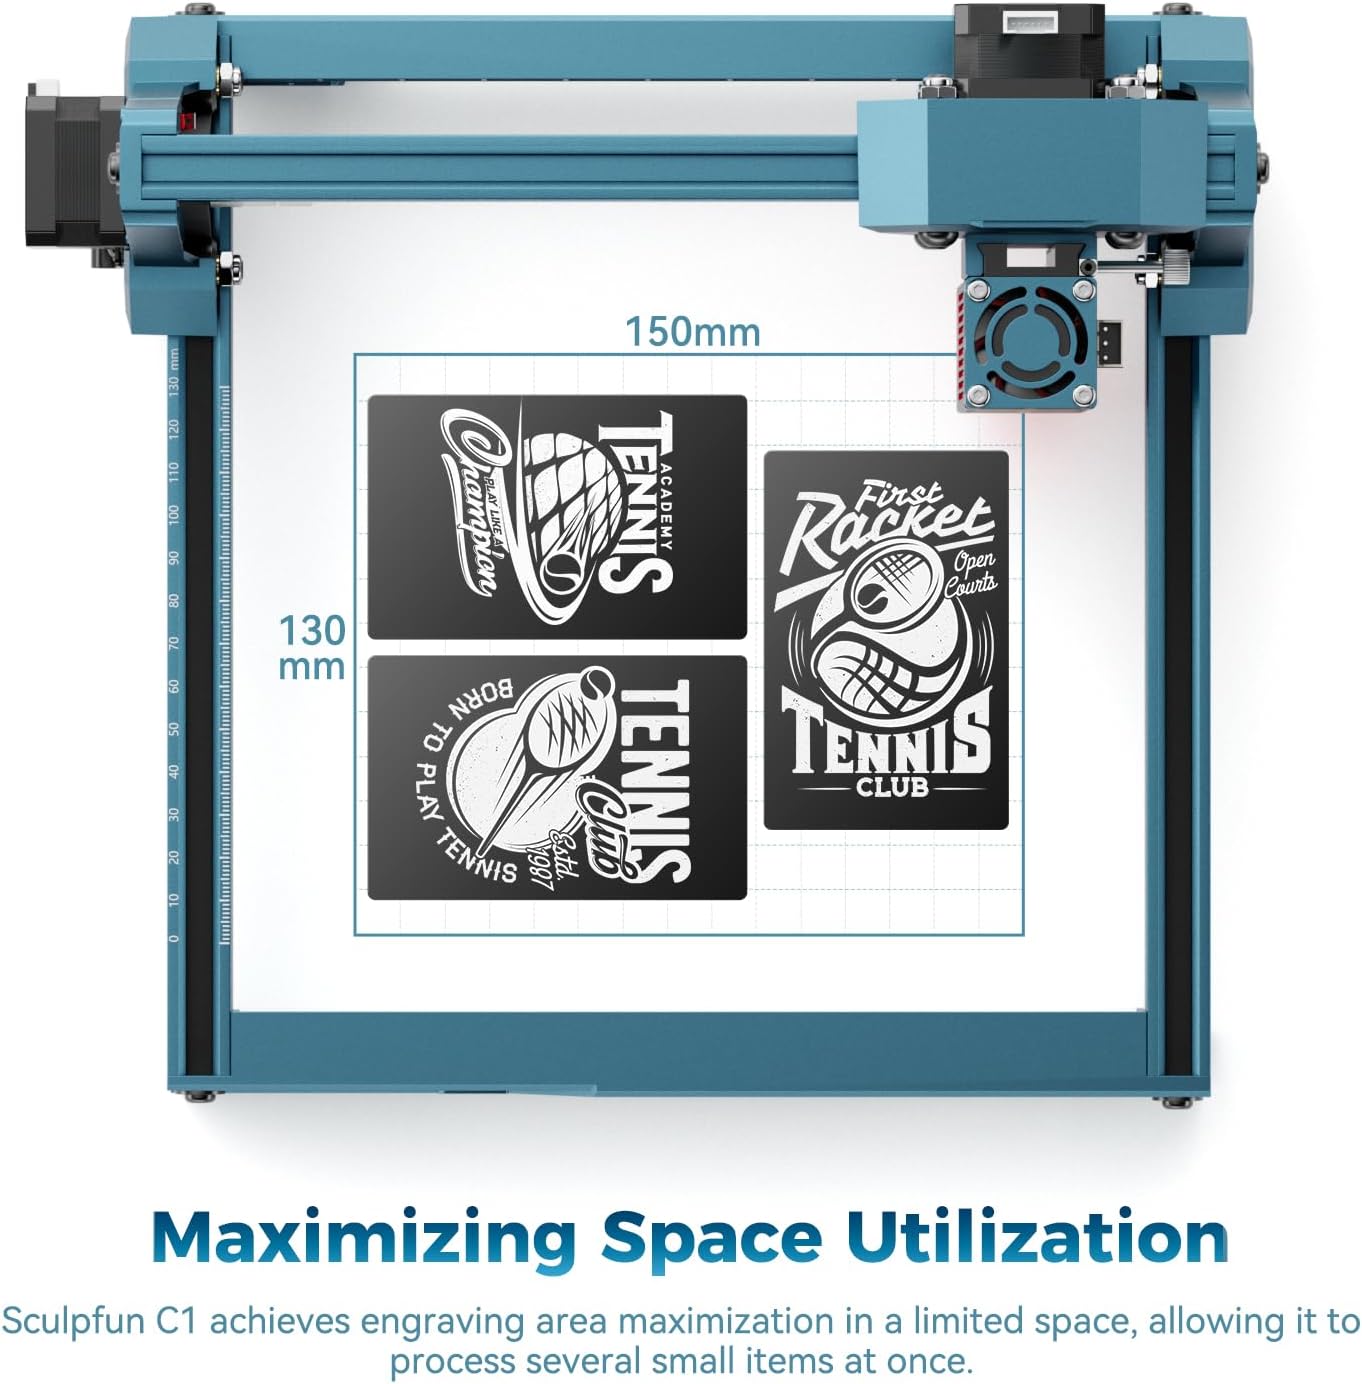
Image: Optimized engraving area of 150 x 130 mm.
7. Manutenzjoni
- Lenti tal-Laser Nadifa: Regularly clean the laser lens using the provided cleaning cloth to ensure optimal performance and prevent smoke residue buildup. The smoke exhaust outlet helps keep the lens clean during operation.
- Iċċekkja l-Konnessjonijiet: Periodically inspect all cable connections for security.
- Żomm iż-żona nadifa: Maintain a clean working environment around the machine to prevent dust and debris from affecting its operation.

Image: Magnetic protective cover and smoke exhaust system for lens maintenance.
8 Issolvi l-problemi
| Problema | Kawża Possibbli | Soluzzjoni |
|---|---|---|
| Laser ma jisparax | Power cable loose, software not connected, laser head not properly seated. | Check power and data connections. Ensure software is connected and laser head is securely in place. |
| Kwalità fqira tal-inċiżjoni | Incorrect focal length, dirty lens, incorrect power/speed settings, material not flat. | Adjust focal length. Clean the laser lens. Optimize power and speed settings for the material. Ensure material is flat. |
| Il-magna ma tiċċaqlaqx | Data cable loose, software error, limit switch engaged. | Verify data cable connection. Restart software and machine. Check if any limit switches are triggered. |
| Storbju mhux tas-soltu waqt it-tħaddim | Loose components, debris in moving parts. | Inspect for loose screws or foreign objects. Ensure smooth movement of axes. |
9. Speċifikazzjonijiet
| Karatteristika | Dettall |
|---|---|
| Mudell | C1 (CARC1) |
| Qawwa tal-Laser | 3W (single-beam) |
| Preċiżjoni tal-Inċiżjoni | 0.04 mm ultra-fine spot |
| Recommended Line Interval | 0.04–0.06 mm |
| Żona tal-inċiżjoni | 150 x 130 mm |
| Veloċità Massima tal-Inċiżjoni | 10000 mm/min |
| Dimensjonijiet tal-Prodott (Appross.) | 290 mm (W) x 250 mm (D) x 140 mm (H) |
| Piż | 1.05 kg |
| Sors tal-Enerġija | AC |
| Kompatibilità tas-Software | LightBurn, LaserGRBL |
| Kompatibilità OS | Windows, macOS |
| Formati ta 'Immaġni Appoġġjati | JPG, PNG, BMP, GIF, SVG, AI |
10. Garanzija u Appoġġ
For warranty information, technical support, or service inquiries, please refer to the official SCULPFUN webis-sit jew ikkuntattja lill-bejjiegħ tiegħek. Żomm l-irċevuta tax-xiri tiegħek bħala prova tax-xiri għal talbiet ta' garanzija.
Ask a question about this manual
Ask about setup, troubleshooting, compatibility, parts, safety, or missing instructions. Manuals+ will review the question and use this page’s manual context to help answer it.