
1. Introduzzjoni u Fuqview
The ASUS NUC 15 Pro Slim Mini PC is a compact and powerful computing solution designed for various applications, from business productivity to everyday personal use. This model (RNUC15CRKI3063CU) comes fully configured with an Intel Series 1 Core 3 100U processor, 16GB DDR5 RAM, a 512GB PCIe G4x4 NVMe SSD, and Windows 11 Pro. It offers extensive connectivity options including Thunderbolt™ 4, Wi-Fi 7, and Bluetooth 5.4, all within a tool-less chassis for easy upgrades.
This manual provides essential information for setting up, operating, maintaining, and troubleshooting your ASUS NUC 15 Pro Slim Mini PC.
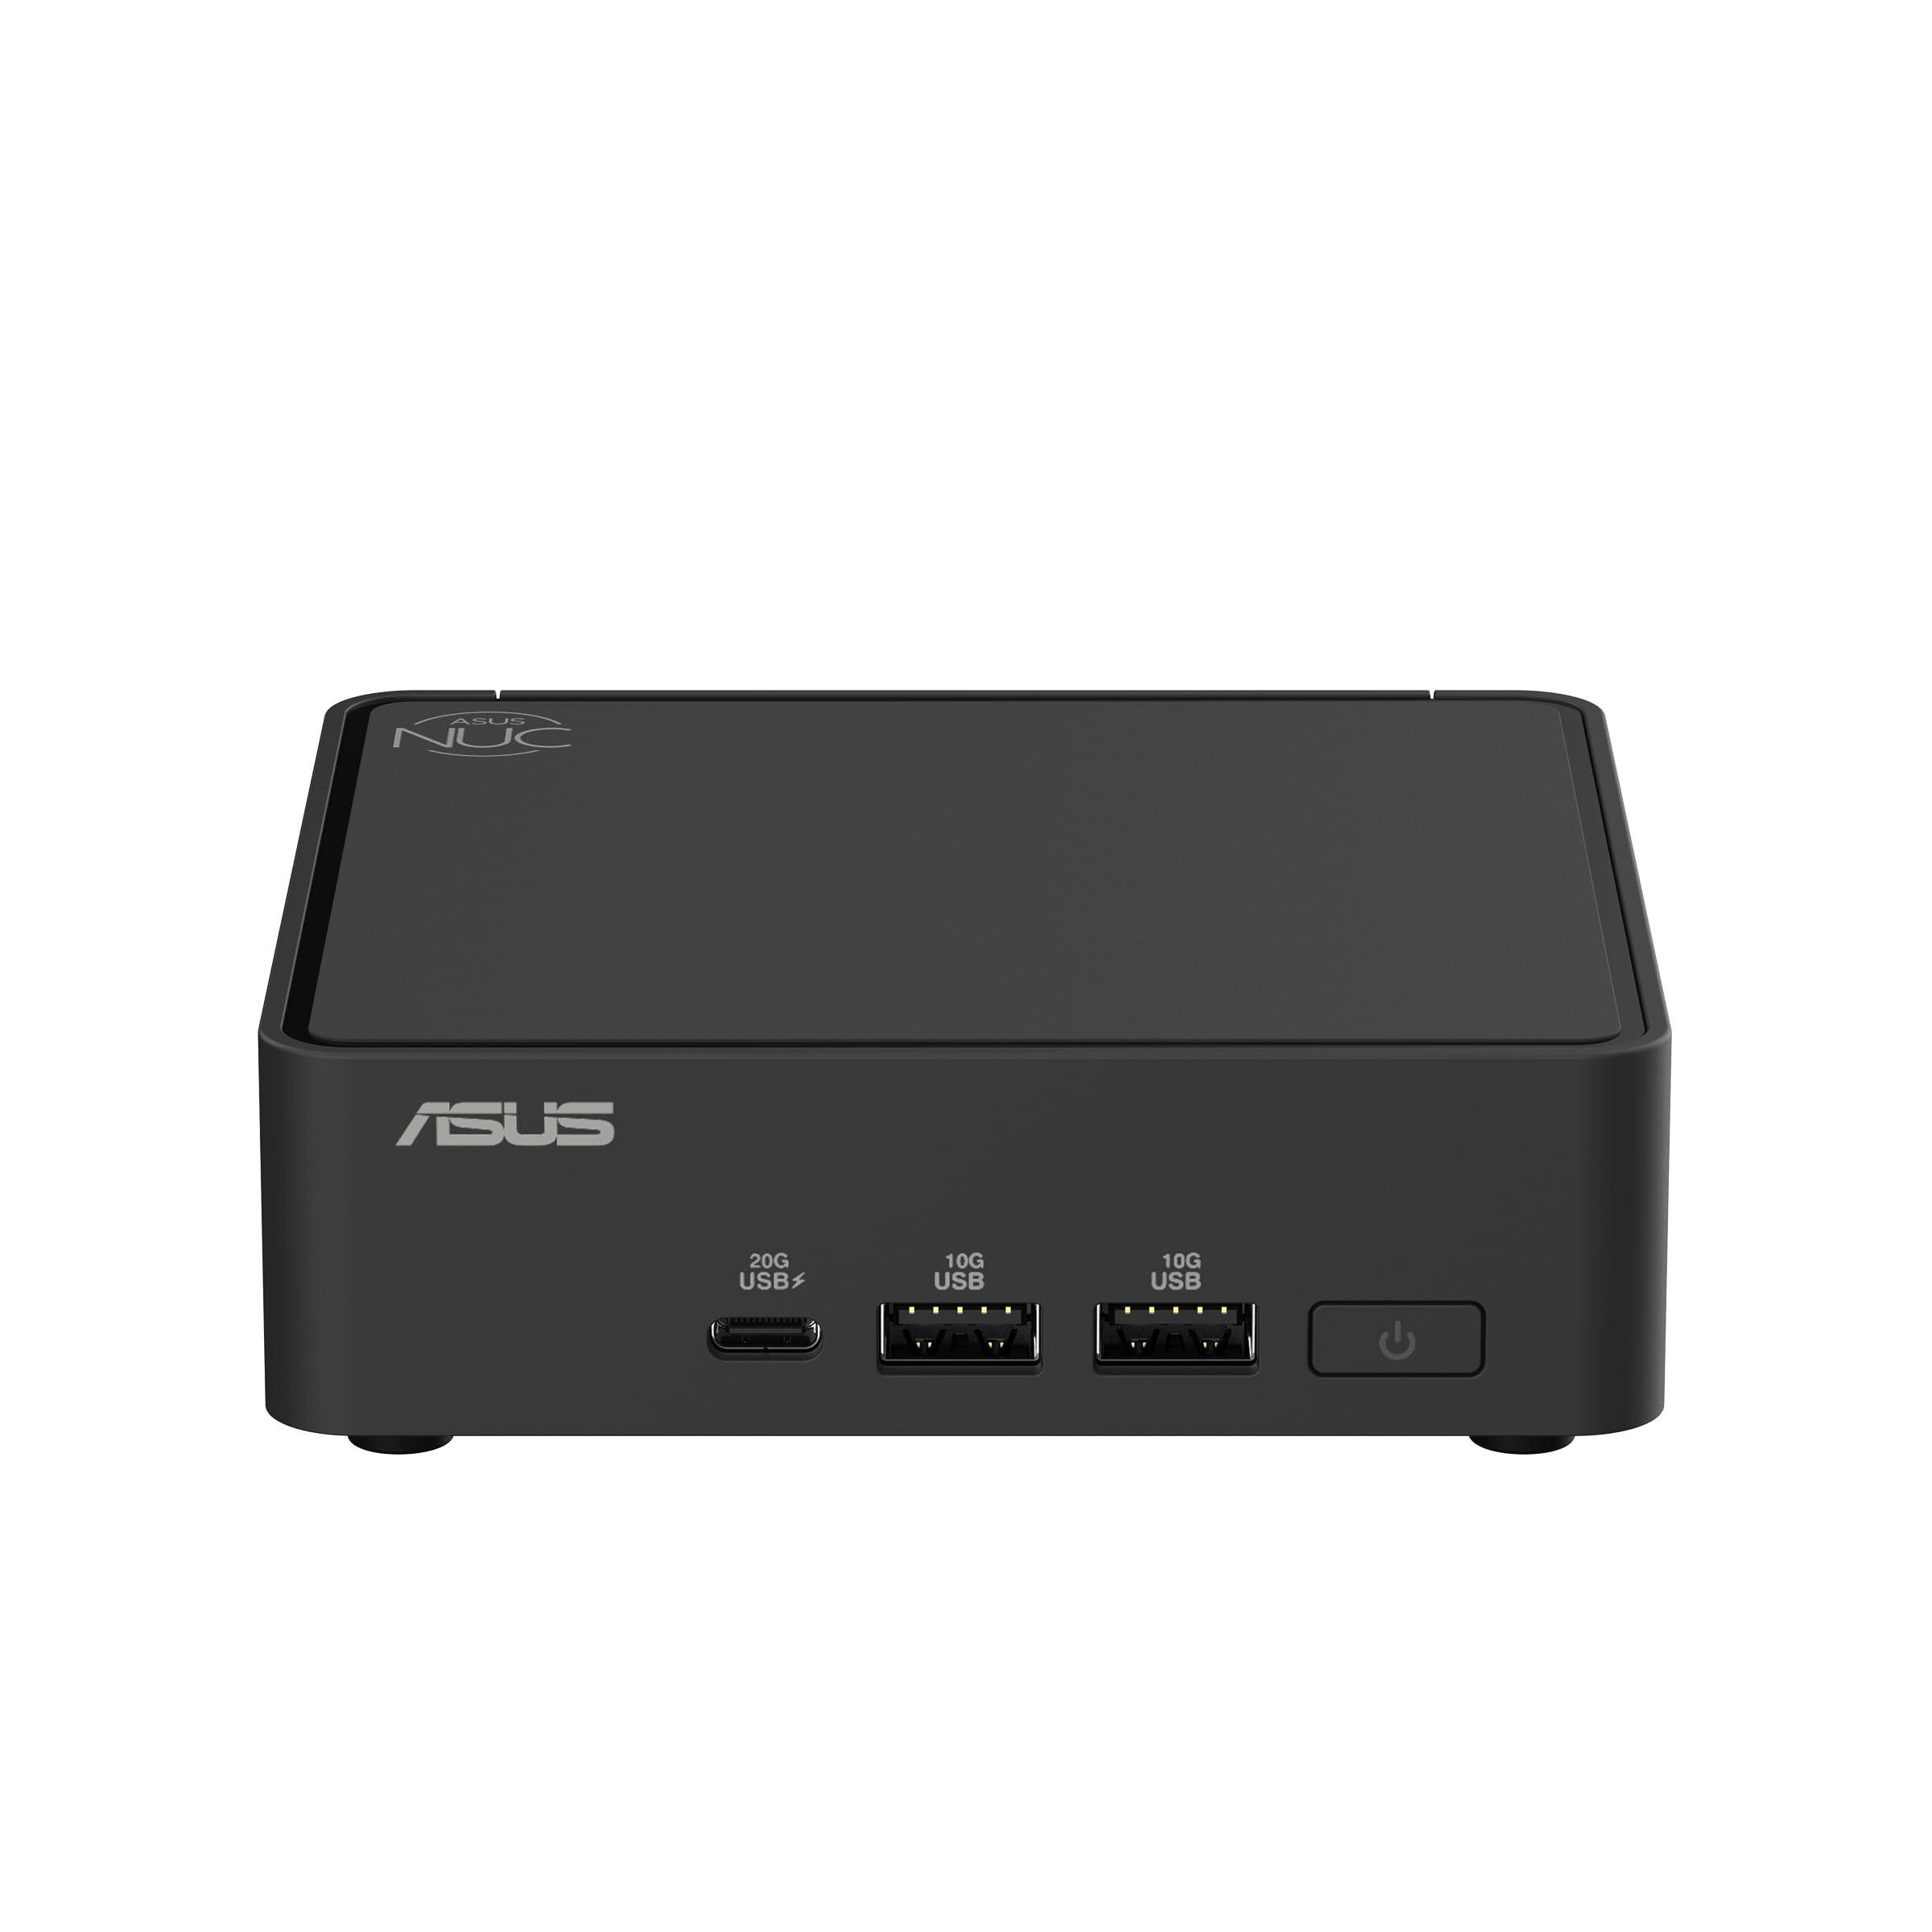
Figure 1: ASUS NUC 15 Pro Slim Mini PC, a compact and powerful computing device.
2. X'hemm fil-Kaxxa
Carefully unpack your ASUS NUC 15 Pro Slim Mini PC and ensure all items are present:
- ASUS NUC 15 Pro Slim Mini PC (Model: RNUC15CRKI3063CU)
- VESA Mount Kit
- Adapter tal-Qawwa AC
- Korda tal-Enerġija
3. Istruzzjonijiet ta' Setup
3.1 Konnessjoni tal-Periferali
Qabel ma tixgħel il-Mini PC tiegħek, qabbad il-periferali kollha meħtieġa:
- Qabbad id-Displej: Use an HDMI 2.1 or Thunderbolt 4 cable to connect your monitor(s) to the corresponding ports on the Mini PC. The device supports up to four 4K displays.
- Qabbad it-Tastiera u l-Maws: Plug your USB keyboard and mouse into the available USB 3.0 or USB 2.0 ports.
- Qabbad in-Netwerk (Mhux obbligatorju): For a wired internet connection, connect an Ethernet cable to the 2.5Gb Ethernet port. For wireless, ensure your Wi-Fi network is available during initial setup.
- Qabbad l-Enerġija: Plug the AC Power Adapter into the DC-in port on the Mini PC, then connect the power cord to an electrical outlet.

Figure 2: Front ports including USB 3.2 Gen 2x2 Type-C, 2x USB 3.2 Gen2 Type-A, and Power button.

Figure 3: Rear ports including Security mechanism for power cable, HDMI 2.1, 2.5Gb Ethernet, USB 3.2 Gen2 Type-A, USB 2.0 Type-A, and Thunderbolt 4 ports.
3.2 Installazzjoni tal-Muntatura VESA (Mhux obbligatorja)
The included VESA mount allows you to attach the Mini PC to the back of a compatible monitor or to a wall, saving desk space. Follow the instructions provided with the VESA mount kit for proper installation.

Figure 4: Flexible configuration with VESA mounting for space-saving setup.
4. Istruzzjonijiet Operattivi
4.1 Tixgħel/Jitfi
- Biex Tixgħel: Agħfas il-buttuna tal-qawwa li tinsab fuq quddiem tal-Mini PC.
- Biex Tifi: From Windows 11 Pro, click the Start button, then Power > Shut down. Alternatively, you can press and hold the power button for 4 seconds to force a shutdown (use only when necessary).
4.2 Konfigurazzjoni Inizjali tal-Windows 11 Pro
Upon first boot, follow the on-screen instructions to complete the Windows 11 Pro setup, including region, keyboard layout, network connection, and user account creation.
4.3 Konnettività tan-Netwerk
- Konnessjoni bil-fili: If an Ethernet cable is connected, the system will automatically detect and use the wired network.
- Konnessjoni bla fili: During Windows setup or via the Windows Settings menu, select your Wi-Fi network and enter the password. The Mini PC supports Intel Wi-Fi 7 for fast wireless speeds.
4.4 Using Thunderbolt™ 4 Ports
The Thunderbolt™ 4 ports offer versatile connectivity for high-speed data transfer, video output, and power delivery. You can connect external displays, storage devices, or docking stations.
5. Manutenzjoni
5.1 Tindif
Regularly clean the exterior of the Mini PC with a soft, dry cloth. Avoid using liquid cleaners or solvents. Ensure ventilation openings are free from dust and obstructions to maintain optimal cooling.
5.2 Aġġornamenti tas-Software
Keep your Windows 11 Pro operating system and device drivers updated to ensure optimal performance and security. Windows Update can be accessed via Settings > Windows Update.
5.3 Hardware Upgrades (Tool-less Access)
The ASUS NUC 15 Pro Slim features a tool-less chassis design, allowing for easy access to internal components for upgrades such as RAM or storage. Refer to the detailed upgrade guide on the ASUS support websit għal struzzjonijiet speċifiċi.

Figure 5: Tool-less integration allows for easy and quick hardware upgrades.
6 Issolvi l-problemi
Din it-taqsima tindirizza kwistjonijiet komuni li tista’ tiltaqa’ magħhom bil-Mini PC tiegħek.
| Problema | Soluzzjoni Possibbli |
|---|---|
| Ebda Qawwa | Ensure the power adapter and cord are securely connected to both the Mini PC and a working electrical outlet. Test the outlet with another device. |
| Ebda Display | Verify that the monitor is powered on and the display cable (HDMI or Thunderbolt) is securely connected to both the Mini PC and the monitor. Try a different display cable or monitor if possible. |
| Ebda Konnessjoni tal-Internet | For wired connections, check the Ethernet cable and router status. For Wi-Fi, ensure Wi-Fi is enabled in Windows settings, you are connected to the correct network, and the password is correct. Restart your router/modem. |
| System Slowdown / Overheating | Ensure the Mini PC's ventilation openings are clear. Close unnecessary applications. Check for background processes consuming high resources via Task Manager. Ensure drivers and Windows are up to date. |
7. Speċifikazzjonijiet
Detailed technical specifications for the ASUS NUC 15 Pro Slim Mini PC (RNUC15CRKI3063CU):
| Karatteristika | Dettall |
|---|---|
| Proċessur | Intel Series 1 Core 3 100U (1.2 GHz) |
| RAM | 16 GB DDR5 (5600 MHz) |
| Ħażna | 512 GB PCIe G4x4 NVMe SSD |
| Koproċessur tal-Grafika | Grafika Intel integrata |
| Sistema Operattiva | Windows 11 Pro |
| Riżoluzzjoni Massima tal-Iskrin | 3840 x 2160 Pixel (4K) |
| Output tal-vidjo | HDMI 2.1, Thunderbolt™ 4 (supports up to four 4K displays) |
| Konnettività bla fili | Intel Wi-Fi 7 (802.11.be), Bluetooth 5.4 |
| Portijiet USB | 1x USB 3.2 Gen 2x2 Type-C, 2x USB 3.2 Gen2 Type-A, 1x USB 2.0 Type-A (front); 1x USB 3.2 Gen2 Type-A, 1x USB 2.0 Type-A (rear) |
| Ethernet | 2.5Gb Ethernet |
| Dimensjonijiet (LxWxH) | 4.61 x 4.41 x 1.45 pulzieri |
| Piż tal-oġġett | 12.6 uqija |
| Chassis Access | Tool-less 2.0 |
| Immuntar | VESA Mount Included |
| Affidabilità | 24/7 reliability, MIL-STD-810H certification |
8. Garanzija u Appoġġ
Għal informazzjoni dwar il-garanzija, appoġġ tekniku, u riżorsi addizzjonali, jekk jogħġbok żur is-sit uffiċjali tal-appoġġ tal-ASUS websit. Hemmhekk tista' ssib sewwieqa, FAQs, u informazzjoni ta' kuntatt għas-servizz tal-konsumatur.
Appoġġ ASUS Websit: www.asus.com/support/