
Introduzzjoni
Welcome to the ULTRICS Digital Multimeter D2 user manual. This device is designed for precise and reliable electrical measurements, suitable for professionals and DIY enthusiasts. It accurately measures AC/DC voltage, DC current, resistance, continuity, and diodes. This manual provides essential information for safe and effective operation, helping you to maximize the utility of your new multimeter.
Informazzjoni dwar is-Sigurtà
TWISSIJA: Always exercise extreme caution when working with electrical circuits. Improper use of this multimeter can result in electric shock, personal injury, or damage to the device.
- Teċċedix il-valuri massimi tad-dħul għal kwalunkwe firxa.
- Do not use the multimeter if it or the test leads appear damaged. Inspect them before each use.
- Ensure the function switch is in the correct position before making measurements. Changing ranges while connected to a live circuit can cause damage.
- Disconnect power to the circuit before measuring resistance, continuity, or diodes.
- Oqgħod attent meta taħdem bil-voltag'il fuq minn 30V AC RMS, 42V peak, jew 60V DC. Dawn il-volumitagDawn joħolqu periklu sinifikanti ta' xokk.
- Always connect the common (COM) test lead first, then the live lead. Disconnect the live lead first, then the common lead.
- Replace the battery when the low battery indicator appears to ensure accurate readings and proper device function.
This multimeter is rated CAT II 600V, indicating its suitability for measurements on circuits directly connected to the low-voltage installazzjoni.
Kontenut tal-Pakkett
Ivverifika li l-oġġetti kollha huma preżenti fil-pakkett:
- 1 x ULTRICS Digital Multimeter D2
- 2 x Wavel tat-Test (Aħmar u Iswed)
- 1 x 9V Batterija
- 1 x Manwal tal-Utent (dan id-dokument)
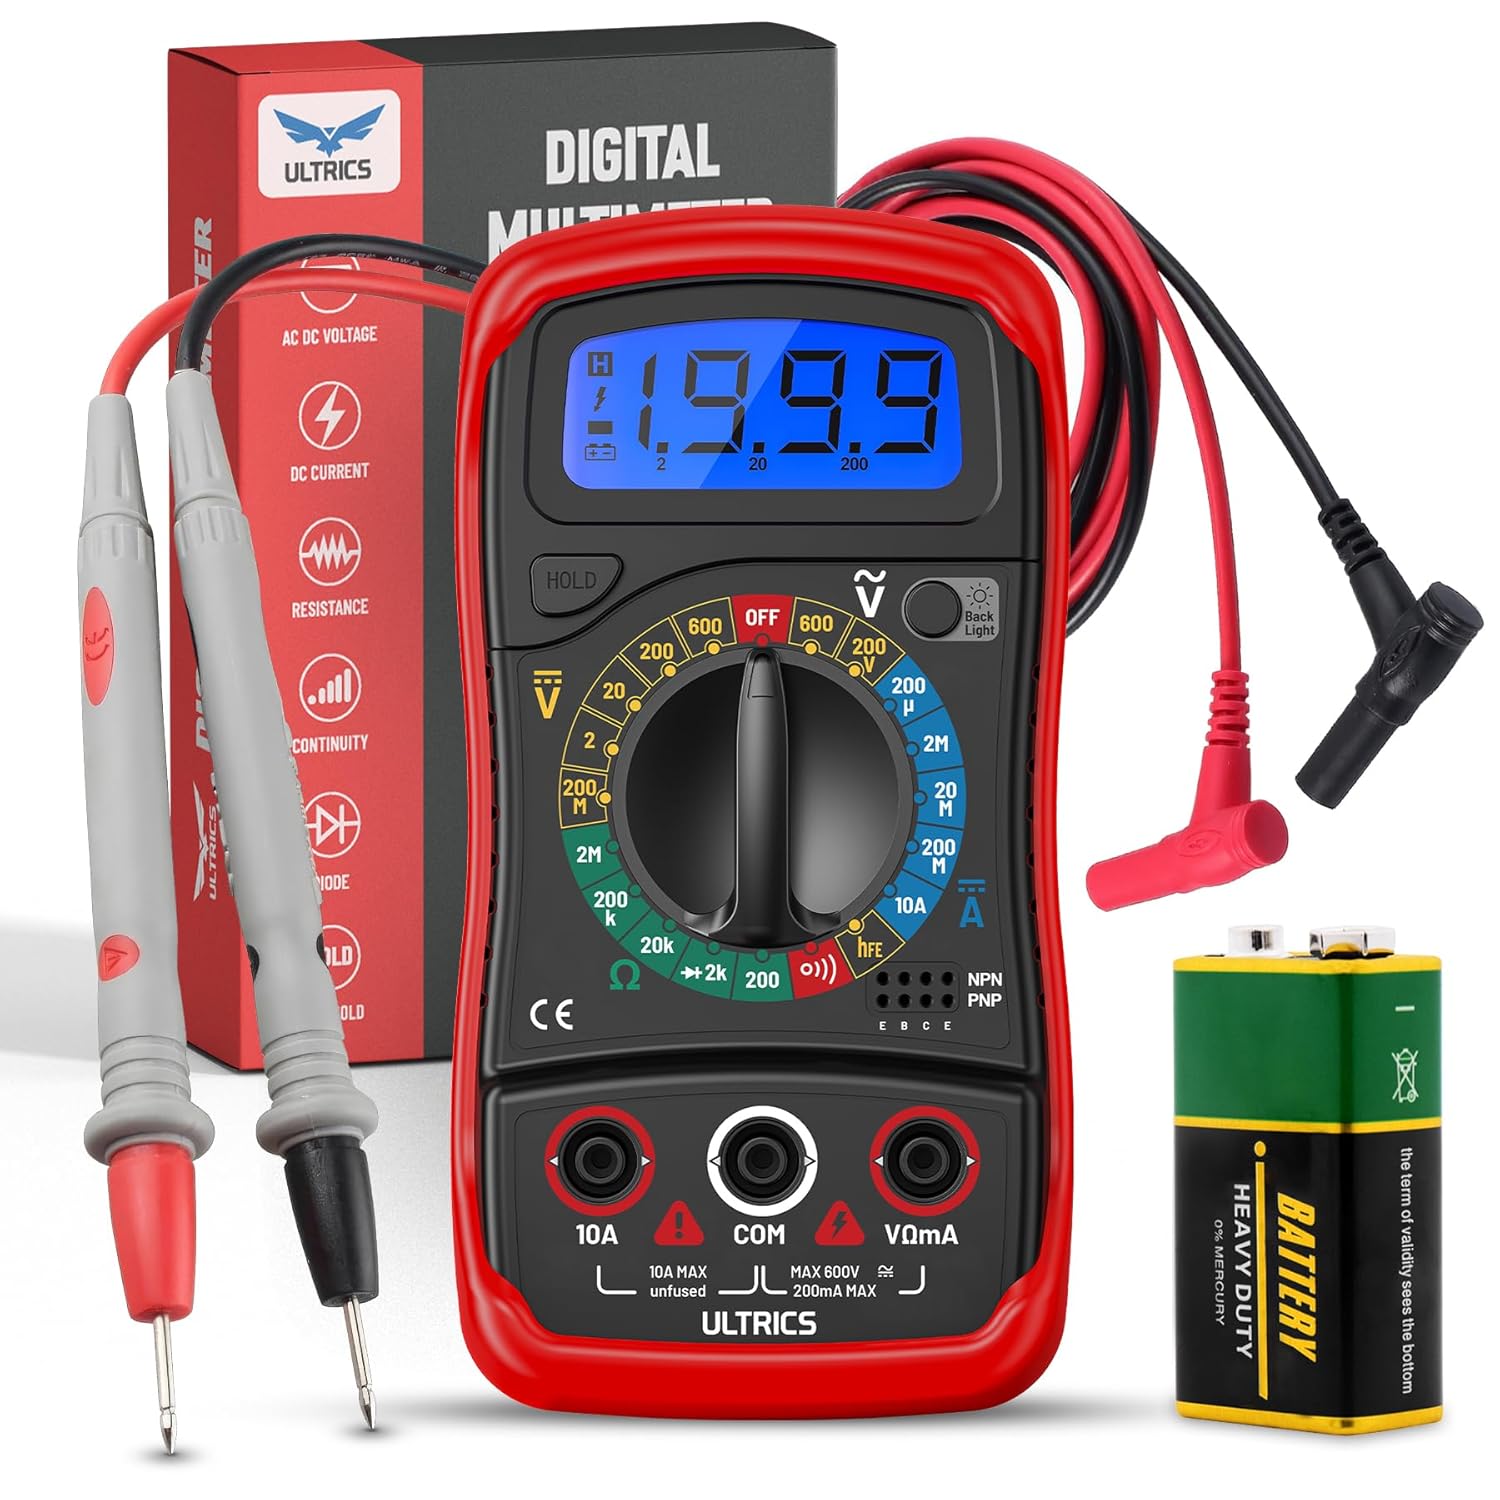
Image: Contents of the ULTRICS Digital Multimeter D2 package, including the multimeter, red and black test leads, and a 9V battery.
Prodott Overview
Familiarize yourself with the components of your ULTRICS Digital Multimeter D2.

Image: Detailed diagram of the ULTRICS Digital Multimeter D2, highlighting its key components such as the LCD display, data hold button, backlight button, function switch, test lead jacks, and protective rubber shell.
- Display LCD: Shows measurement readings, units, and polarity. Features a bright backlight for low-light conditions.
- Buttuna taż-Żamma tad-Data: Freezes the current reading on the display for easier recording.
- Buttuna Backlight: Jattiva jew jiddiżattiva d-dawl ta' wara tad-displej.
- Function Switch (Rotary Dial): Jagħżel il-funzjoni u l-firxa tal-kejl mixtieqa.
- Ġakk tad-Dħul ta' 10A: Used for measuring DC current up to 10 Amperes.
- COM (Common) Input Jack: The negative (-) input for all measurements. Always connect the black test lead here.
- VΩmA Input Jack: The positive (+) input for voltage, reżistenza, u milliampere current measurements. Connect the red test lead here.
- Transistor Test Jacks (hFE): Used for testing NPN and PNP transistors.
- Protective Rubber Shell: Provides durability and protection against minor impacts and splashes.
- Kickstand li jintrewa: Allows for hands-free operation and easy viewangolu tal-ing.
Setup
Installazzjoni tal-batterija
The ULTRICS Digital Multimeter D2 requires one 9V battery (included).
- Sib il-kompartiment tal-batterija fuq wara tal-multimeter.
- Uża tornavit biex tneħħi l-kamin li jżomm l-għatu tal-batterija.
- Neħħi bil-mod il-qoxra tal-batterija.
- Connect the 9V battery to the battery clips, ensuring correct polarity (+ to + and - to -).
- Poġġi l-batterija ġewwa l-kompartiment.
- Ibdel l-għatu tal-batterija u waħħalha bil-kamin.
Konnessjoni taċ-Ċombijiet tat-Test
Always ensure test leads are securely connected before taking measurements.
- Insert the black test lead's banana plug into the COM Jack tad-dħul (komuni).
- Għal ħafna kejl (voltage, resistance, continuity, diode, small current), insert the red test lead's banana plug into the VΩmA jack tad-dħul.
- For high current measurements (up to 10A DC), insert the red test lead's banana plug into the 10A jack tad-dħul.
Istruzzjonijiet Operattivi
This section details how to perform various measurements using your multimeter.
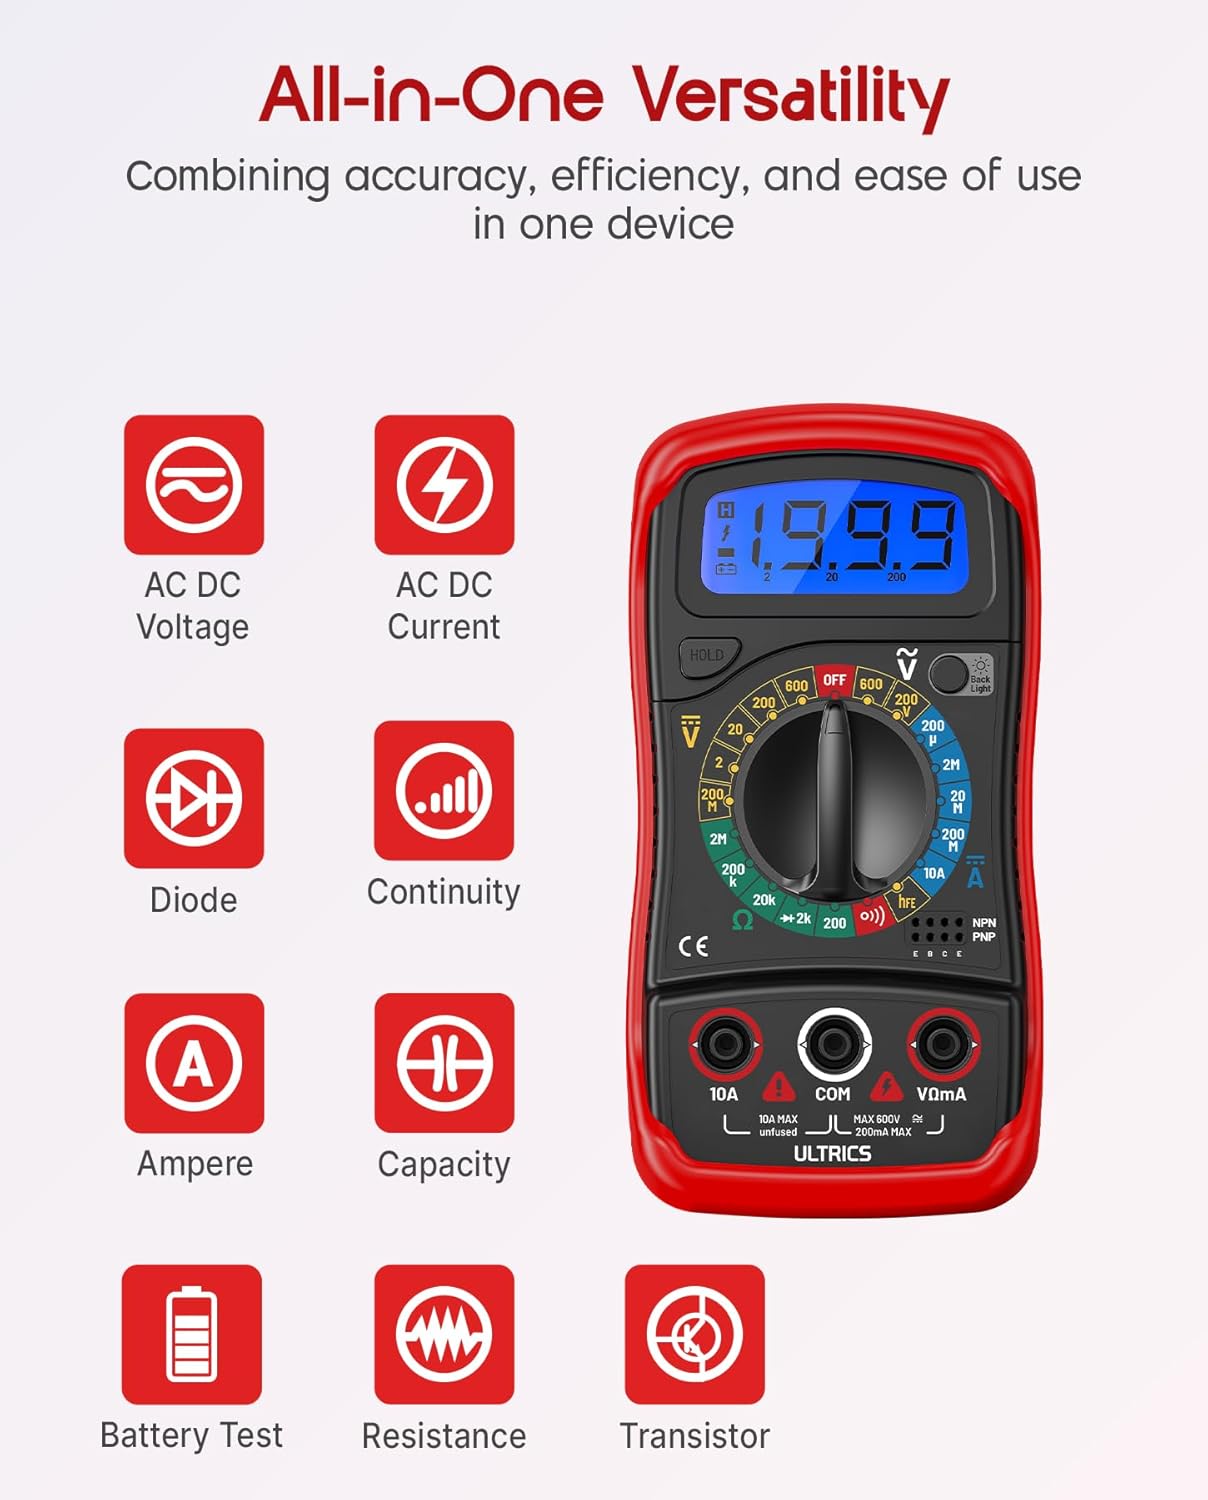
Image: Visual representation of the multimeter's versatile functions, including AC/DC Voltage, AC/DC Current, Diode, Continuity, Ampere, Capacity, Battery Test, Resistance, and Transistor measurements.
Kejl DC Voltage (VDC)
- Qabbad iċ - ċomb iswed tat - test mal - COM jack u l-wajer tat-test aħmar għall- VΩmA jack.
- Turn the function switch to the desired VDC range (e.g., 200mV, 2V, 20V, 200V, 600V). If unsure, start with the highest range and decrease as needed.
- Qabbad il-wajers tat-test b'mod parallel mal-komponent jew iċ-ċirkwit li għandu jitkejjel.
- Aqra l-voltage valur fuq il-wiri LCD.
Kejl AC Voltage (VAC)
- Qabbad iċ - ċomb iswed tat - test mal - COM jack u l-wajer tat-test aħmar għall- VΩmA jack.
- Turn the function switch to the desired VAC range (e.g., 200V, 600V).
- Qabbad il-wajers tat-test b'mod parallel mal-vultaġġ ACtagsors e.
- Aqra l-voltage valur fuq il-wiri LCD.
Measuring DC Current (ADC)
ATTENZJONI: Never connect the multimeter in parallel when measuring current. Always connect it in series with the circuit. Improper connection can damage the multimeter or the circuit.
- Itfi l-enerġija għaċ-ċirkwit.
- For currents up to 200mA, connect the black test lead to the COM jack u l-wajer tat-test aħmar għall- VΩmA jack.
- For currents up to 10A, connect the black test lead to the COM jack u l-wajer tat-test aħmar għall- 10A jack.
- Turn the function switch to the desired ADC range (e.g., 200µA, 2mA, 20mA, 200mA, 10A).
- Ikser iċ-ċirkwit u qabbad il-multimetru f'serje maċ-ċirkwit.
- Turn on power to the circuit.
- Aqra l-valur kurrenti fuq il-wiri LCD.
- Turn off power to the circuit before disconnecting the multimeter.
Kejl tar-Reżistenza (Ω)
ATTENZJONI: Ensure the circuit is completely de-energized before measuring resistance. Measuring resistance on a live circuit can damage the multimeter.
- Qabbad iċ - ċomb iswed tat - test mal - COM jack u l-wajer tat-test aħmar għall- VΩmA jack.
- Turn the function switch to the desired Ω range (e.g., 200Ω, 2kΩ, 20kΩ, 200kΩ, 2MΩ, 20MΩ).
- Qabbad il-wajers tat-test mal-komponent li tiegħu trid tkejjel ir-reżistenza.
- Aqra l-valur tar-reżistenza fuq id-displej LCD.
Test ta' Kontinwità
The continuity test checks for a complete circuit path. An audible buzzer will sound if continuity is detected.
- Qabbad iċ - ċomb iswed tat - test mal - COM jack u l-wajer tat-test aħmar għall- VΩmA jack.
- Dawwar is-swiċċ tal-funzjoni għall- Kontinwità (buzzer) position.
- Qabbad il-wajers tat-test madwar iċ-ċirkwit jew il-komponent.
- Jekk ir-reżistenza tkun taħt madwar 50Ω, il-buzzer se jdoqq, u jindika kontinwità.
Test tad-Diode
It-test tad-dijodu jkejjel il-volum 'il quddiemtagqatra e ta' dijodu.
- Qabbad iċ - ċomb iswed tat - test mal - COM jack u l-wajer tat-test aħmar għall- VΩmA jack.
- Dawwar is-swiċċ tal-funzjoni għall- Dajowd pożizzjoni.
- Connect the red test lead to the anode (+) and the black test lead to the cathode (-) of the diode.
- Aqra l-quddiem voltage drop on the LCD display. Reverse the leads; the display should show "OL" (Overload) for a good diode.
Transistor hFE Test
This function tests the DC current gain (hFE) of NPN and PNP transistors.
- Dawwar is-swiċċ tal-funzjoni għall- hFE pożizzjoni.
- Identify the Emitter (E), Base (B), and Collector (C) leads of the transistor.
- Insert the transistor leads into the corresponding holes in the hFE socket on the multimeter, ensuring correct NPN or PNP type.
- Aqra l-valur tal-hFE fuq id-displej tal-LCD.
Funzjoni ta 'Żamma tad-Dejta
Agħfas il- ŻOMM buttuna biex tiffriża l-qari attwali fuq id-displej. Agħfasha mill-ġdid biex teħles mill-hold u terġa' tibda l-qari dirett.
Funzjoni Backlight
Agħfas il- Dawl ta' wara button to turn the LCD backlight on or off, improving visibility in dim environments.

Immaġni: Close-up view of the multimeter's LCD display, demonstrating its bright backlight feature for enhanced readability in various lighting conditions.
Manutenzjoni
Tindif
Biex tnaddaf il-multimetru, imsaħ il-kaxxa b'adamp cloth and a mild detergent. Do not use abrasives or solvents, as these may damage the casing jew wiri.
Sostituzzjoni tal-batterija
When the low battery indicator appears on the display, replace the 9V battery as described in the "Installing the Battery" section to ensure continued accurate readings.
Sostituzzjoni tal-Fjus
If the current measurement function stops working, the fuse may need replacement. This multimeter is equipped with internal fuses for protection.
- Ensure the multimeter is OFF and all test leads are disconnected.
- Neħħi l-għatu tal-batterija u l-batterija.
- Carefully open the main casing (this may require removing additional screws, typically located under the rubber shell).
- Locate the fuse(s) on the circuit board. This model typically uses a 200mA/250V fuse for the mA range and a 10A/250V fuse for the 10A range.
- Replace the blown fuse with a fuse of the same type and rating. Never use a fuse with a different rating.
- Reassemble the multimeter, ensuring all screws are tightened and the casing is properly sealed.
Ħażna
If the multimeter is not used for a long period, remove the battery to prevent leakage and store the device in a cool, dry place, away from direct sunlight and extreme temperatures.
Issolvi l-problemi
| Problema | Kawża Possibbli | Soluzzjoni |
|---|---|---|
| L-ebda wiri jew wiri mudlam | Batterija mejta jew baxxa | Ibdel il-batterija ta '9V. |
| "OL" (Tagħbija żejda) muri | Input value exceeds selected range; open circuit (for resistance/continuity) | Select a higher range; check for breaks in the circuit or component. |
| Qari mhux korrett | Funzjoni/firxa magħżula ħażina; konnessjoni ħażina tal-wajer tat-test; batterija baxxa | Verify function switch position and range; ensure leads are firmly connected; replace battery. |
| Il-kejl tal-kurrent mhux qed jaħdem | Fjus minfuħ | Ibdel il-fjus xieraq (ara t-taqsima tal-Manutenzjoni). |
| No continuity buzzer | Open circuit; resistance too high | Ensure circuit is closed; check resistance value (buzzer typically activates below 50Ω). |
Speċifikazzjonijiet
| Karatteristika | Dettall |
|---|---|
| Mudell | Digital Multimeter D2 |
| Wiri | 3 ½ digit LCD, 1999 counts, with backlight |
| DC Voltage | 200mV / 2V / 20V / 200V / 600V |
| AC Voltage | 200V / 600V |
| Kurrent DC | 200µA / 2mA / 20mA / 200mA / 10A |
| Reżistenza | 200Ω / 2kΩ / 20kΩ / 200kΩ / 2MΩ / 20MΩ |
| Test tad-Diode | Iva |
| Buzzer tal-Kontinwità | Iva |
| Transistor hFE Test | Iva |
| Żamma tad-Data | Iva |
| Sors tal-Enerġija | Batterija 9V |
| Klassifikazzjoni tas-Sigurtà | IEC CAT II 600V, CE, RoHS compliant |
| Dimensjonijiet (L x W x H) | 14.6 x 10 x 5 ċm (5.75 x 3.94 x 1.97 pulzieri) |
| Piż | 240 gramma (0.53 lbs) |
Garanzija u Appoġġ
ULTRICS provides a 12-month warranty for this product, covering manufacturing defects from the date of purchase. Please retain your proof of purchase for warranty claims.
For technical support, warranty claims, or any questions regarding your ULTRICS Digital Multimeter D2, please contact ULTRICS customer service through the retailer's platform or the official ULTRICS website. Please have your purchase details and model number ready when contacting support.
Manifattur: ULTRICS
Numru tal-Mudell: Digital Multimeter D2
ASIN: B0DYP62MW7