1. Introduzzjoni
This manual provides essential information for the safe and efficient installation, operation, and maintenance of your BRAVO 36,000 BTU 230V Ductless Mini Split Air Conditioner and Heat Pump. Please read this manual thoroughly before installation and operation, and retain it for future reference. Proper installation by a licensed HVAC technician is required to ensure optimal performance and warranty validity.
2. Informazzjoni dwar is-Sigurtà
Importanti: Professional installation is required. Improper installation can lead to electric shock, fire, serious injury, or death. Always disconnect power before servicing the unit. Refer to local and national electrical codes for proper wiring. Do not attempt to repair or service the unit beyond the scope of this manual.
3. Kontenut tal-Pakkett
Your BRAVO Mini Split system includes the following components:
- Indoor Unit (BRV-R36W-230VI)
- Outdoor Unit (BRV-R36LS-230VO)
- Kontroll mill-bogħod
- Smart Port Adapter for Wi-Fi Control
- 13ft Pre-Flared and Insulated Copper Line Set
- 13ft Communication Wires (between Indoor and Outdoor unit)
- 13ft Drainage Extension
- Small Accessories (e.g., mounting hardware, batteries)

Figure 1: Complete BRAVO Mini Split system package contents.
4. Setup u Installazzjoni
Installation of this unit requires specialized tools and knowledge. It is strongly recommended that installation be performed by a qualified and licensed HVAC technician to ensure safety, proper function, and warranty validity.
4.1 Installazzjoni ta 'Unità ta' ġewwa
Mount the indoor unit on a sturdy wall, ensuring adequate clearance from the ceiling and adjacent walls for proper airflow and maintenance. Use the provided mounting bracket and hardware.

Figura 2: Unità ta' ġewwa mmuntata fuq ħajt.
4.2 Installazzjoni ta' Unità ta' Barra
Place the outdoor unit on a level, stable surface, such as a concrete slab, ensuring proper drainage and clearance from obstructions. Connect the pre-charged copper line set and communication wires between the indoor and outdoor units.

Figure 3: Outdoor unit on a concrete slab.
4.3 Konnessjonijiet elettriċi
Connect the unit to a dedicated 230V electrical circuit. Ensure all wiring is correctly sized and protected by an appropriate circuit breaker. The communication wires connect the indoor and outdoor units for control signals.
4.4 Vacuuming the System
After connecting the line set, the system must be thoroughly vacuumed to remove all air and moisture. This is a critical step for efficient operation and to prevent damage to the compressor. A vacuum pump and manifold gauge set are required.
4.5 General Installation Guidance (Video)
The following video provides general guidance on mini-split installation steps. While it features a DELLA unit, many of the installation principles are applicable to your BRAVO system. Always refer to your specific BRAVO manual for detailed instructions.
Video 1: General Mini Split Installation Guide (featuring a DELLA unit). This video covers marking locations, mounting brackets, routing linesets, connecting electricals, vacuuming, and opening valves.
5. Istruzzjonijiet Operattivi
Your BRAVO Mini Split system offers various operating modes and control options for optimal comfort.
5.1 Kontroll mill-Bogħod
The included remote control allows you to power the unit on/off, adjust temperature, select operating modes (Cool, Heat, Fan), set fan speed, and activate special functions like Sleep Mode.
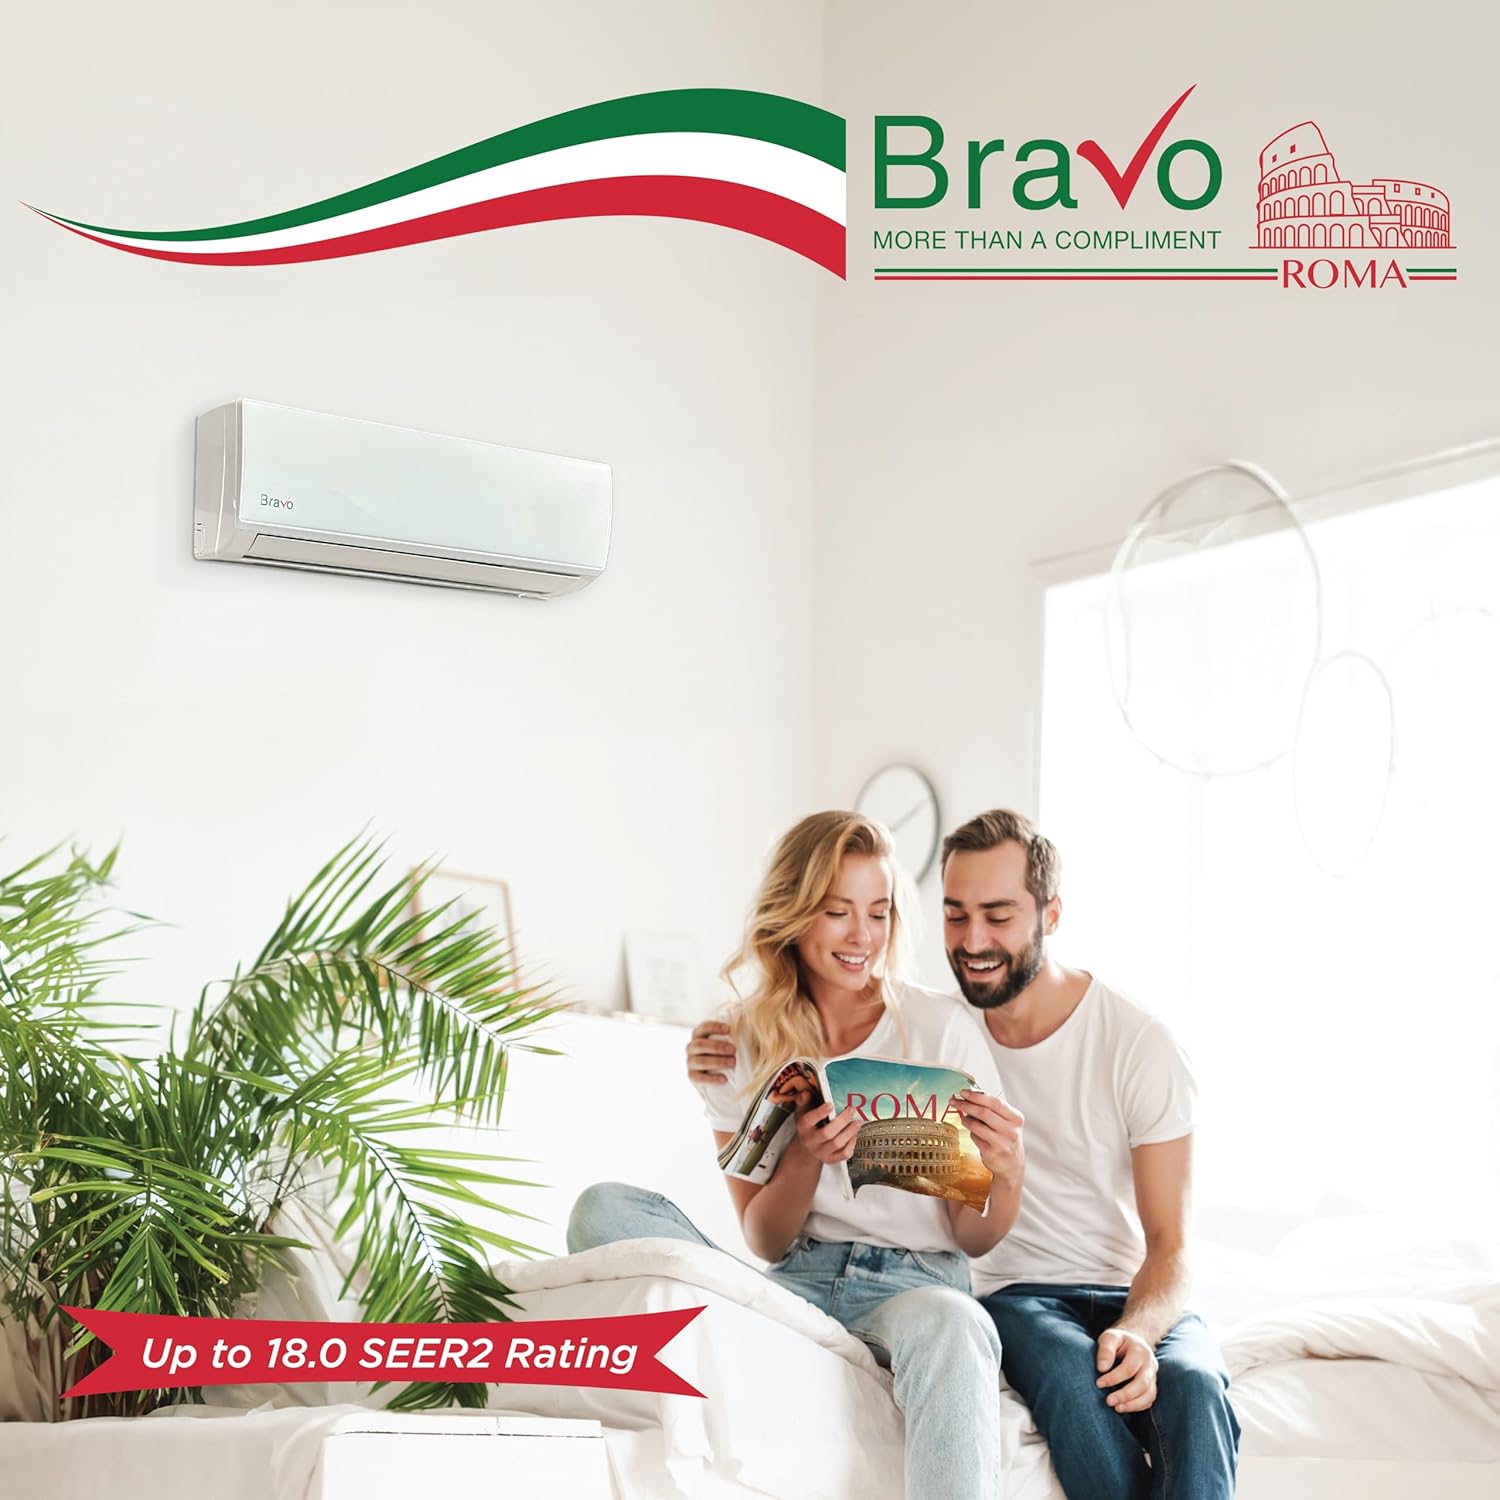
Figure 4: Indoor unit displaying temperature, with remote control.
5.2 Smart Control (Wi-Fi App)
Utilize the smart port adapter and a compatible mobile app to control your unit remotely via your smartphone. This allows you to turn the unit on/off, set temperature (C°/F°), switch modes, adjust fan speed, and manage timers or schedules.

Figure 5: Smart app interface for remote control.
5.3 Modi Operattivi
- Tkessiħ: Provides powerful cooling for large spaces.
- Tisħin: Functions as a heat pump, effective in ambient temperatures down to -4°F.
- Fann: Jiċċirkola l-arja mingħajr ma jsaħħan jew ikessaħ.
- Modalità Sleep: Jaġġusta t-temperatura għal irqad komdu u ffrankar tal-enerġija.
- Modalità Eko: Optimizes operation for reduced energy consumption.
- Anti-Mildew Mode: Helps prevent mildew growth within the unit.
6. Manutenzjoni
Regular maintenance ensures the longevity and efficient operation of your mini split system.
6.1 Tindif tal-filtru
The indoor unit features easily accessible filters. Regularly clean these filters to maintain optimal airflow and air quality. Refer to the full manual for specific cleaning instructions and frequency.
6.2 Tindif Ġenerali
Wipe down the exterior of both indoor and outdoor units with a soft, damp cloth. Ensure the outdoor unit's coils are free from debris to prevent reduced efficiency.
7 Issolvi l-problemi
If you experience issues with your BRAVO Mini Split system, consult the full product manual for a comprehensive troubleshooting guide and error code explanations. Common issues may include:
- Unit not turning on (check power supply, circuit breaker, remote batteries).
- Insufficient cooling/heating (check temperature settings, clean filters, ensure no obstructions to airflow).
- Unusual noises (check for loose parts, debris in outdoor unit).
For complex issues or error codes displayed on the unit, contact qualified technical support.
8. Speċifikazzjonijiet
Detailed technical specifications for the BRAVO 36,000 BTU Mini Split Air Conditioner and Heat Pump:

Figure 6: Detailed specifications for various BRAVO Mini Split models.
| Speċifikazzjoni | Valur |
|---|---|
| Isem tad-Ditta | BRAVO |
| Mudell Info | BRV-R36W-230VI/ BRV-R36LS-230VO |
| Dimensjonijiet tal-Prodott | 14.17 x 46.88 x 10.15 pulzieri |
| Effiċjenza | 17 SEER |
| Kapaċità | 3 Tunnellati (36,000 BTU) |
| Livell ta' Storbju | 39 Deċibel |
| Tip ta' Installazzjoni | Sistema maqsuma |
| Fattur tal-Formola | Mini-Split |
| Karatteristiċi Speċjali | WiFi Ippermettiet |
| Kulur | Abjad |
| Voltage | 230 Volts (AC) |
9. Garanzija u Appoġġ
Your BRAVO Mini Split system comes with a Garanzija ta' 3 snin fuq il-kompressur u Garanzija ta '3 snin fuq il-partijiet. Please ensure professional installation by a licensed HVAC technician to validate your warranty. For technical support, refer to the contact information provided in your product documentation or visit the BRAVO websit.

Figure 7: Warranty details and technical support information.