1. Introduzzjoni
This manual provides detailed instructions for the installation, operation, and maintenance of the Generic Canbus Box (models TY-SS-01, RP5-TY-002, RP5-TY-102) designed for integrating aftermarket Android car radio systems with specific Toyota vehicles. Please read this manual thoroughly before installation and use to ensure proper functionality and safety.
2. Prodott Aktarview
The Canbus Box acts as an interface between your vehicle's existing electrical system and an aftermarket Android car radio. It translates vehicle data (such as steering wheel control signals, door status, and climate control information) into a format compatible with the Android head unit, allowing for seamless integration and retention of original vehicle features.
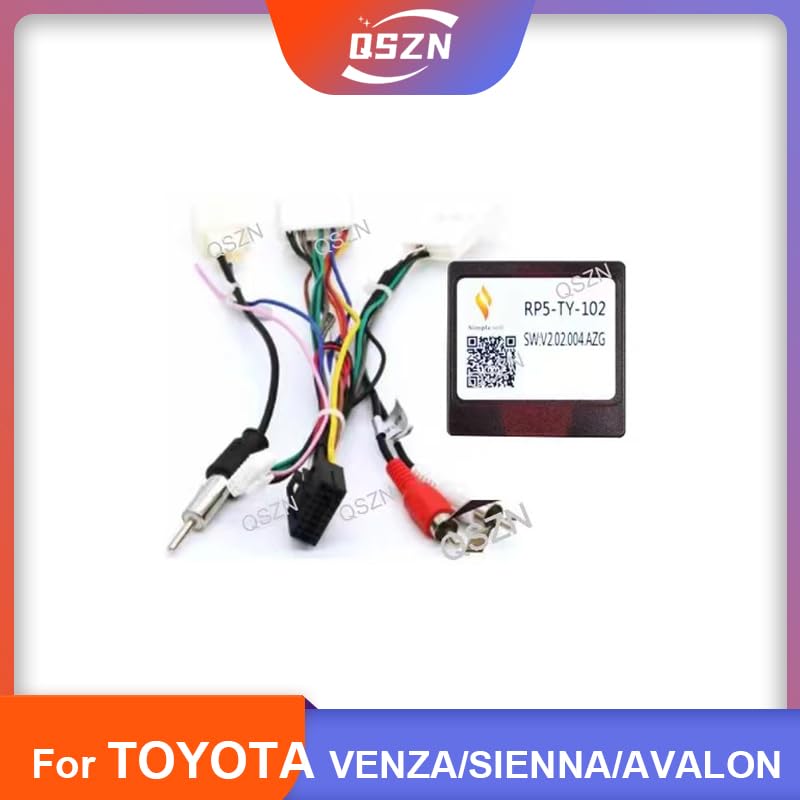
Image 2.1: The Canbus Box and its associated wiring harness, designed for integration with Toyota vehicle systems and Android car radios.
3. Kompatibilità
This Canbus Box is compatible with the following Toyota vehicle models and years when installing an Android car radio:
- Toyota SIENNA (2008 model year)
- Toyota AVALON (2012 model year)
- Toyota PRADO (2002-2009 model years)
- Toyota VENZA (2011 model year)
Ensure your vehicle's model and year match the listed compatibility to guarantee proper function.
4. Kontenut tal-Pakkett
Il-pakkett tipikament jinkludi l-oġġetti li ġejjin:
- 1 x Canbus Box (Model: RP5-TY-102, TY-SS-01, or RP5-TY-002)
- 1 x Kejbil tal-Enerġija tal-Wajers
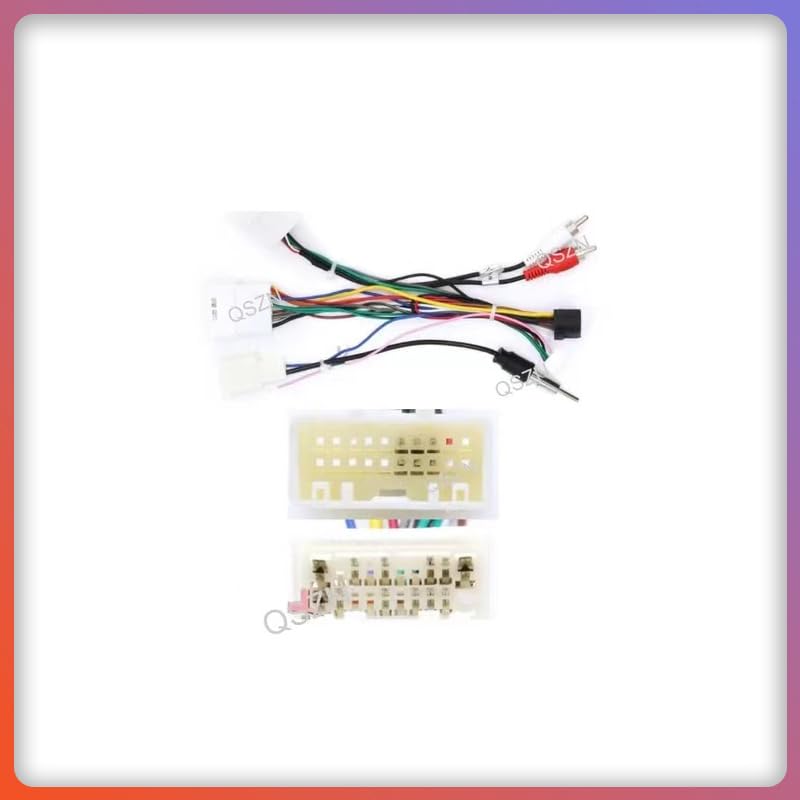
Image 4.1: The wiring harness and various connectors supplied with the Canbus Box for vehicle integration.
5. Setup u Installazzjoni
Installation of the Canbus Box and wiring harness requires basic automotive electrical knowledge. If you are unsure about any steps, it is recommended to seek professional installation.
5.1 Prekawzjonijiet tas-Sigurtà
- Skonnettja t-terminal negattiv tal-batterija tal-vettura qabel tibda kwalunkwe xogħol elettriku.
- Kun żgur li l-konnessjonijiet kollha huma sikuri biex tevita short circuits.
- Irreferi għall-manwal tas-servizz tal-vettura tiegħek għal dijagrammi speċifiċi tal-wajers jekk meħtieġ.
5.2 Passi ta' Installazzjoni
- Remove the Existing Radio: Carefully remove your vehicle's factory radio according to your vehicle's service manual.
- Qabbad ix-Xedd tal-Wiring: Connect the vehicle-specific end of the provided wiring harness to the corresponding connectors in your vehicle's dashboard.
- Qabbad il-Kaxxa Canbus: Plug the Canbus Box into the designated connector on the wiring harness. Ensure it clicks securely into place.
- Qabbad ma' Android Radio: Connect the other end of the wiring harness to your aftermarket Android car radio. This typically involves matching color-coded wires or using a specific connector provided with your Android unit.
- Konnessjonijiet tat-Test: Before fully reassembling the dashboard, reconnect the vehicle's battery and perform a preliminary test of the Android radio and its integrated functions (e.g., steering wheel controls, reverse camera if applicable).
- Assigura u Erġa' Arma: Once all functions are verified, secure the Canbus Box and wiring harness to prevent rattling. Carefully reassemble the dashboard and install the Android radio.
6. Istruzzjonijiet Operattivi
Once installed, the Canbus Box operates automatically to facilitate communication between your Toyota vehicle and the Android car radio. Specific operations will depend on the features supported by your Android head unit and the vehicle's original system.
- Kontrolli tal-istering: The Canbus Box enables the retention of original steering wheel audio controls (volume up/down, track skip, mode, etc.) with your new Android radio. These functions should be configurable within your Android radio's settings.
- Wiri tal-Informazzjoni tal-Vettura: Depending on the Android radio and vehicle model, the Canbus Box may allow the display of certain vehicle information (e.g., door open warnings, climate control settings) on the Android screen.
- Sinjal tal-Gerar b'Reverse: Provides the reverse gear signal to the Android radio for automatic camera activation (if a reverse camera is installed).
Refer to your Android car radio's user manual for detailed instructions on configuring and utilizing these integrated features.
7. Manutenzjoni
The Canbus Box is designed for maintenance-free operation. To ensure longevity and reliable performance:
- Kun żgur li l-konnessjonijiet kollha tal-wajers jibqgħu sikuri u ħielsa mill-korrużjoni.
- Avoid exposing the Canbus Box to extreme temperatures or moisture.
- Do not attempt to open or modify the Canbus Box, as this may void any applicable warranty and could damage the unit or vehicle electronics.
8 Issolvi l-problemi
Jekk tiltaqa' ma' problemi wara l-installazzjoni, ikkunsidra l-passi li ġejjin għas-soluzzjoni tal-problemi:
- L-ebda Enerġija għar-Radju Android:
- Check all power connections from the wiring harness to the vehicle and the Android radio.
- Verify the vehicle's fuse for the radio circuit.
- Kontrolli tal-Istering Wheel Mhux Jaħdmu:
- Ensure the Canbus Box is securely connected.
- Check the settings within your Android radio for steering wheel control configuration. Some radios require manual programming or selection of the Canbus type.
- Confirm compatibility of the Canbus Box with your specific Android radio model.
- Other Vehicle Functions Not Integrating:
- Iċċekkja darbtejn il-konnessjonijiet tal-wajers kollha.
- Verify that your Android radio supports the display of the specific vehicle information you are expecting.
- Ensure the Canbus Box model is correct for your vehicle and Android radio.
If problems persist, consult with a professional car audio installer or contact the seller for further assistance.
9. Speċifikazzjonijiet
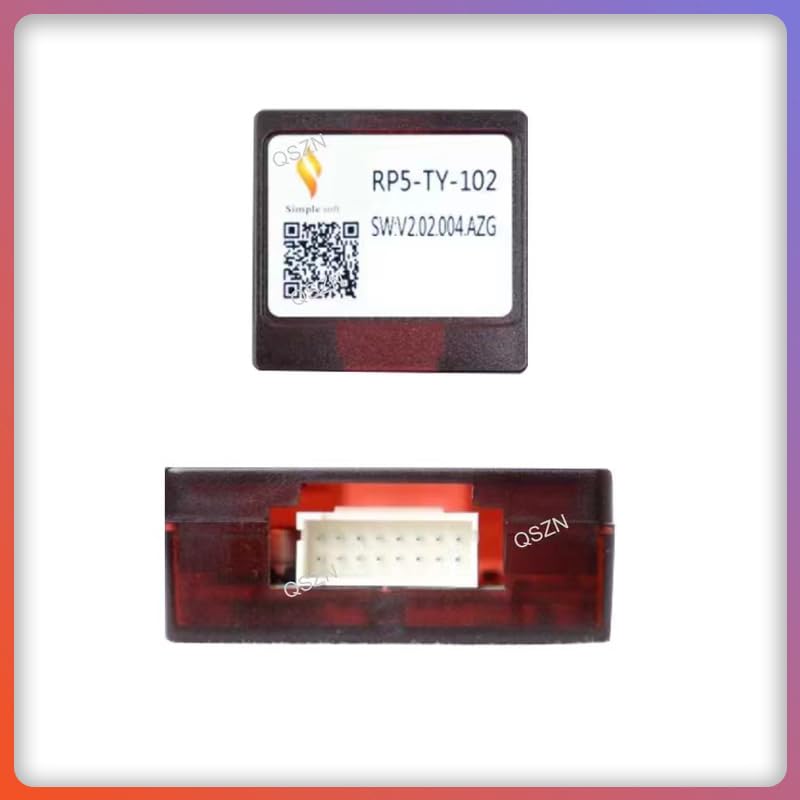
Image 9.1: A close-up of the Canbus Box, highlighting its model identification.
| Karatteristika | Dettall |
|---|---|
| Tip | Kaxxa Canbus |
| Ismijiet tal-Mudell | TY-SS-01, RP5-TY-002, RP5-TY-102 |
| Kompatibbli Voltage | 12V DC |
| Materjal (Djar) | Plastic ABS |
| Piż tal-oġġett | Madwar 0.18 kg |
| Oriġini | Iċ-Ċina kontinentali |
10. Garanzija u Appoġġ
For warranty information or technical support, please contact the seller or manufacturer directly. Keep your purchase receipt as proof of purchase. Do not attempt to repair the unit yourself, as this may void the warranty.


