
1. Matulview
The UeeVii CPE850 Gigabit Wireless Bridge is an outdoor 5.8GHz device designed for extending network connectivity over long distances. It supports both point-to-point and point-to-multipoint configurations, making it suitable for connecting remote buildings, surveillance systems, and other outdoor network applications. With a built-in 16dBi antenna, it offers a transmission range of up to 5 kilometers (3.1 miles) in barrier-free environments and supports data transfer rates up to 1200Mbps between bridges, with a maximum achievable network speed of 450Mbps. The device is powered via 24V Power over Ethernet (PoE) for simplified installation.

Figure 1: UeeVii CPE850 Wireless Bridge long-range transmission capability.
2. Kontenut tal-Pakkett
Iċċekkja li l-oġġetti kollha elenkati hawn taħt huma inklużi fil-pakkett tiegħek. Jekk xi oġġetti huma neqsin jew bil-ħsara, jekk jogħġbok ikkuntattja l-appoġġ għall-klijenti.
- 2 x CPE850 Wireless Bridge Units
- 2 x 24V/1000Mbps PoE Adapters
- 2 x 3FT Test Network Cables
- 2 x Metal Ties for mounting
- 1 x Manwal għall-Utent

Figure 2: Package contents of the UeeVii CPE850 Wireless Bridge.
3. Komponenti tal-Prodott
Each UeeVii CPE850 unit features the following components:
- Gigabit RJ45 Ports: Two Ethernet ports for network connection. One port supports 100Mbps, and the other supports 1000Mbps. For optimal performance, connect to the 1000Mbps port.
- Displej tat-tubu diġitali: Shows the current channel or pairing status.
- Buttuna AB: Used for setting the device as Master (A) or Slave (B) during pairing.
- Buttuna Irrisettja: Għal reset tal-fabbrika.
- Indikatur tal-Enerġija: Jindika l-istatus tal-enerġija.
- WLAN Signal Lights: Multiple LEDs indicating wireless signal strength.

Figura 3: Dettaljat view of CPE850 ports and controls.

Figure 4: Indicator lights on the CPE850 unit.
4. Gwida ta' Setup
4.1 L-Ewwel Tixgħel u l-Konnessjoni
- Connect one end of a network cable to the PoE port of the PoE adapter.
- Connect the other end of the network cable to either LAN1 or LAN2 port on the CPE850 unit. Ensure a secure connection.
- Plug the PoE adapter into a power outlet. The power indicator on the CPE850 unit should light up.
- Repeat these steps for the second CPE850 unit.
4.2 Pairing the Wireless Bridges (Point-to-Point)
The CPE850 units are typically pre-paired from the factory. If re-pairing is necessary or for new setups, follow these steps:
- Power on both CPE850 units as described in Section 4.1.
- On one CPE850 unit, use the A-B button to set its digital tube display to "A" (Master mode).
- On the second CPE850 unit, use the A-B button to set its digital tube display to "B" (Slave mode).
- Ensure both units are set to the same channel. Use the channel selection buttons (if available, otherwise default is usually fine for initial pairing) to match the channel number displayed on the digital tube.
- Place the two units within close proximity (e.g., on a table).
- Wait approximately one minute for the units to establish a connection. The WLAN signal lights on both units should illuminate, indicating successful pairing.
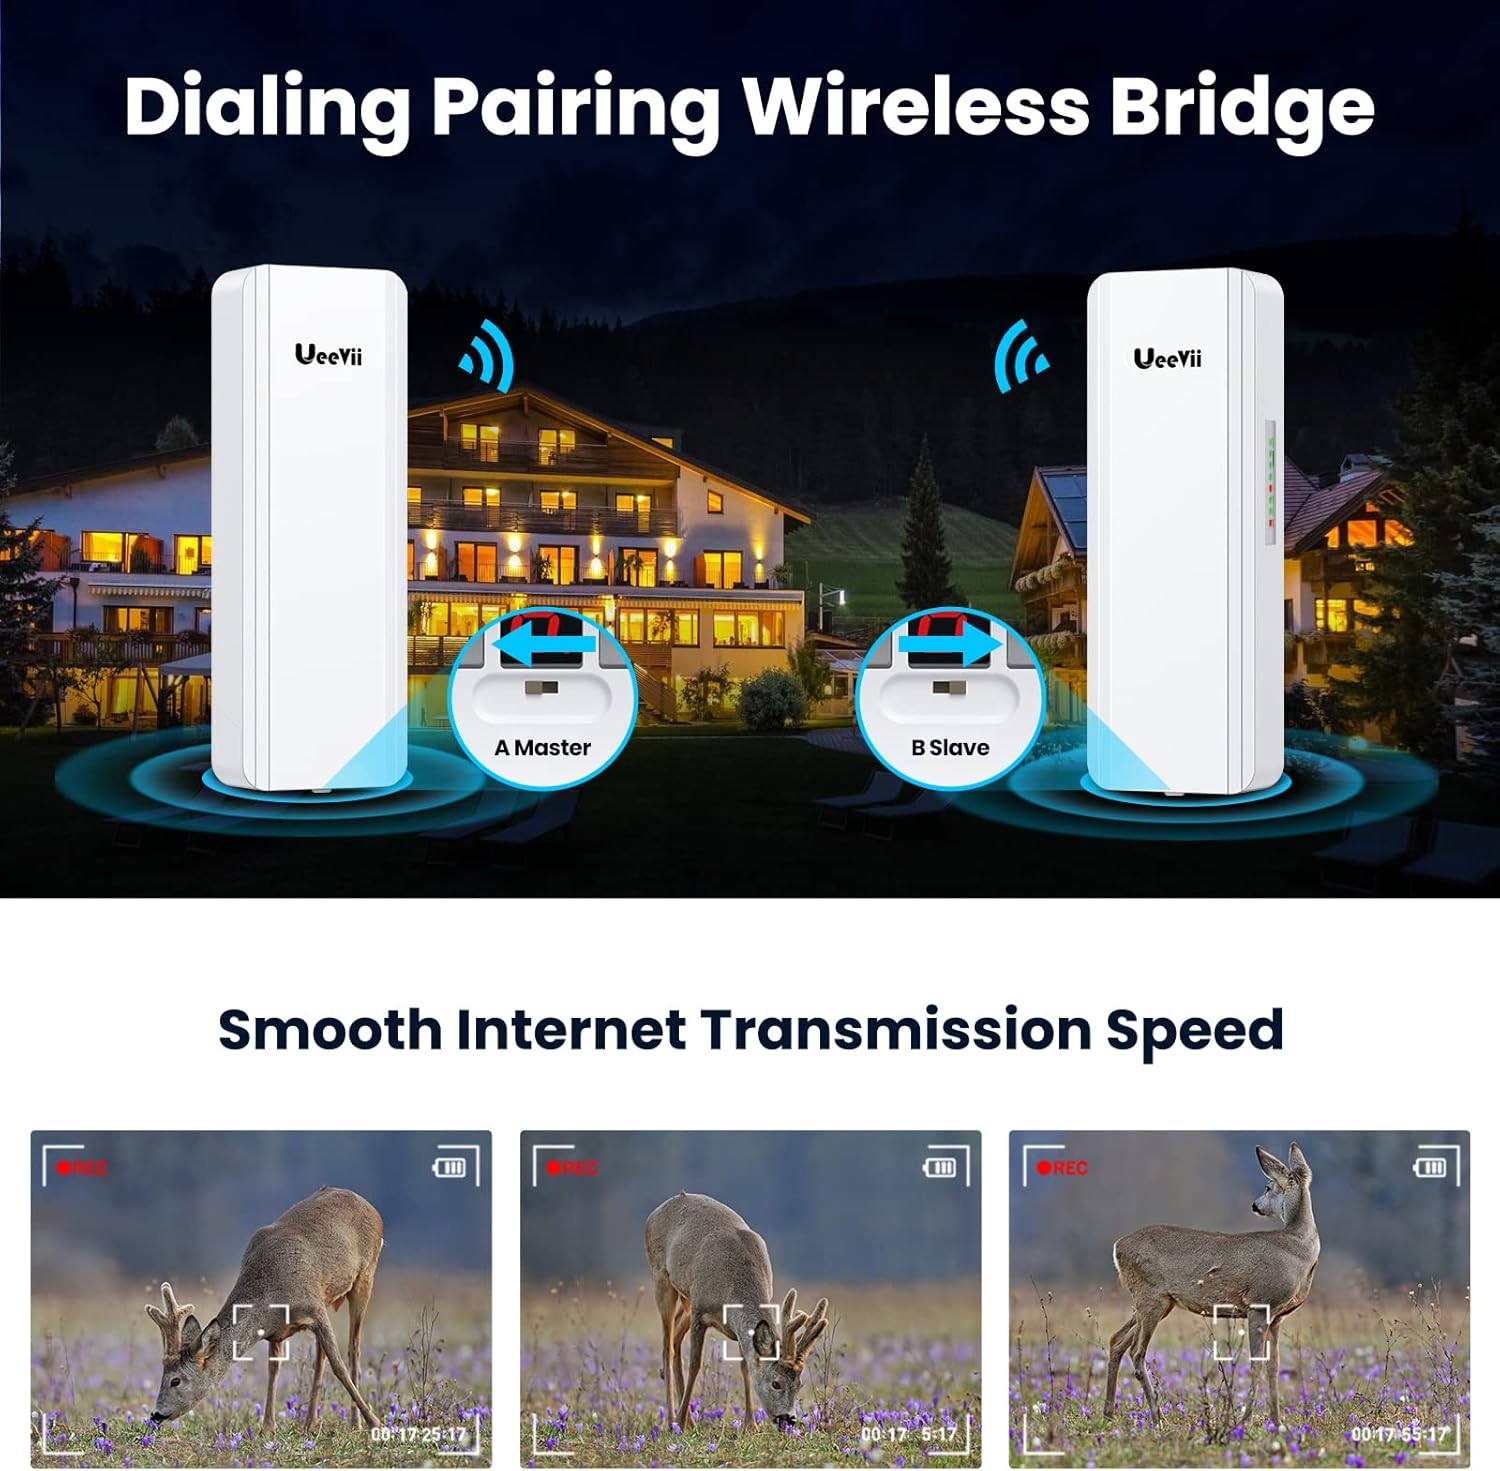
Figure 5: Dialing pairing process for Master and Slave units.
Video 1: Step-by-step guide on how to pair UeeVii CPE850 wireless bridges.
4.3 Installazzjoni Fiżika
After successful pairing, install the units in their desired outdoor locations. Ensure a clear line of sight between the Master and Slave units for optimal performance. Use the provided metal ties to secure the units to poles or other suitable structures.

Figura 6: Eżample of outdoor installation using metal ties.
5. Istruzzjonijiet Operattivi
5.1 Point-to-Point Network Extension
To extend your network to a second building (e.g., barn, garage, shop):
- Connect the Master CPE unit to your main router or network switch using a network cable.
- Connect the Slave CPE unit to a router, computer, or other network device in the remote building.
- Ensure both CPE units are powered via their respective PoE adapters.
- The network connection should now be extended wirelessly between the two locations.

Figure 7: Point-to-point network extension diagram.
5.2 Extending IP Camera Surveillance Range
The CPE850 can also be used to extend the range of IP camera surveillance systems:
- Connect the Master CPE unit to your DVR/NVR or network switch that manages the surveillance system.
- Connect the Slave CPE unit to the IP camera(s) or a network switch connected to the cameras in the remote area.
- Ensure both CPE units are powered via their respective PoE adapters.
- This setup allows for wireless transmission of video data from remote cameras to your central monitoring system.

Figure 8: Point-to-point camera monitoring range extension.
5.3 Point-to-Multipoint Configuration
For connecting multiple remote locations to a single central point, configure one CPE850 as a Master and multiple CPE850 units as Slaves. Each Slave unit will connect to the Master, extending the network to various secondary buildings or surveillance points.

Figure 9: Point-to-multipoint camera monitoring range extension.
Vidjo 2: Fuqview of UeeVii Gigabit Outdoor Point to Point WiFi Bridge CPE850 applications, including network and surveillance extension.
6. Manutenzjoni
The UeeVii CPE850 is designed for outdoor use and is weatherproof. To ensure optimal performance and longevity:
- Spezzjoni regolari: Periodically check the physical condition of the units and cables for any signs of wear, damage, or loose connections.
- Linja tal-Vista ċara: Ensure that there are no new obstructions (e.g., growing trees, new buildings) blocking the line of sight between the units, as this can degrade signal quality.
- Tindif: Gently clean the exterior of the units with a soft, damp cloth if dirt or debris accumulates. Do not use harsh chemicals or abrasive materials.
- Aġġornamenti tal-Firmware: Iċċekkja l-manifattur website for any available firmware updates to ensure the device operates with the latest features and security enhancements.

Figure 10: Weatherproof design of the CPE850.
7 Issolvi l-problemi
- Ebda Qawwa:
- Kun żgur li l-adapter PoE huwa mdaħħal sew f'sokit tal-enerġija li jaħdem.
- Verify the network cable is correctly connected from the PoE adapter's PoE port to the CPE unit.
- Pairing Failure / No Signal:
- Confirm both units are powered on.
- Check that one unit is set to "A" (Master) and the other to "B" (Slave) using the A-B button.
- Verify that both units are set to the same channel.
- Ensure there is a clear line of sight between the units and they are within range.
- If issues persist, try resetting both units to factory defaults using the reset button and re-attempt pairing.
- Veloċità baxxa tan-Netwerk:
- Ensure network cables are connected to the 1000Mbps port on the CPE units for optimal speed.
- Check for obstructions in the line of sight between the units.
- Verify signal strength using the WLAN signal lights on the units. Adjust alignment if necessary.
- Imminimizza l-interferenza minn apparati oħra ta' 5.8GHz.
- Automatic Re-pairing after Power Restoration:
The CPE850 is designed to automatically re-establish its connection after a power outage, provided the previous pairing settings are intact.
8. Speċifikazzjonijiet
| Karatteristika | Dettall |
|---|---|
| Brand | UeeVii |
| Isem tal-Mudell | CPE850 |
| Karatteristika Speċjali | It-temp |
| Klassi ta' Banda ta' Frekwenza | Banda Unika (5.8GHz) |
| Komunikazzjoni mingħajr fili Standard | 802.11a, 802.11ac, 802.11n |
| Apparati Kompatibbli | Personal Computer, Router, Security Camera, Smartphone, Starlink |
| Użi Rakkomandati | Outdoor network extension |
| Teknoloġija tal-Konnettività | Ethernet, Wi-Fi |
| Kulur | Abjad |
| Post tal-antenna | Barra |
| Tip ta' Antenna | Fixed, 16dBi Directional |
| Sistema Operattiva | RouterOS |
| Protokoll ta 'Sigurtà | WPS, WPA2, WPA3 |
| Numru ta' Portijiet | 2 (RJ45) |
| Data Transfer Rate (between bridges) | Sa 1200 Mbps |
| Maximum Achievable Network Speed | 450 Mbps |
| Voltage | 24 Volts (PoE) |
| Kopertura | Up to 5 kilometers (barrier-free) |
| Ġenerazzjoni Wi-Fi | Wi-Fi 5 |
| Router Network Type | Pont |
9. Garanzija u Appoġġ
For warranty information, technical support, or further assistance with your UeeVii CPE850 Wireless Bridge, please refer to the official UeeVii webis-sit jew ikkuntattja lis-servizz tal-konsumatur tagħhom direttament. Żomm l-irċevuta tax-xiri tiegħek għal talbiet ta' garanzija.
UeeVii Official Store: Żur il-Ħanut