
1. Introduzzjoni
This manual provides detailed instructions for the installation, setup, and operation of your XFOX Tuya Zigbee Door and Window Sensor. This wireless mini contact sensor is designed to monitor the open/closed status of doors and windows. It requires a compatible Tuya Zigbee hub for functionality and integrates with the Tuya Smart Life ecosystem, as well as voice assistants like Alexa and Google Assistant.
Jekk jogħġbok aqra dan il-manwal bir-reqqa qabel ma tuża l-apparat biex tiżgura setup xieraq u prestazzjoni ottimali.
2. Prodott Aktarview
2.1 Kontenut tal-Pakkett
- XFOX Tuya Zigbee Door and Window Sensor (Main Unit)
- Komponent tal-kalamita
- Adhesive Pads / Mounting Screws (may vary by package)
- Manwal għall-Utent (dan id-dokument)
Nota: Huma meħtieġa 2 batteriji AAA u mhumiex inklużi fil-pakkett.
2.2 Karatteristiċi ewlenin
- Wireless Intelligent Connection: Utilizes Tuya Zigbee 3.0 technology for easy integration with a Tuya smart home system (requires Tuya Zigbee gateway).
- Real-time Alarm Push: Monitors door/window status and sends instant notifications to your mobile application upon detecting abnormal movement.
- Kompatibilità tal-Kontroll tal-Vuċi: Supports status queries via Alexa and Google Assistant, enabling automated security scenes with other smart devices.
- Manutenzjoni Baxxa: Designed for low power consumption, offering extended battery life with 2x AAA batteries.
- Invisible and Slim Design: Compact form factor with dual mounting options (3M adhesive sticker/screws) for discreet placement.

Figure 1: XFOX Tuya Zigbee Door and Window Sensors with App Interface
3. Setup
3.1 Installazzjoni tal-batterija
- Locate the main unit of the sensor.
- Gently slide the back cover of the main unit downwards to open the battery compartment.
- Daħħal żewġ (2) batteriji AAA, waqt li tiżgura l-polarità korretta (+/-).
- Slide the back cover upwards until it clicks into place, securing the battery compartment.
Importanti: Ensure batteries are inserted correctly. Incorrect insertion may damage the device.
3.2 Pairing with Tuya Zigbee Hub
This sensor requires a Tuya Zigbee hub (sold separately) to function. Ensure your hub is powered on and connected to your network.
- Niżżel il- Tuya Ħajja Intelliġenti applikazzjoni mill-ħanut tal-apps tal-ismartphone tiegħek (iOS jew Android).
- Register or log in to your Tuya Smart Life account.
- Add your Tuya Zigbee hub to the app if you haven't already.
- In the Tuya Smart Life app, navigate to your Zigbee hub and select "Add sub-device" or "Add device".
- Follow the on-screen instructions in the app to put the hub into pairing mode.
- On the sensor, press and hold the reset button (usually a small pinhole button) for approximately 5 seconds until the indicator light flashes rapidly, indicating it is in pairing mode.
- The app should detect the sensor. Once detected, confirm the addition and assign it a name and location.
Nota: For optimal pairing, ensure the sensor is within close proximity (approximately 3-5 feet) of the Zigbee hub during the pairing process. Once paired, the sensor can operate at a greater distance within the Zigbee network range.

Figure 2: Tuya Zigbee Hub Requirement for Sensor Operation
4. Installazzjoni
The sensor consists of two parts: a main unit and a magnet component. These two parts must be installed on a door or window and its frame, ensuring they are aligned and within the specified gap when the door/window is closed.
4.1 Post tal-Immuntar
- Choose a clean, dry, and flat surface on your door/window frame and the corresponding moving part (door/window).
- The main unit should be installed on the fixed frame, and the magnet component on the moving part.
- Ensure the alignment marks on both parts face each other when the door/window is closed.
4.2 Metodi ta' Immuntar
The sensor supports two mounting methods: adhesive pads or screws.
- Immuntar adeżiv:
- Naddaf il-wiċċ tal-installazzjoni sewwa.
- Peel off the protective film from the adhesive pads and firmly attach one pad to the back of the main unit and the other to the back of the magnet component.
- Press the sensor parts onto the desired locations for at least 30 seconds.
- Immuntar bil-kamin:
- Open the back covers of both the main unit and the magnet component.
- Use the provided screws to secure the back covers to the door/window frame and the moving part.
- Snap the main unit and magnet component onto their respective secured back covers.
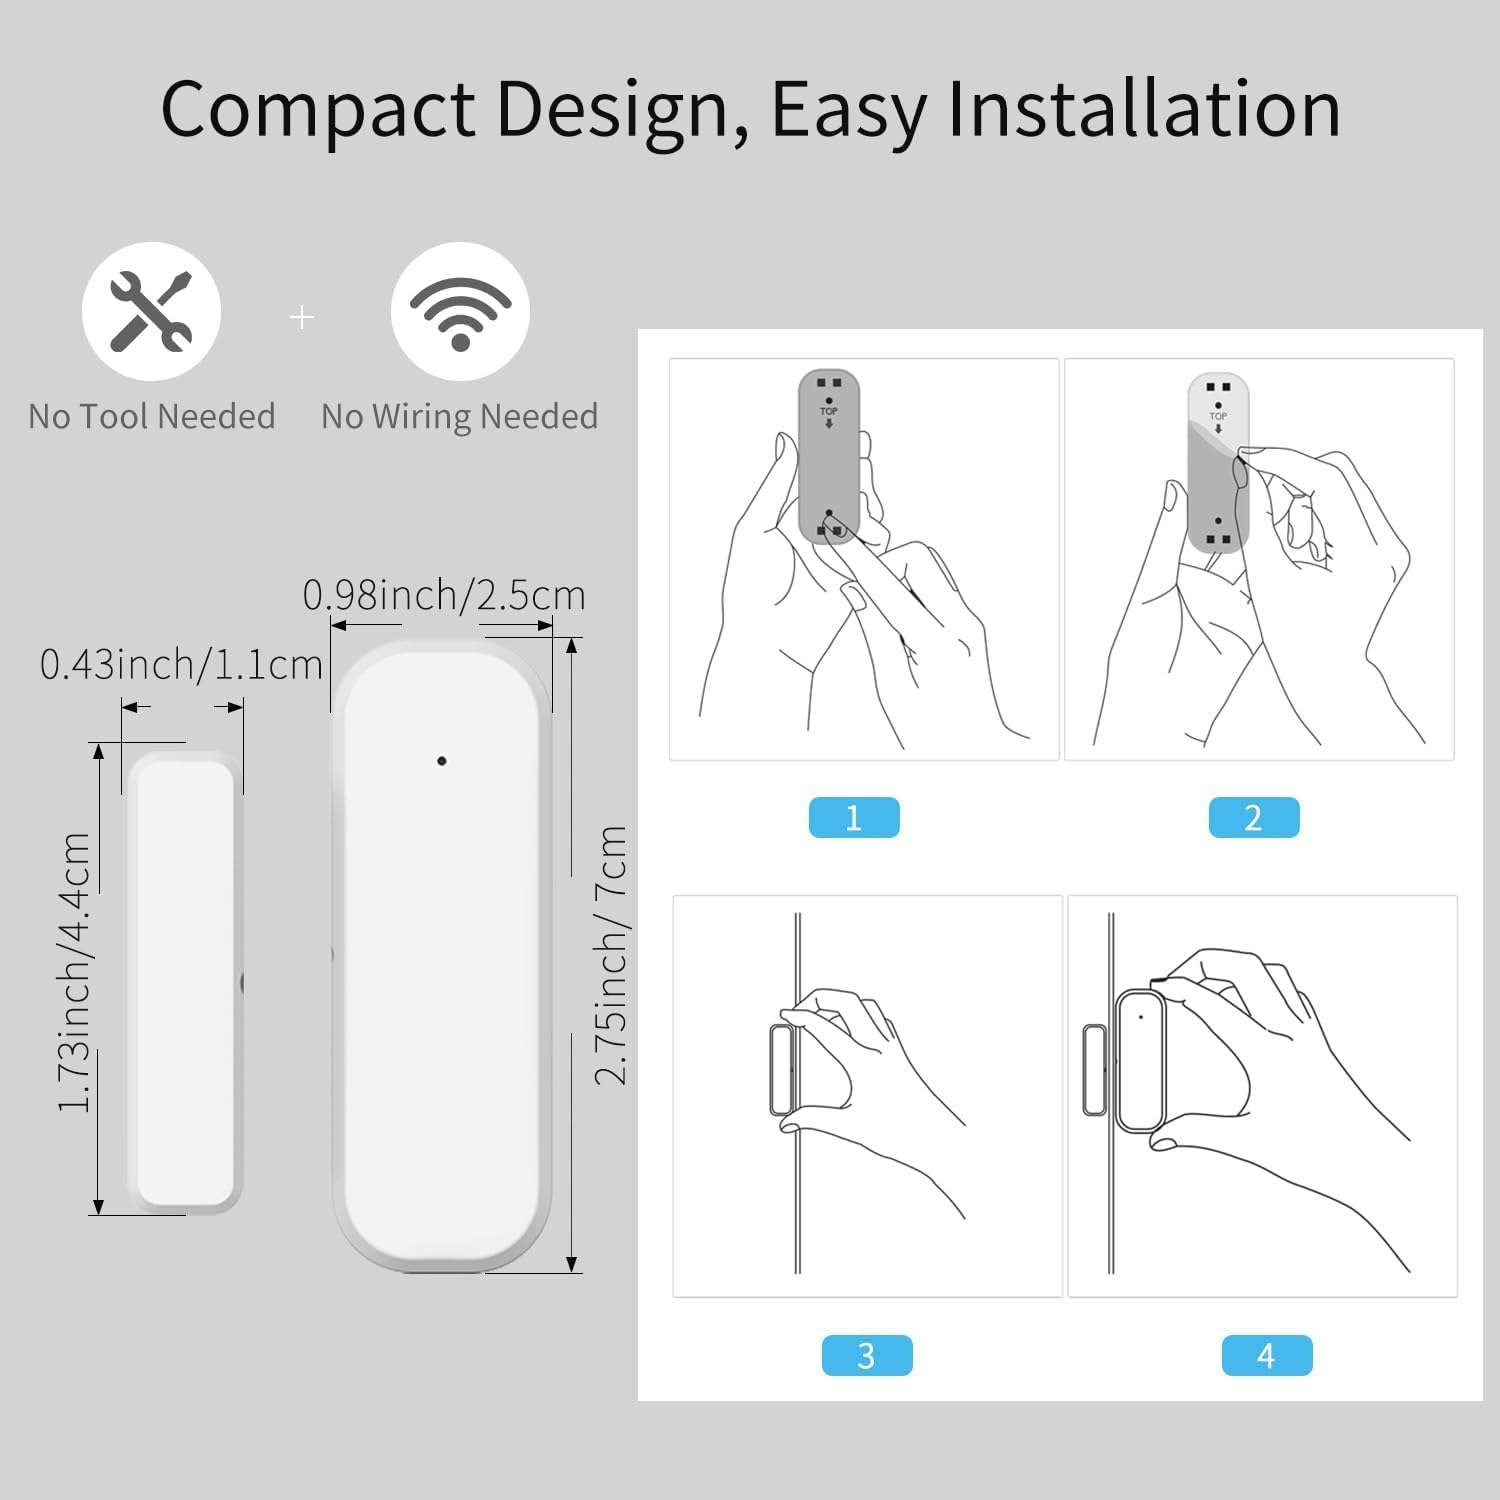
Figure 3: Sensor Dimensions and Installation Steps
4.3 Gap Requirement
For accurate detection, the gap between the main unit and the magnet component must be no more than 0.86 inches (approximately 2.2 cm) when the door or window is closed.
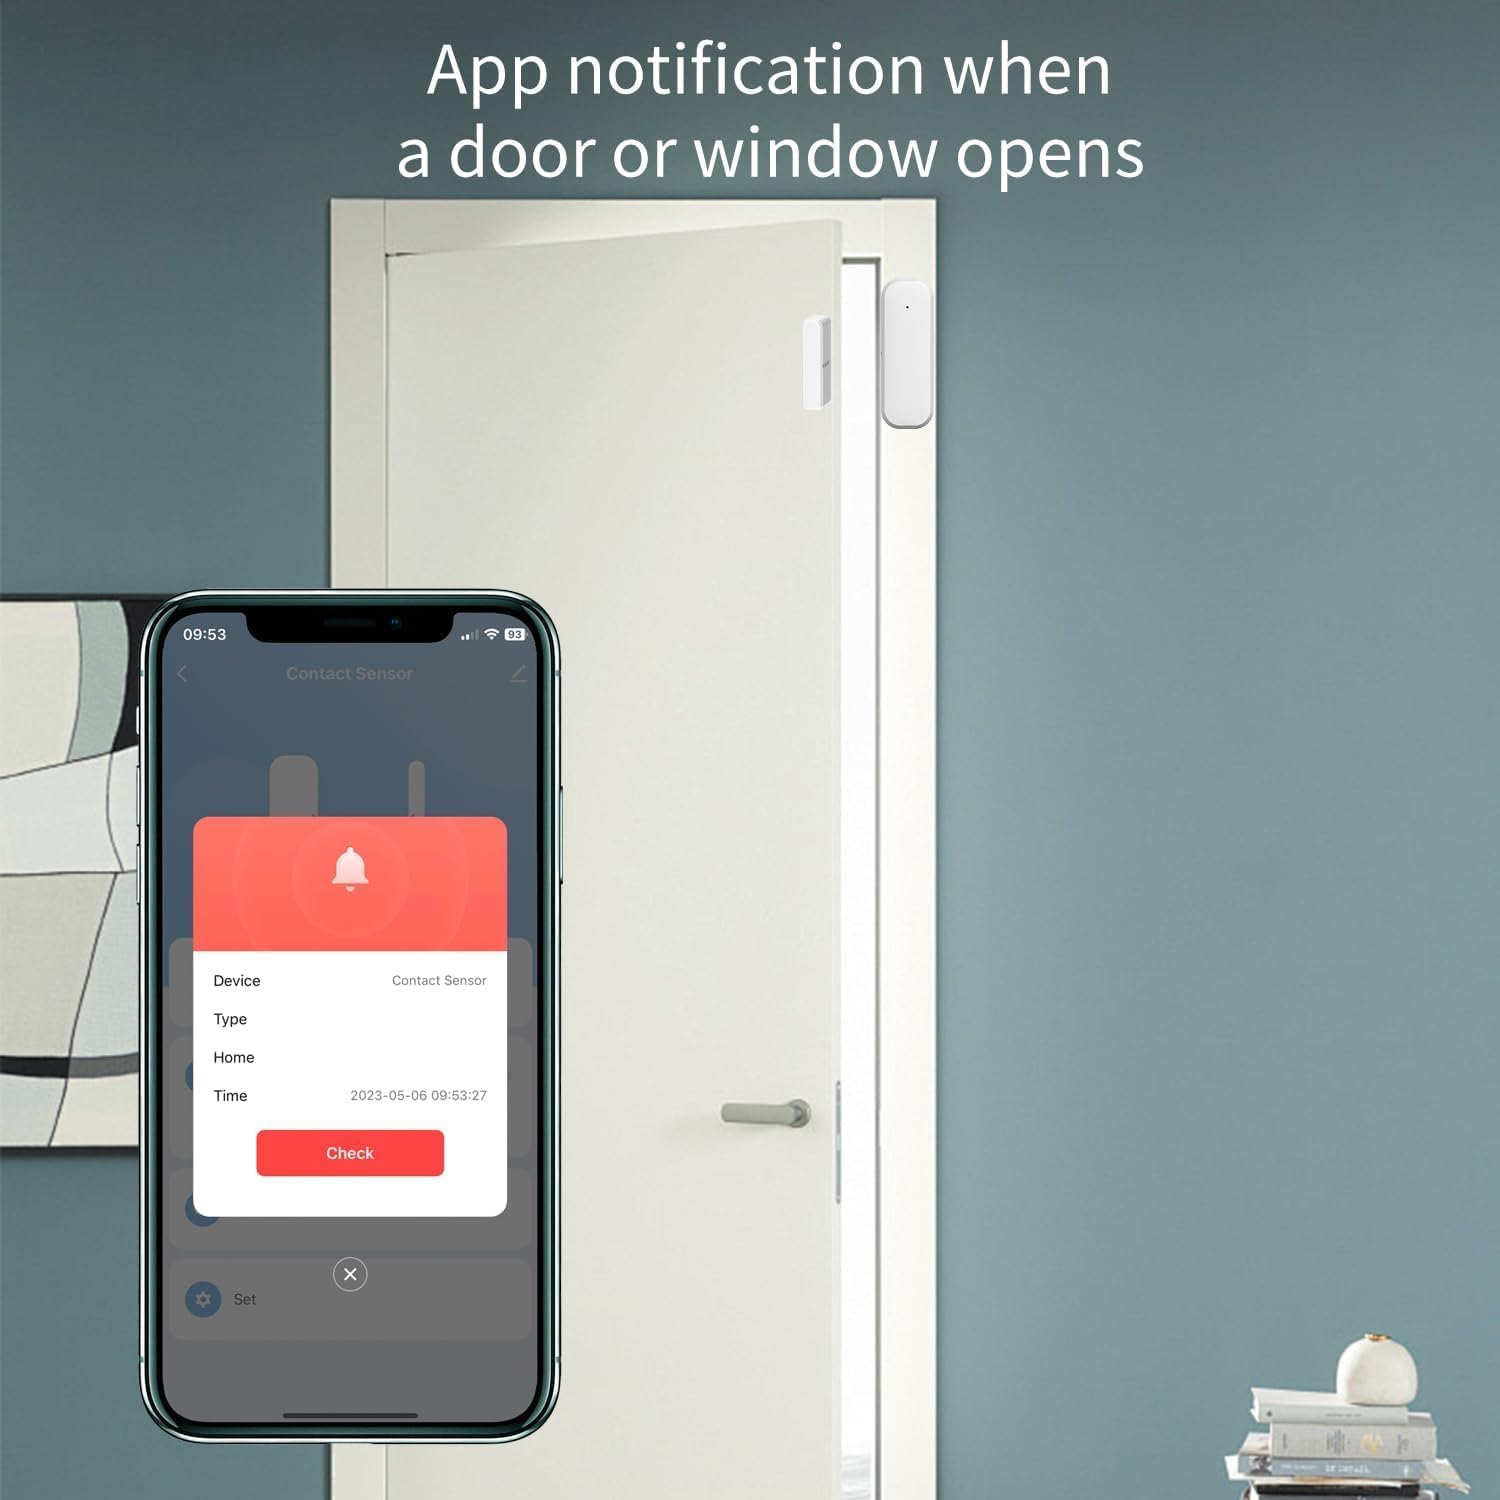
Figure 4: Maximum Allowed Gap for Sensor Operation
5. Istruzzjonijiet Operattivi
5.1 Monitoring with Tuya Smart Life App
Once the sensor is successfully paired and installed, you can monitor its status through the Tuya Smart Life application:
- Iftaħ l-app Tuya Smart Life fuq l-ismartphone tiegħek.
- Navigate to the specific sensor device.
- The app will display the current status (open or closed) of the door or window.
- You will receive real-time push notifications on your phone if the door or window opens unexpectedly, based on your configured settings.
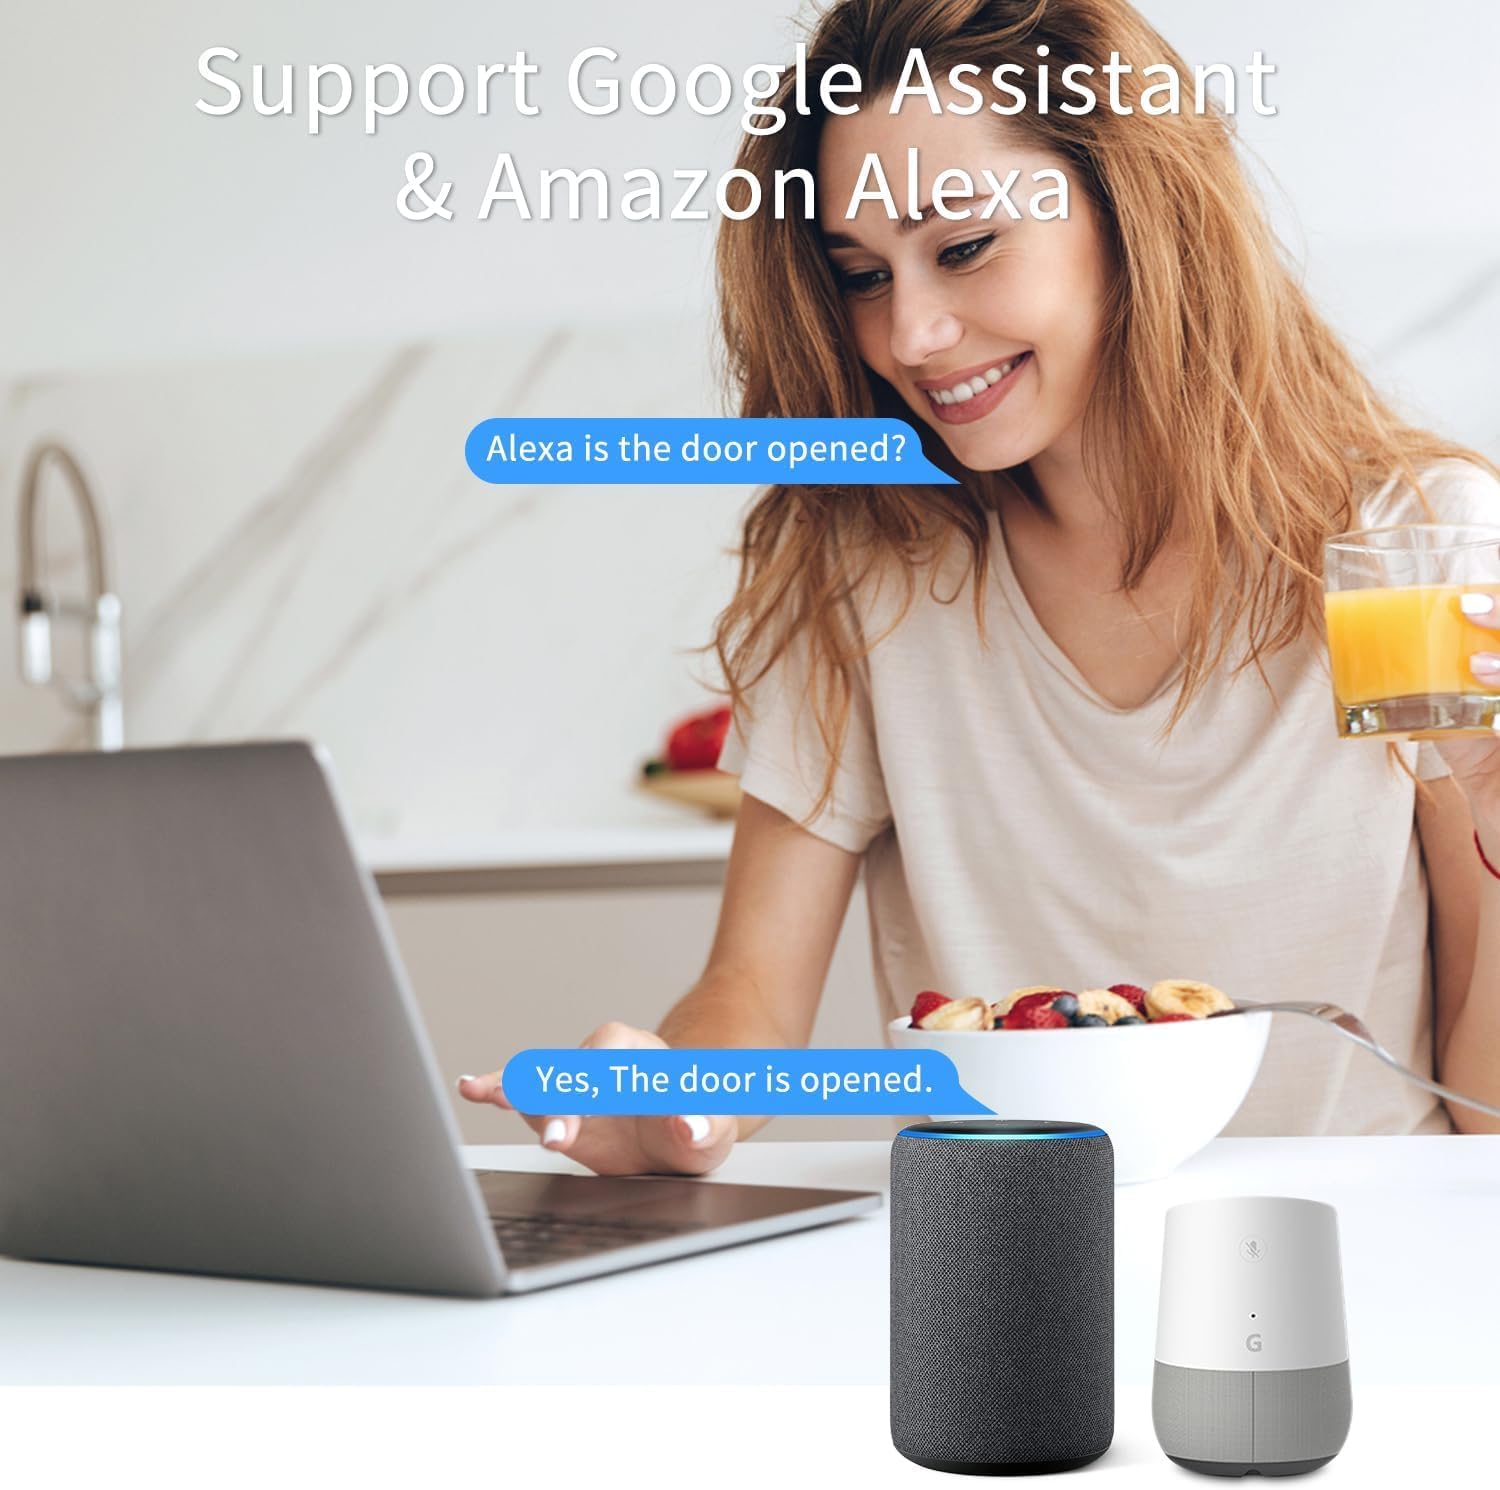
Figure 5: App Notification for Door/Window Opening
5.2 Voice Control with Alexa and Google Assistant
The XFOX Tuya Zigbee Door and Window Sensor is compatible with Amazon Alexa and Google Assistant. To enable voice control:
- Ensure your Tuya Smart Life account is linked to your Alexa or Google Home account through their respective applications.
- Once linked, you can use voice commands to check the status of your sensor.
Example Kmandi:
- "Alexa, il-bieb ta' quddiem miftuħ?"
- "Hey Google, what's the status of the living room window?"

Figure 6: Voice Control Integration with Alexa and Google Assistant
6. Manutenzjoni
6.1 Sostituzzjoni tal-batterija
The sensor is designed for low power consumption, providing extended battery life. When the battery level is low, you may receive a notification through the Tuya Smart Life app. Replace the batteries as follows:
- Gently slide the back cover of the main unit downwards to open the battery compartment.
- Neħħi l-batteriji AAA qodma.
- Daħħal żewġ batteriji AAA ġodda, waqt li tiżgura l-polarità korretta (+/-).
- Slide the back cover upwards until it clicks into place.
Armi batteriji użati skont ir-regolamenti lokali.
7 Issolvi l-problemi
- Is-senser mhux qed jingħaqad mal-hub:
- Ensure the sensor is within 3-5 feet of the Tuya Zigbee hub during the pairing process.
- Verify that the hub is powered on and connected to your network.
- Check if the sensor's indicator light is flashing rapidly, indicating pairing mode. If not, re-initiate pairing mode.
- Confirm that you are using a compatible Tuya Zigbee hub.
- Sensor not detecting open/closed status reliably:
- Check the gap between the main unit and the magnet component. It must be no more than 0.86 inches when closed.
- Ensure both parts are securely mounted and aligned correctly.
- Ibdel il-batteriji jekk ikunu baxxi.
- Verify the sensor's connection to the Zigbee hub in the Tuya Smart Life app.
- No notifications received:
- Check your smartphone's notification settings for the Tuya Smart Life app.
- Ensure the sensor is online and communicating with the hub.
- Verify that notification rules are correctly set up within the Tuya Smart Life app.
8. Speċifikazzjonijiet
| Numru tal-Mudell | F-SD01Z |
| Brand | XFOX |
| Konnettività | Tuya Zigbee 3.0 |
| Sors tal-Enerġija | 2x Batteriji AAA (mhux inklużi) |
| Voltage | 3 Volts |
| Metodu ta' Kontroll | App, Remote, Voice |
| Tip ta 'Immuntar | Bieb Mount |
| Teknoloġija tas-Sensers | Kuntatt |
| Dimensjonijiet tal-Prodott | 0.96 x 0.73 x 2.76 pulzieri (Unità Prinċipali) |
| Piż tal-oġġett | 2.39 uqija |
| Apparati Kompatibbli | Tuya Smart Life, Amazon Alexa, Google Assistant |
| UPC | 704256108403 |
9. Garanzija u Appoġġ
Information regarding product warranty is not provided in this manual. For warranty details or technical support, please contact the manufacturer, XFOX, or your point of purchase. Please have your model number (F-SD01Z) and purchase information ready when contacting support.