1. Introduzzjoni
This manual provides essential information for the safe and efficient installation, operation, and maintenance of your SWIMLINE HYDROTOOLS Sure-Flo 120 Sq Ft Inground Pool Cartridge Filter Tank. Please read all instructions carefully before beginning installation or operation.
The Hydrotools Sure-Flo cartridge filter system is designed to provide clear and clean water for your inground pool. It features a 120 square foot filter element with silver treatment for enhanced impurity removal and is constructed from durable, weather-resistant materials.
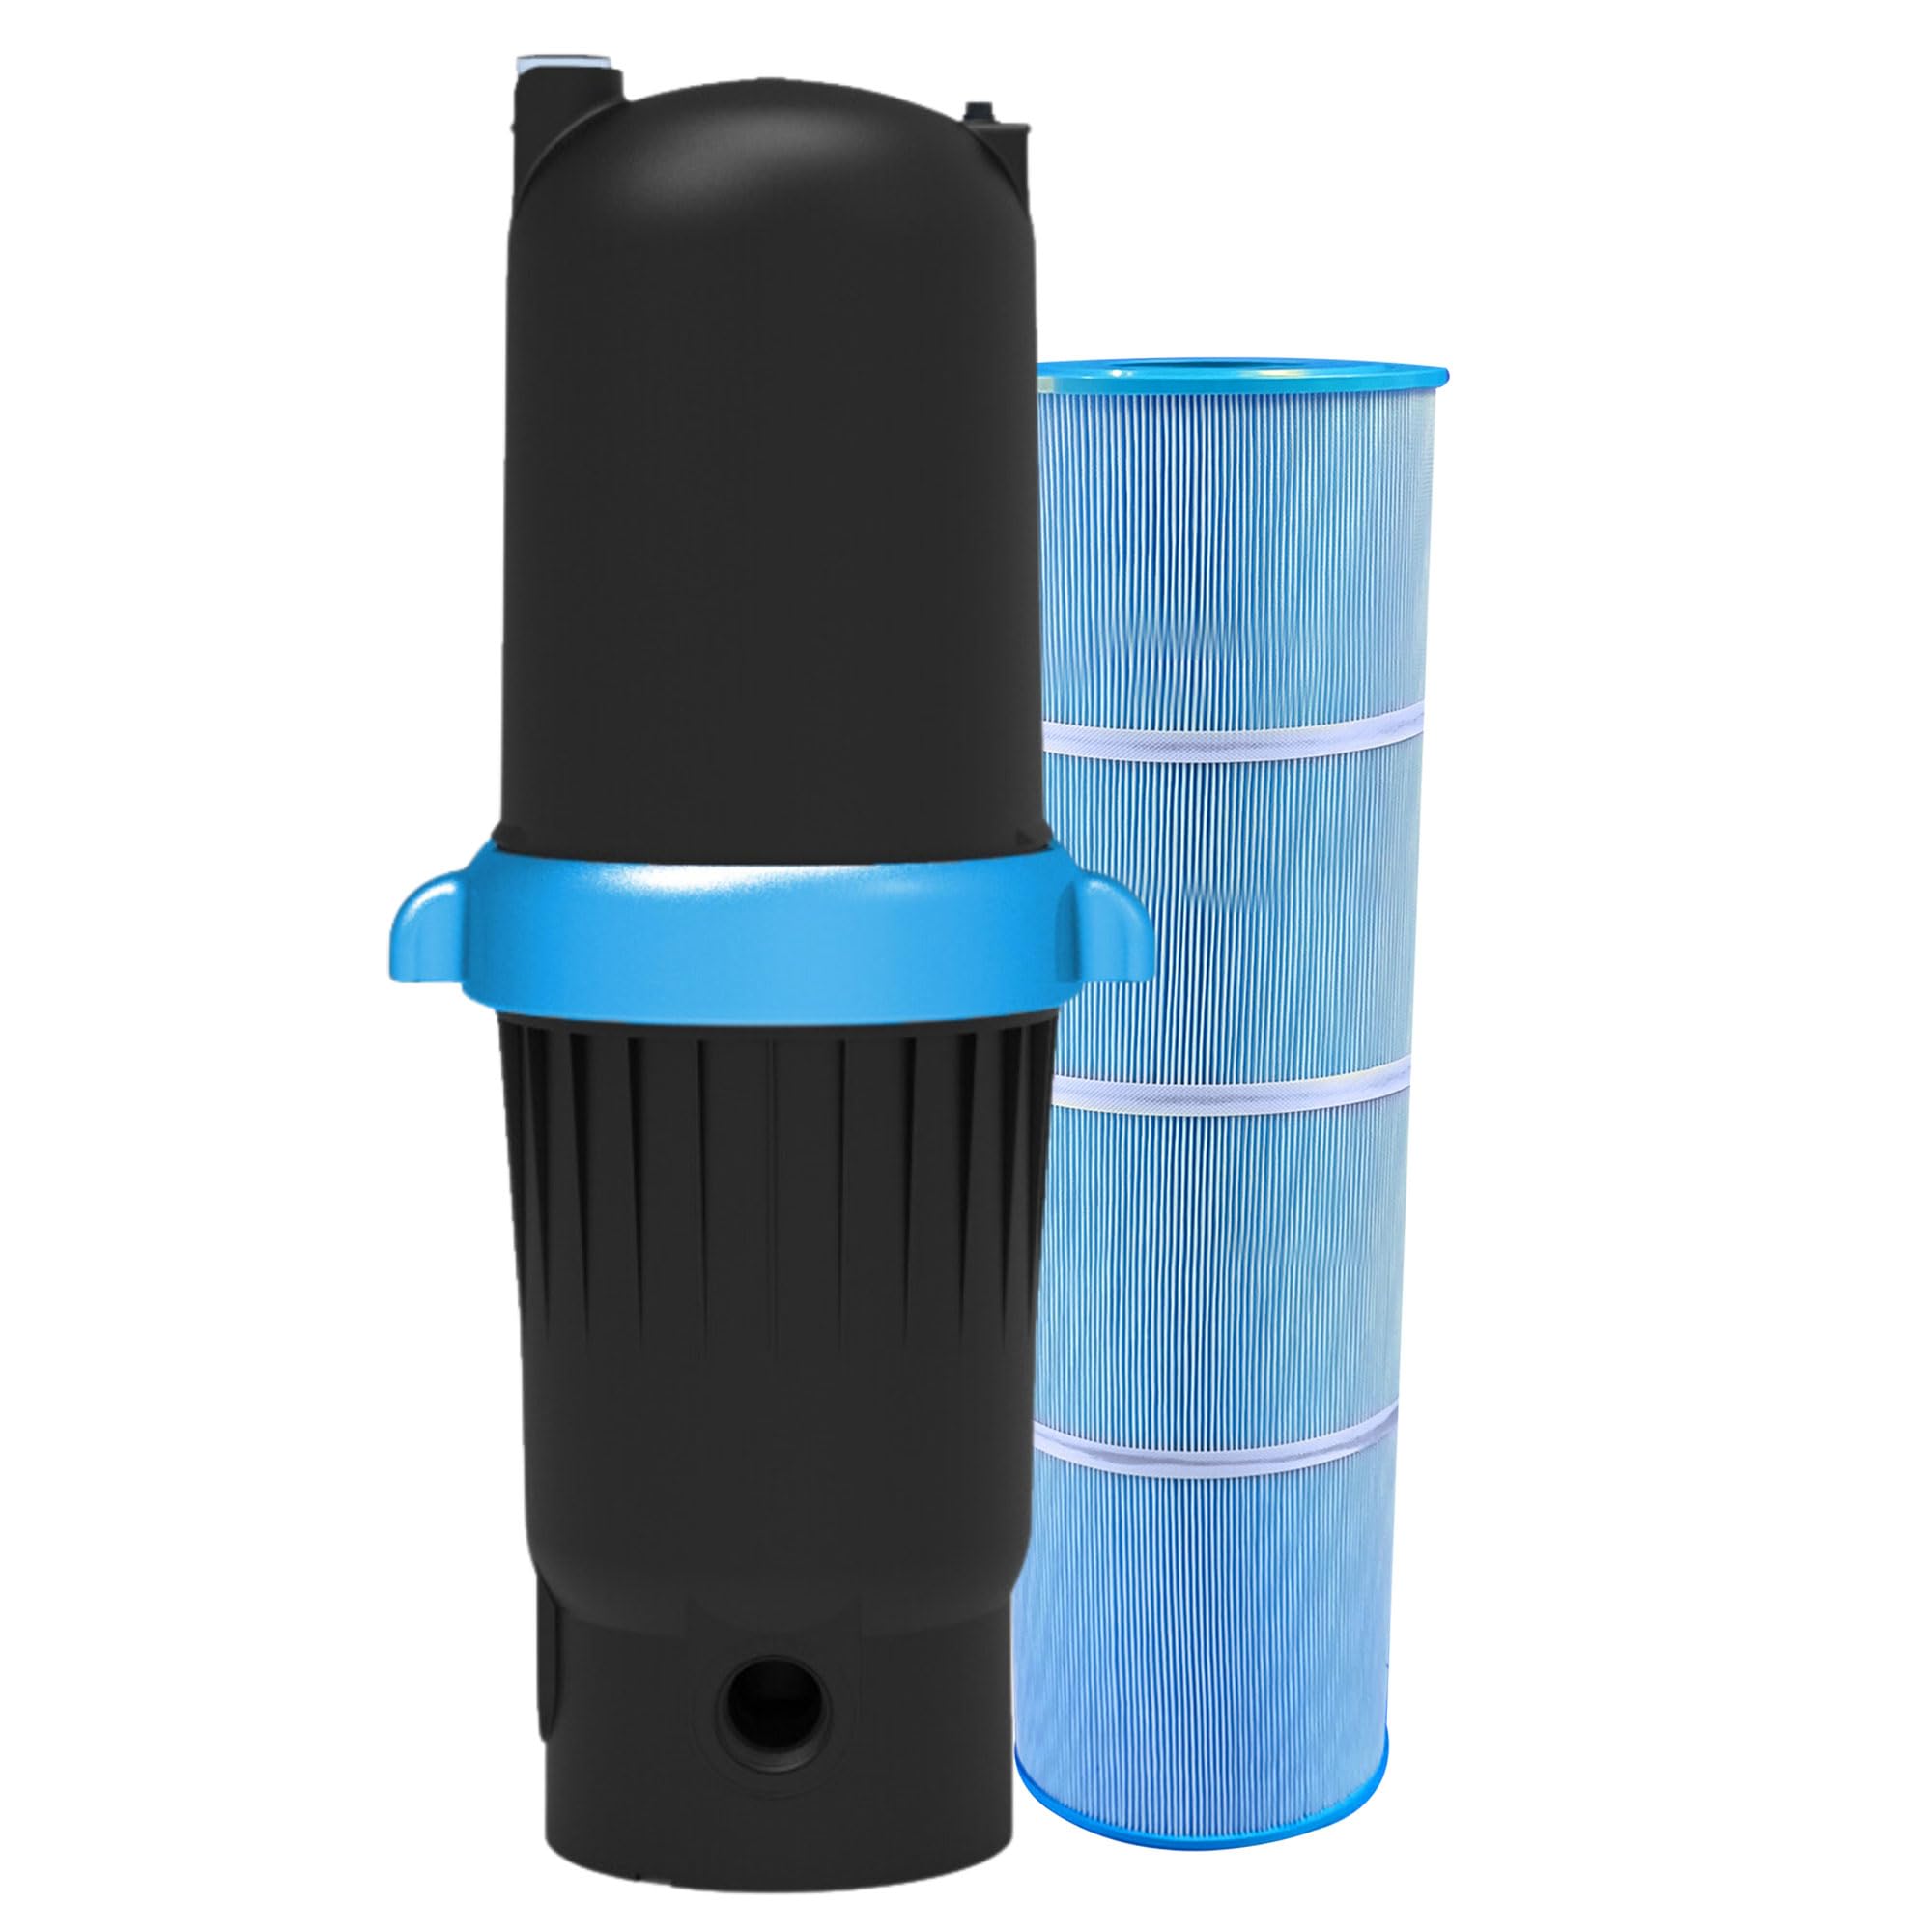
Image: The SWIMLINE HYDROTOOLS Sure-Flo 120 Sq Ft Inground Pool Cartridge Filter Tank.
2. Informazzjoni dwar is-Sigurtà
Always observe basic safety precautions when installing and operating this product to reduce the risk of injury, fire, or electric shock.
- Aqra l-istruzzjonijiet kollha: Familiarize yourself with the entire manual before installation or use.
- Sigurtà Elettrika: Kun żgur li l-konnessjonijiet elettriċi kollha jsiru minn elettriċista kwalifikat u jikkonformaw mal-kodiċijiet lokali. Skonnettja l-provvista tal-enerġija qabel ma tagħmel manutenzjoni.
- Sigurtà tal-Pressjoni: Do not operate the filter above the maximum recommended pressure (50 PSI / 3.5 BAR). Always relieve pressure before opening the filter tank.
- Immaniġġjar Kimiku: Use caution when handling pool chemicals. Follow manufacturer's instructions for safe use and storage.
- Tfal: Keep children away from pool equipment during operation and maintenance.
- Installazzjoni xierqa: Install the filter on a level, solid surface capable of supporting its weight when filled with water.
3. Setup u Installazzjoni
The SWIMLINE HYDROTOOLS Sure-Flo filter tank is designed for inground pool applications. Proper installation is crucial for optimal performance and safety.
3.1 Komponenti Inklużi
- 120 Sq Ft Inground Pool Cartridge Filter Tank
- Anti-Microbial Filter Element (120 Sq Ft)
- Gauge tal-Pressjoni
- Locking Ring System
- Valv ta 'Ħelsien ta' l-Arja
- 2-inch Port In/Outlet Connectors

Image: Key components of the filter system, including the 2-inch ports, pressure gauge, locking ring, and filter element.
3.2 Passi ta' Installazzjoni
- Pożizzjonament: Place the filter tank on a firm, level surface, preferably concrete, near your pool pump. Ensure adequate space for maintenance.
- Qabbad Plumbing: Connect the pool plumbing to the filter's inlet and outlet ports. The lower fitting is the output. Use appropriate PVC adapters and ensure all connections are watertight. Apply plumber's tape to threaded connections for a secure seal.
- Installa Gauge tal-Pressjoni: Carefully screw the pressure gauge into the designated port on the filter tank. Do not overtighten.
- Install Air Relief Valve: Screw the air relief valve into its port. Tighten only by hand to prevent damage.
- Insert Filter Element: Ensure the filter element is properly seated inside the tank.
- Secure Locking Ring: Place the top of the filter tank and secure it with the locking ring system. Ensure the O-ring is clean and properly lubricated with a silicone-based lubricant to prevent leaks. Tighten the locking ring firmly.
- Iċċekkja t-Tnixxija: After installation, turn on the pump and check all connections for leaks. Address any leaks immediately.

Image: A blue filter element being lowered into the black filter tank.

Image: Detail of the locking ring system on the filter tank.
4. Istruzzjonijiet Operattivi
Once installed, operating your Sure-Flo cartridge filter is straightforward.
- Ipprajmjar il-Pompa: Ensure your pool pump is properly primed according to its manufacturer's instructions before starting.
- Bidu tas-Sistema: Open all necessary valves to allow water flow to and from the filter. Turn on your pool pump.
- Air Bleed: As the filter fills with water, open the air relief valve to allow trapped air to escape. Close the valve once a steady stream of water emerges.
- Pressjoni tal-monitor: Note the initial pressure reading on the pressure gauge. This is your clean filter operating pressure. As the filter collects debris, the pressure will gradually rise.
- Run Time: Operate your filter for a sufficient period each day to ensure proper water circulation and filtration. Consult your pool professional for recommended daily run times based on your pool size and usage.

Image: A pressure gauge indicating the system pressure.
5. Manutenzjoni
Regular maintenance of your cartridge filter is essential for clear water and extended product life.
5.1 Cartridge Cleaning
The filter element should be cleaned when the pressure gauge reading is 8-10 PSI above the clean filter operating pressure, or when water flow to the pool noticeably decreases.
- Itfi l-Pompa: Always turn off the pool pump and close all valves to isolate the filter before performing any maintenance.
- Ittaffi l-Pressjoni: Open the air relief valve to release any trapped air and pressure from the system.
- Ixxotta l-Ilma: If necessary, open the drain plug at the bottom of the tank to drain water.
- Remove Locking Ring: Loosen and remove the locking ring. Carefully lift the top of the filter tank.
- Neħħi l-Kartriġ: Carefully lift the filter cartridge out of the tank.
- Skartoċċ Nadif: Use a garden hose with a strong spray nozzle to thoroughly rinse debris from between the pleats of the cartridge. For stubborn dirt or oils, use a specialized cartridge filter cleaning solution.
- Inspect Cartridge: Check the cartridge for any tears, damage, or excessive wear. Replace if necessary.
- Erġa' arma: Place the clean cartridge back into the tank, ensuring it is properly seated. Replace the tank top and secure the locking ring. Ensure the O-ring is clean and lubricated.
- Erġa' ibda s-Sistema: Follow the operating instructions to restart your filter system.

Image: Illustration of the filtration process, highlighting the silver-treated element and easy cleaning.
5.2 O-Ring Maintenance
Periodically inspect the large O-ring on the filter tank for cracks or wear. Clean it and apply a silicone-based lubricant to ensure a proper seal and prevent leaks. Replace the O-ring if it shows signs of damage.
6 Issolvi l-problemi
This section addresses common issues you might encounter with your filter system.
| Problema | Kawża Possibbli | Soluzzjoni |
|---|---|---|
| Low Water Flow / High Pressure | Kartriġ tal-filtru mblukkat | Naddaf jew ibdel l-iskartoċċ tal-filtru. |
| Fluss Baxx ta' Ilma / Pressjoni Baxxa | Pump not primed, air leak in suction line, clogged skimmer/pump basket | Prime pump, check for air leaks, clean skimmer/pump baskets. |
| Water Leaking from Tank | Damaged or improperly seated O-ring, loose locking ring, cracked tank | Inspect, clean, and lubricate O-ring; tighten locking ring; inspect tank for damage. |
| Ilma tal-Pixxina Mdardar | Dirty filter, improper chemical balance, insufficient run time | Clean filter, test and adjust pool chemicals, increase filter run time. |
| Air Relief Valve Leaking/Broken | Overtightening, material fatigue | Replace valve. Avoid overtightening during installation. |
7. Speċifikazzjonijiet
Detailed specifications for the SWIMLINE HYDROTOOLS Sure-Flo 120 Sq Ft Inground Pool Cartridge Filter Tank.
| Karatteristika | Speċifikazzjoni |
|---|---|
| Brand | Linja tal-għawm |
| Numru tal-Mudell | 76122 |
| Żona tal-Filtru | 120 Sq Ft |
| Maximum GPM (GPH) | 120 GPM / 7200 GPH |
| Max. Recommended Pool Size | Sa 57,600 Galun |
| Pressjoni massima | 50 PSI / 3.5 BAR |
| Inlet / Outlet Port Compatibility | 2 Pulzier |
| Element Dimensions (Height x Diameter) | Inside: 28.19" x 3.98", Outside: 28.19" x 8.94" |
| Recommended Pump | 1 HP |
| Materjal | Plastic (Double Reinforced Glass Co-Polymer) |
| Kulur | Iswed / Blu |
| UPC | 723815964038 |

Image: Visual representation of the filter tank with key dimensions and specifications.
8. Garanzija u Appoġġ
8.1 Garanzija tal-Manifattur
SWIMLINE HYDROTOOLS provides a Garanzija ta' 1 snin against manufacturing defects for this product. Please retain your proof of purchase for warranty claims.
8.2 Appoġġ għall-Klijent
For technical assistance, troubleshooting, or warranty inquiries, please contact Swimline customer service. Our team is based in New York, USA, and is available to assist you.
Żur l-uffiċjal Swimline Store għal aktar informazzjoni u dettalji ta' kuntatt.