1. Introduzzjoni
This manual provides comprehensive instructions for the assembly, installation, and operation of your Mount-It! Anti-Theft Tablet Floor Stand. This stand is designed to securely display tablets in commercial environments such as retail stores, trade shows, hotels, and educational institutions. It features a universal enclosure, anti-theft locking mechanisms, and adjustable viewangoli.

Stampa 1.1: Quddiem view of the Mount-It! Anti-Theft Tablet Floor Stand.

Image 1.2: The tablet floor stand positioned in a commercial reception area, demonstrating its application.
2. Informazzjoni Importanti dwar is-Sigurtà
Jekk jogħġbok aqra l-istruzzjonijiet kollha bir-reqqa qabel l-assemblaġġ u l-użu. Jekk ma ssegwix dawn l-istruzzjonijiet, dan jista' jirriżulta fi ħsara lill-proprjetà jew korriment personali.
- Kun żgur li l-komponenti kollha huma preżenti u mhux imħassra qabel tibda l-assemblaġġ.
- Do not exceed the maximum weight capacity of 2.2 lbs (1 kg) for the tablet enclosure.
- Assemble the stand on a flat, stable surface.
- Żomm lit-tfal u l-annimali domestiċi 'l bogħod waqt l-assemblaġġ.
- Use only the provided hardware. Do not substitute parts.
- Iċċekkja perjodikament il-viti u l-konnessjonijiet kollha biex tiżgura li jibqgħu ssikkati u siguri.
3. Kontenut tal-Pakkett
Verify that all parts listed below are included in your package. If any parts are missing or damaged, please contact Mount-It! customer support.
- Lockable Tablet Stand (main assembly)
- Assembly Hardware Kit (screws, washers, etc.)
- Keys for Tablet Enclosure Lock
- Keys for Lower Cabinet Lock
- Tablet Spacers/Pads for universal fit
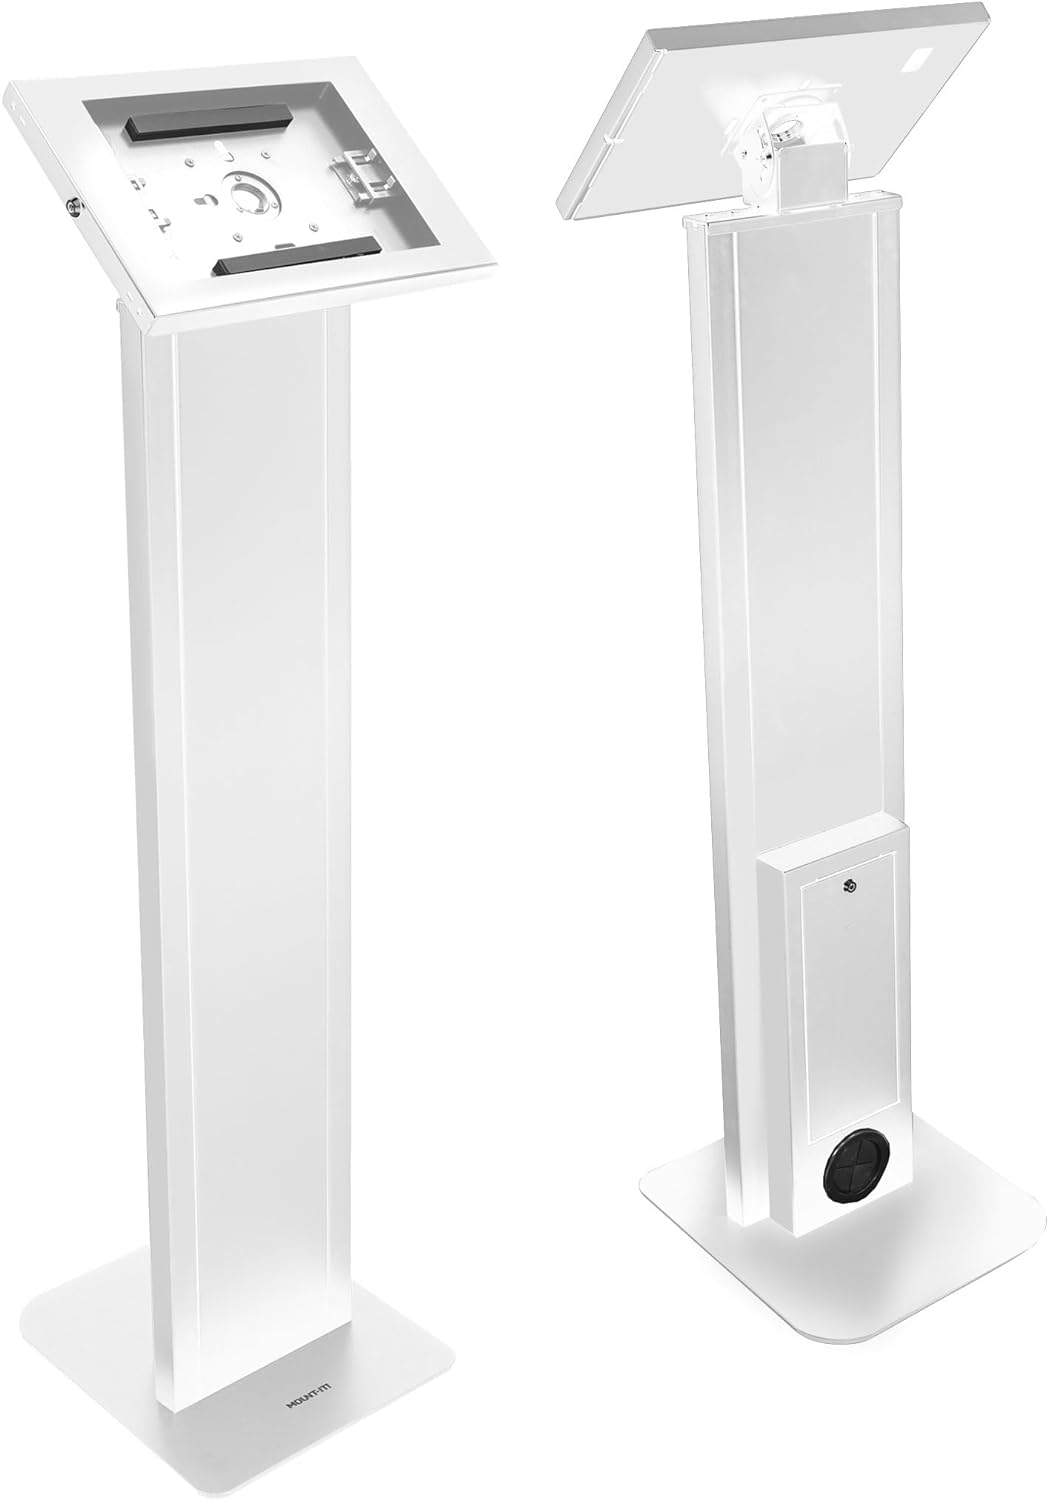
Immaġni 3.1: Quddiem u wara views of the assembled stand, showing the tablet enclosure and the lower cabinet.
4. Setup and Tablet Installation
4.1 Armar tal-Istand
The Mount-It! Tablet Floor Stand typically arrives partially assembled. Follow these steps to complete the assembly:
- Waħħal il-Bażi: Secure the main column to the freestanding base using the provided screws and tools. Ensure the base is oriented correctly for stability.
- Attach the Tablet Enclosure: Connect the tablet enclosure to the top of the main column. Ensure all connections are firm.
- Secure the Locks: Confirm that the locking mechanisms for both the tablet enclosure and the lower cabinet are functioning correctly with the provided keys.
4.2 L-Installazzjoni tat-Tablet Tiegħek
The universal enclosure is compatible with various iPad models, including iPad Pro (10.5", 11"), iPad Air (10.5", 10.9"), iPad 10 (10.9"), iPad 9 (10.2"), iPad 8 (10.2"), and iPad 7 (10.2").
- Unlock the Enclosure: Use the key to unlock and open the tablet enclosure.
- Adjust Sliders: The enclosure features adjustable sliders. Position these sliders to securely hold your specific iPad model. Refer to Image 4.1 for guidance.

Image 4.1: Illustration of the adjustable sliders within the tablet enclosure, designed to accommodate various iPad sizes.
- Daħħal il-pillola: Carefully place your iPad into the enclosure, ensuring it is centered and held firmly by the sliders.
- Agħlaq u Illokkja: Close the enclosure and use the key to lock it securely.
4.3 Ġestjoni tal-Cable
The stand includes internal cable routing to keep power cords organized and out of sight.
- Route the tablet's charging cable through the designated opening in the enclosure and down through the stand's column.
- The cable can exit through the opening at the base of the stand, or be connected to a power strip stored in the lockable lower cabinet.

Image 4.2: Visual guide for routing the power cable through the stand's column for a tidy setup.
5. Istruzzjonijiet Operattivi
5.1 Anti-Theft Security
The tablet enclosure is equipped with a key lock to prevent unauthorized removal of the tablet.
- To lock, close the enclosure and insert the key into the lock cylinder. Turn the key clockwise to secure.
- To unlock, insert the key and turn counter-clockwise.

Image 5.1: Detail of the key-operated security lock on the tablet enclosure, designed to protect the device from theft.
5.2 Aġġustabbli Viewing Angoli
The tablet enclosure offers both tilt and rotation adjustments for optimal viewing.
- Aġġustament tal-inklinazzjoni: The enclosure can be tilted from 0° to 75° to achieve the desired viewing angle. Loosen the adjustment knob, set the angle, and re-tighten.
- Rotazzjoni: The enclosure can rotate 90° between portrait and landscape orientations. Gently rotate the enclosure to switch between modes.

Image 5.2: Illustration demonstrating the 0° to 75° tilt range and 90° rotation capability of the tablet enclosure.
5.3 Lockable Lower Cabinet
A lockable cabinet is integrated into the stand's column, providing secure storage for power adapters, cables, or other small accessories.
- Use the separate key to open and close the lower cabinet door.
- Ensure the cabinet is locked when not in use to maintain security.

Image 5.3: The lower cabinet shown open, revealing space for a power strip or other small items. Note: Power cord and source are not included.
6. Manutenzjoni
To ensure the longevity and proper function of your tablet floor stand, follow these simple maintenance guidelines:
- Tindif: Imsaħ l-istand b'ċarruta ratba, damp drapp. Evita prodotti tat-tindif jew solventi li joborxu li jistgħu jagħmlu ħsara lill-finitura.
- Spezzjoni: Periodically check all screws, bolts, and connections to ensure they are tight. Re-tighten if necessary.
- Mekkaniżmu tas-Sokkjar: Keep the lock mechanisms clean and free of debris. Do not force keys if they feel stiff.
7 Issolvi l-problemi
Irreferi għal din it-taqsima għal soluzzjonijiet għal kwistjonijiet komuni li tista' tiltaqa' magħhom.
| Problema | Kawża Possibbli | Soluzzjoni |
|---|---|---|
| Tablet does not fit securely in the enclosure. | Sliders are not adjusted correctly for the tablet size. | Unlock the enclosure, adjust the internal sliders to firmly grip your tablet, then re-lock. Ensure your tablet model is compatible. |
| Enclosure lock is stiff or not working. | Debris in the lock cylinder; key is bent or damaged. | Ensure the key is fully inserted and not bent. Clean the lock cylinder if visible debris is present. Do not force the key. Contact support if the issue persists. |
| L-istand iħossu instabbli. | Base screws are loose; stand is on an uneven surface. | Check and tighten all assembly screws, especially those connecting the column to the base. Move the stand to a flat, level surface. |
8. Speċifikazzjonijiet
Technical details for the Mount-It! Anti-Theft Tablet Floor Stand MI-3880B_G10:
- Numru tal-Mudell: MI-3880B_G10
- Dimensjonijiet tal-Prodott: 41.75 x 12.75 x 5.25 pulzieri (106 x 32.4 x 13.3 ċm)
- Piż tal-oġġett: 33.6 liri (15.2 kg)
- Kulur: Abjad
- Materjal: Azzar b'saħħa għolja
- Apparati Kompatibbli: Tablets (specifically iPad Pro 10.5", 11"; iPad Air 10.5", 10.9"; iPad 10 10.9"; iPad 9 10.2"; iPad 8 10.2"; iPad 7 10.2")
- Kapaċità tal-piż: 2.2 lbs (1 kg)
- Firxa ta 'Tilt: 0° sa 75°
- Rotazzjoni: 90° (Portrait to Landscape)

Image 8.1: Detailed dimensions of the tablet floor stand, including height, base, and enclosure measurements.

Image 8.2: Visual guide illustrating the compatibility of the stand with different iPad, iPad Air, and iPad Pro models and their screen sizes.

Image 8.3: Various configurations of the tablet enclosure to accommodate different iPad models, including options for home button access, hard button cover, no home button access, and camera cutouts.
9. Garanzija u Appoġġ għall-Klijent
Mount-It! stands behind the quality of its products.
- Garanzija tul il-ħajja: This Mount-It! tablet kiosk with freestanding base comes with a Lifetime Warranty.
- Appoġġ għall-Klijent: Our knowledgeable and responsive US-based customer support team is available to answer any questions you may have during standard business hours.
For assistance, please visit the official Mount-It! website or refer to your product packaging for contact information.