
Introduzzjoni
This manual provides detailed instructions for the OWC Gemini Thunderbolt (USB-C) Docking Station and External RAID Storage Solution. It covers setup, operation, maintenance, troubleshooting, and technical specifications to ensure optimal performance and longevity of your device.
Informazzjoni dwar is-Sigurtà
- Aqra l-istruzzjonijiet kollha bir-reqqa qabel tuża l-apparat.
- Tesponix l-apparat għal umdità jew temperaturi estremi.
- Uża biss l-adapter tal-enerġija fornut mal-apparat.
- Tippruvax tiftaħ jew issewwi l-apparat int stess. Irreferi għal kull manutenzjoni f'idejn persunal kwalifikat.
- Żgura ventilazzjoni xierqa madwar l-apparat biex tevita sħana żejda.
Kontenut tal-Pakkett
Ivverifika li l-oġġetti kollha huma preżenti fil-pakkett tiegħek:
- OWC Gemini Thunderbolt (USB-C) Docking Station
- Adapter tal-Enerġija
- Thunderbolt (USB-C) Cable
- Manwal għall-Utent (dan id-dokument)
- Drives (pre-installed for 32TB model)
Prodott Overview
The OWC Gemini is a versatile docking station and external storage solution designed for high-performance data management and expanded connectivity.

Immaġni: Quddiem view of the OWC Gemini Thunderbolt Docking Station, showcasing its sleek black design and OWC branding.
Karatteristiċi Ewlenin
- Dual Drive Bays: Supports 2.5-inch and 3.5-inch SATA drives for flexible storage configurations.
- Hardware RAID: Offers RAID 0, RAID 1, SPAN, and JBOD modes for optimized performance or data redundancy.
- Thunderbolt (USB-C) Connectivity: Two Thunderbolt 3 (USB-C) ports for host connection, daisy-chaining, and power delivery (up to 27W).
- Konnettività Estiża: Includes two USB 3.2 Gen 2 Type-A ports, one HDMI port, one 2.5 Gigabit Ethernet port, and one SD 4.0/UHS-II media slot.
- High-Resolution Display Support: HDMI 2.1 supports up to 8K @ 120Hz, and Thunderbolt 3 supports up to 8K @ 60Hz or 4K @ 120Hz.
Tqassim tal-Port
The OWC Gemini provides a comprehensive set of ports for various connectivity needs.

Immaġni: Wara view of the OWC Gemini Docking Station, highlighting the 7 ports of connectivity including Thunderbolt, USB, HDMI, and Ethernet.
- Thunderbolt 3 (USB-C) Host Port: Jikkonnettja mal-kompjuter tiegħek.
- Thunderbolt 3 (USB-C) Downstream Port: For daisy-chaining, additional displays, or charging USB-C devices.
- Portijiet USB 3.2 Ġen 2 tat-Tip A (x2): Għall-konnessjoni ta' periferali USB.
- Port HDMI 2.1: For connecting an external display.
- Port Ethernet 2.5 Gigabit: For high-speed network connectivity.
- SD 4.0/UHS-II Media Slot: Located on the front panel for convenient access.
- Input ta' Enerġija DC 12V: Tqabbad mal-adapter tal-enerġija.

Image: Close-up of the front panel of the OWC Gemini, showing the easily accessible SD card slot.
Setup
1. Drive Installation (if applicable)
For models without pre-installed drives, follow these steps to install 2.5-inch or 3.5-inch SATA drives.

Image: The OWC Gemini unit illustrating its two flexible drive bays, compatible with both 2.5-inch and 3.5-inch drives.
- Ensure the device is powered off and disconnected from your computer.
- Open the drive bay door(s) according to the product's physical design.
- Insert your 2.5-inch or 3.5-inch SATA drives into the bays, ensuring they are securely seated.
- Close the drive bay door(s).
2. Konfigurazzjoni RAID
The OWC Gemini supports hardware RAID. Refer to the specific RAID configuration utility or physical switches on the device (if present) to set your desired RAID level (RAID 0, RAID 1, SPAN, or JBOD).
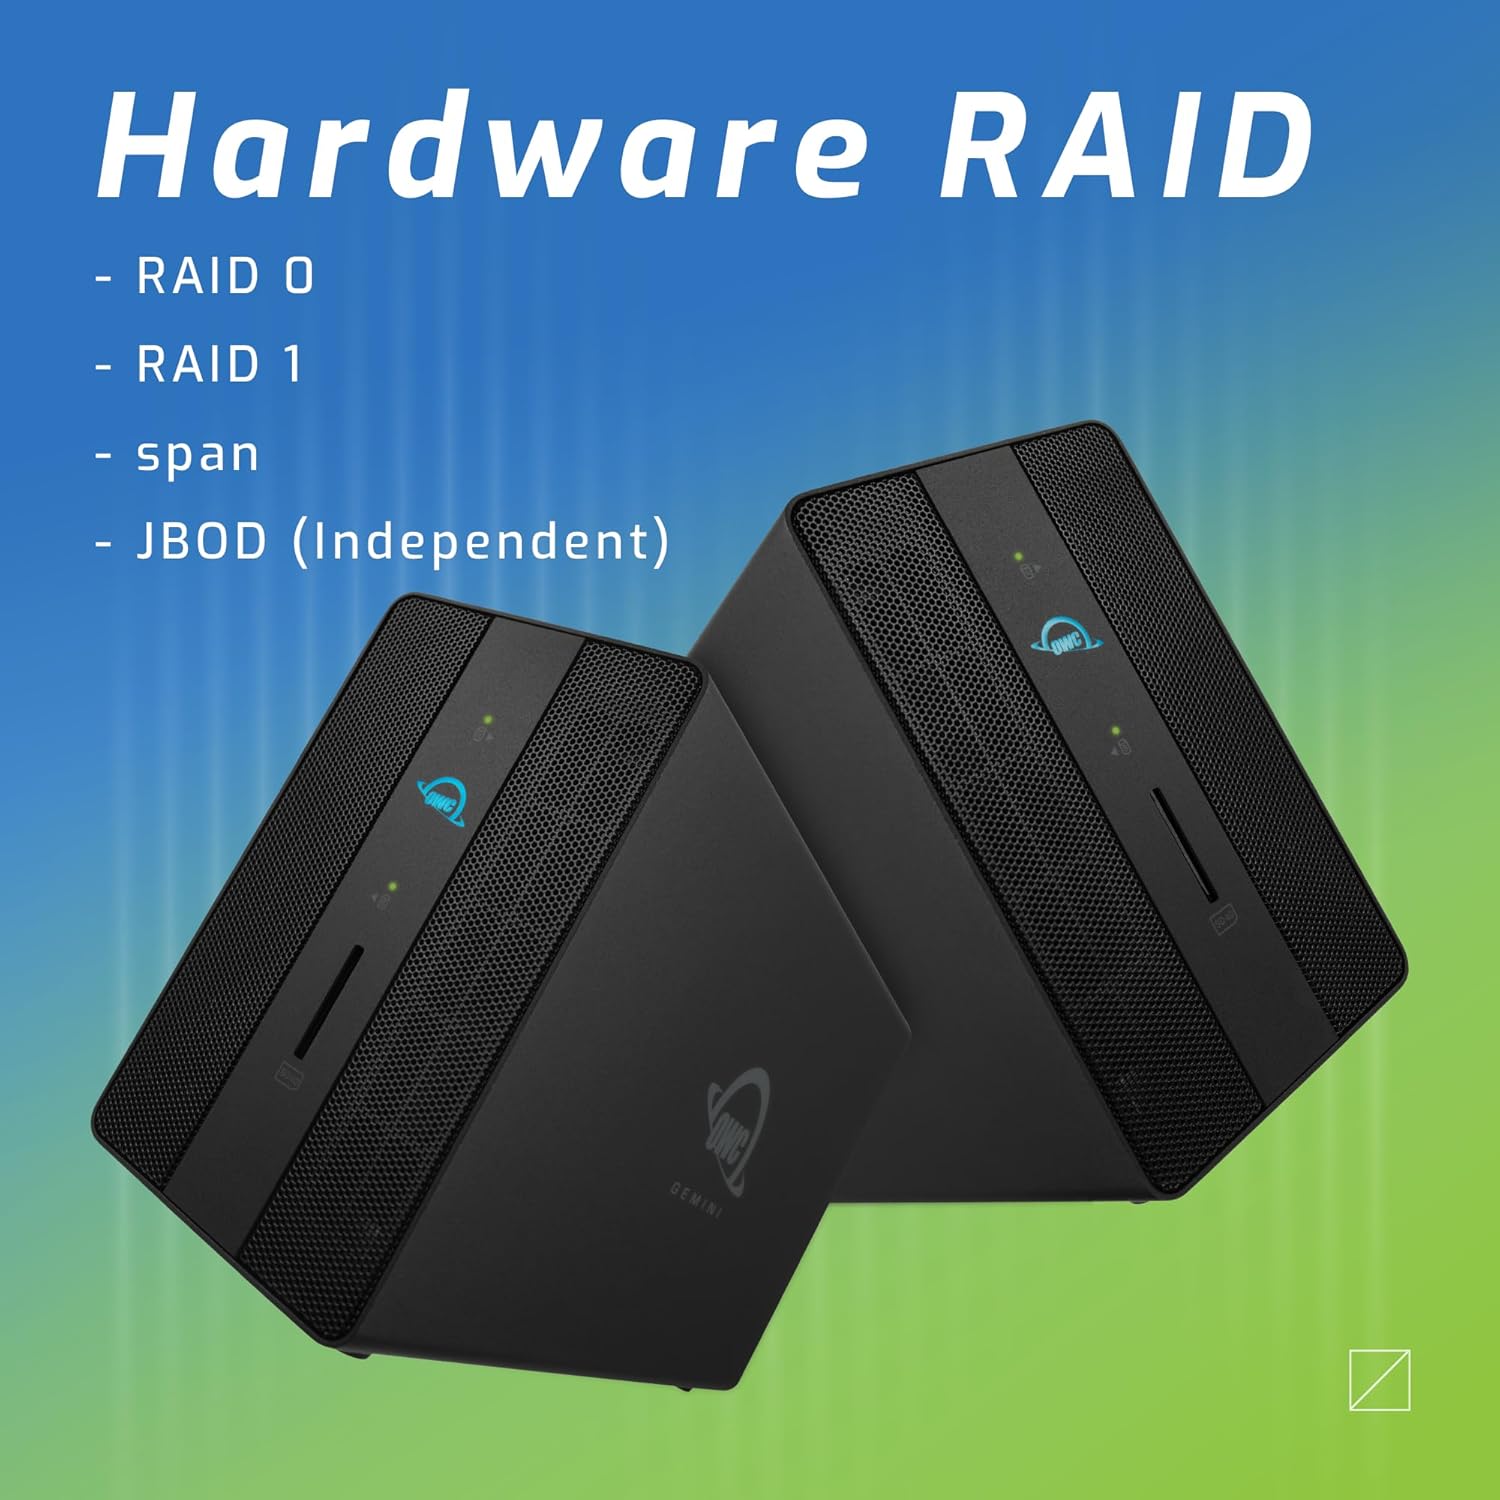
Image: Two OWC Gemini units, emphasizing the hardware RAID capabilities for configurations like RAID 0, RAID 1, SPAN, and JBOD.
RAID Levels Explained:
- RAID 0 (Striping): Combines drives for maximum speed and capacity, but offers no data redundancy.
- RAID 1 (Mirroring): Duplicates data across drives for redundancy, sacrificing half the total capacity for data protection.
- SPAN (Concatenation): Combines drives into a single large volume without striping or mirroring.
- JBOD (Just a Bunch Of Disks): Treats each drive as an independent volume.
3. Konnessjoni mal-Kompjuter Tiegħek
- Connect the power adapter to the DC 12V power input on the OWC Gemini and then to a power outlet.
- Connect one end of the Thunderbolt (USB-C) cable to the host port on the OWC Gemini.
- Connect the other end of the Thunderbolt (USB-C) cable to a Thunderbolt (USB-C) port on your computer.
- L-apparat għandu jixgħel awtomatikament.
4. Initializing Drives
After connecting, your operating system may prompt you to initialize and format the new drives. Follow the on-screen instructions. For macOS, use Disk Utility. For Windows, use Disk Management.
Istruzzjonijiet Operattivi
Trasferiment tad-Data
Once the drives are initialized and formatted, they will appear as accessible volumes on your computer. You can drag and drop files to and from these volumes as you would with any other storage device.
Bl-użu tal-Portijiet USB
Connect USB peripherals such as external drives, keyboards, or mice to the two USB 3.2 Gen 2 Type-A ports. These ports support data transfer speeds up to 10 Gb/s.
Konnessjoni ta 'Display Estern
Use the HDMI 2.1 port to connect an external monitor. The Gemini supports resolutions up to 8K @ 120Hz via HDMI.
Konnettività tan-Netwerk
Connect an Ethernet cable from your network router or switch to the 2.5 Gigabit Ethernet port on the Gemini for high-speed wired network access.
Using the SD Card Slot
Insert an SD 4.0/UHS-II compatible SD card into the front-facing slot for quick data transfer from cameras or other devices.
Daisy-Chaining and Power Delivery

Image: A close-up of the OWC Gemini's Thunderbolt ports, illustrating their use for daisy-chaining, connecting additional displays, and charging USB-C devices.
The second Thunderbolt 3 (USB-C) port allows you to:
- Daisy-chain additional Thunderbolt devices.
- Qabbad an additional display (up to 8K @ 60Hz or 4K @ 120Hz).
- Charge USB-C devices with up to 27 watts of power.
Manutenzjoni
- Tindif: Uża drapp artab u niexef biex tnaddaf il-barra tal-apparat. Tużax prodotti tat-tindif likwidi jew aerosols.
- Ventilazzjoni: Kun żgur li l-gradilji tal-ventilazzjoni ma jkunux imfixkla biex tevita li jisħon iżżejjed.
- Aġġornamenti tal-Firmware: Periodically check the OWC websit għal aġġornamenti tal-firmware biex tiġi żgurata prestazzjoni u kompatibilità ottimali.
- Tkeċċija Sikura: Always safely eject the OWC Gemini from your operating system before disconnecting it or powering it off to prevent data corruption.
Issolvi l-problemi
Apparat Mhux Rikonoxxut
- Ensure all cables are securely connected, especially the Thunderbolt cable to both the Gemini and your computer.
- Verify the power adapter is correctly connected and the device is receiving power.
- Try connecting the Gemini to a different Thunderbolt port on your computer.
- Ibda mill-ġdid il-kompjuter tiegħek.
- Check your operating system's Disk Utility (macOS) or Disk Management (Windows) to see if the drives are detected but uninitialized or unformatted.
Veloċitajiet Baxxi tat-Trasferiment tad-Dejta
- Ensure you are using a Thunderbolt 3 compatible cable and port.
- Check the RAID configuration. RAID 1 (mirroring) will have slower write speeds than RAID 0 (striping).
- Close any unnecessary applications that might be consuming system resources.
- Kun żgur li s-sewwieqa tal-kompjuter tiegħek huma aġġornati.
Kwistjonijiet tal-Wiri
- Verify the HDMI cable is securely connected to both the Gemini and your monitor.
- Check your display settings in your operating system.
- Ensure your monitor supports the resolution and refresh rate you are attempting to use.
- Ipprova kejbil HDMI jew monitor differenti jekk disponibbli.
Problemi ta' Konnessjoni tan-Netwerk
- Ensure the Ethernet cable is securely connected to both the Gemini and your network device.
- Iċċekkja s-settings tan-netwerk tal-kompjuter tiegħek.
- Erġa' ibda r-router/modem tiegħek.
Speċifikazzjonijiet
| Karatteristika | Dettall |
|---|---|
| Brand | OWC |
| Numru tal-Mudell | OWCTB3GM000H32 |
| Kapaċità tal-Ħżin | 32.0TB (as configured) |
| Drive Bays | 2 (supports 2.5" and 3.5" SATA drives) |
| Livelli RAID | SPAN, RAID 0, RAID 1, JBOD (Hardware RAID) |
| Ospitanti Interface | Thunderbolt 3 (USB-C) |
| Rata ta' Trasferiment tad-Data | Up to 40 Gb/s (Thunderbolt 3), Up to 10 Gb/s (USB 3.2 Gen 2) |
| Portijiet | (1) Thunderbolt 3 (USB-C) Host, (1) Thunderbolt 3 (USB-C) Downstream, (2) USB 3.2 Gen 2 Type-A, (1) HDMI 2.1, (1) 2.5 Gigabit Ethernet, (1) SD 4.0/UHS-II |
| Wiri Appoġġ | HDMI 2.1: Up to 8K @ 120Hz; Thunderbolt 3: Up to 8K @ 60Hz or 4K @ 120Hz |
| Kunsinna tal-Enerġija | Sa 27W permezz ta' Thunderbolt 3 |
| Apparati Kompatibbli | Desktop, Laptop, Tablet (with Thunderbolt/USB-C port) |
| Kulur | Iswed |
| Piż | 9.35 lbs (madwar) |
| UPC | 810100983697 |
Garanzija u Appoġġ
Informazzjoni dwar Garanzija
OWC products are covered by a limited warranty. Please refer to the official OWC website or your purchase documentation for specific warranty terms and conditions. Keep your proof of purchase for warranty claims.
Appoġġ Tekniku
For technical assistance, troubleshooting, or further inquiries, please visit the official OWC support websit jew ikkuntattja lis-servizz tal-konsumatur tagħhom.