Introduzzjoni
This manual provides instructions for the installation and adjustment of the RADIOMASTER TX16S Gimbal Tension Spring Set. This set is designed to allow users to customize the feel and response of their TX16S radio transmitter gimbals.
Kontenut tal-Pakkett
Jekk jogħġbok ivverifika li l-komponenti kollha huma preżenti qabel ma tipproċedi bl-installazzjoni.
- RADIOMASTER TX16S Gimbal Tension Spring Set (specific number of springs may vary by kit)
- (Optional: Small adjustment tool, if included)
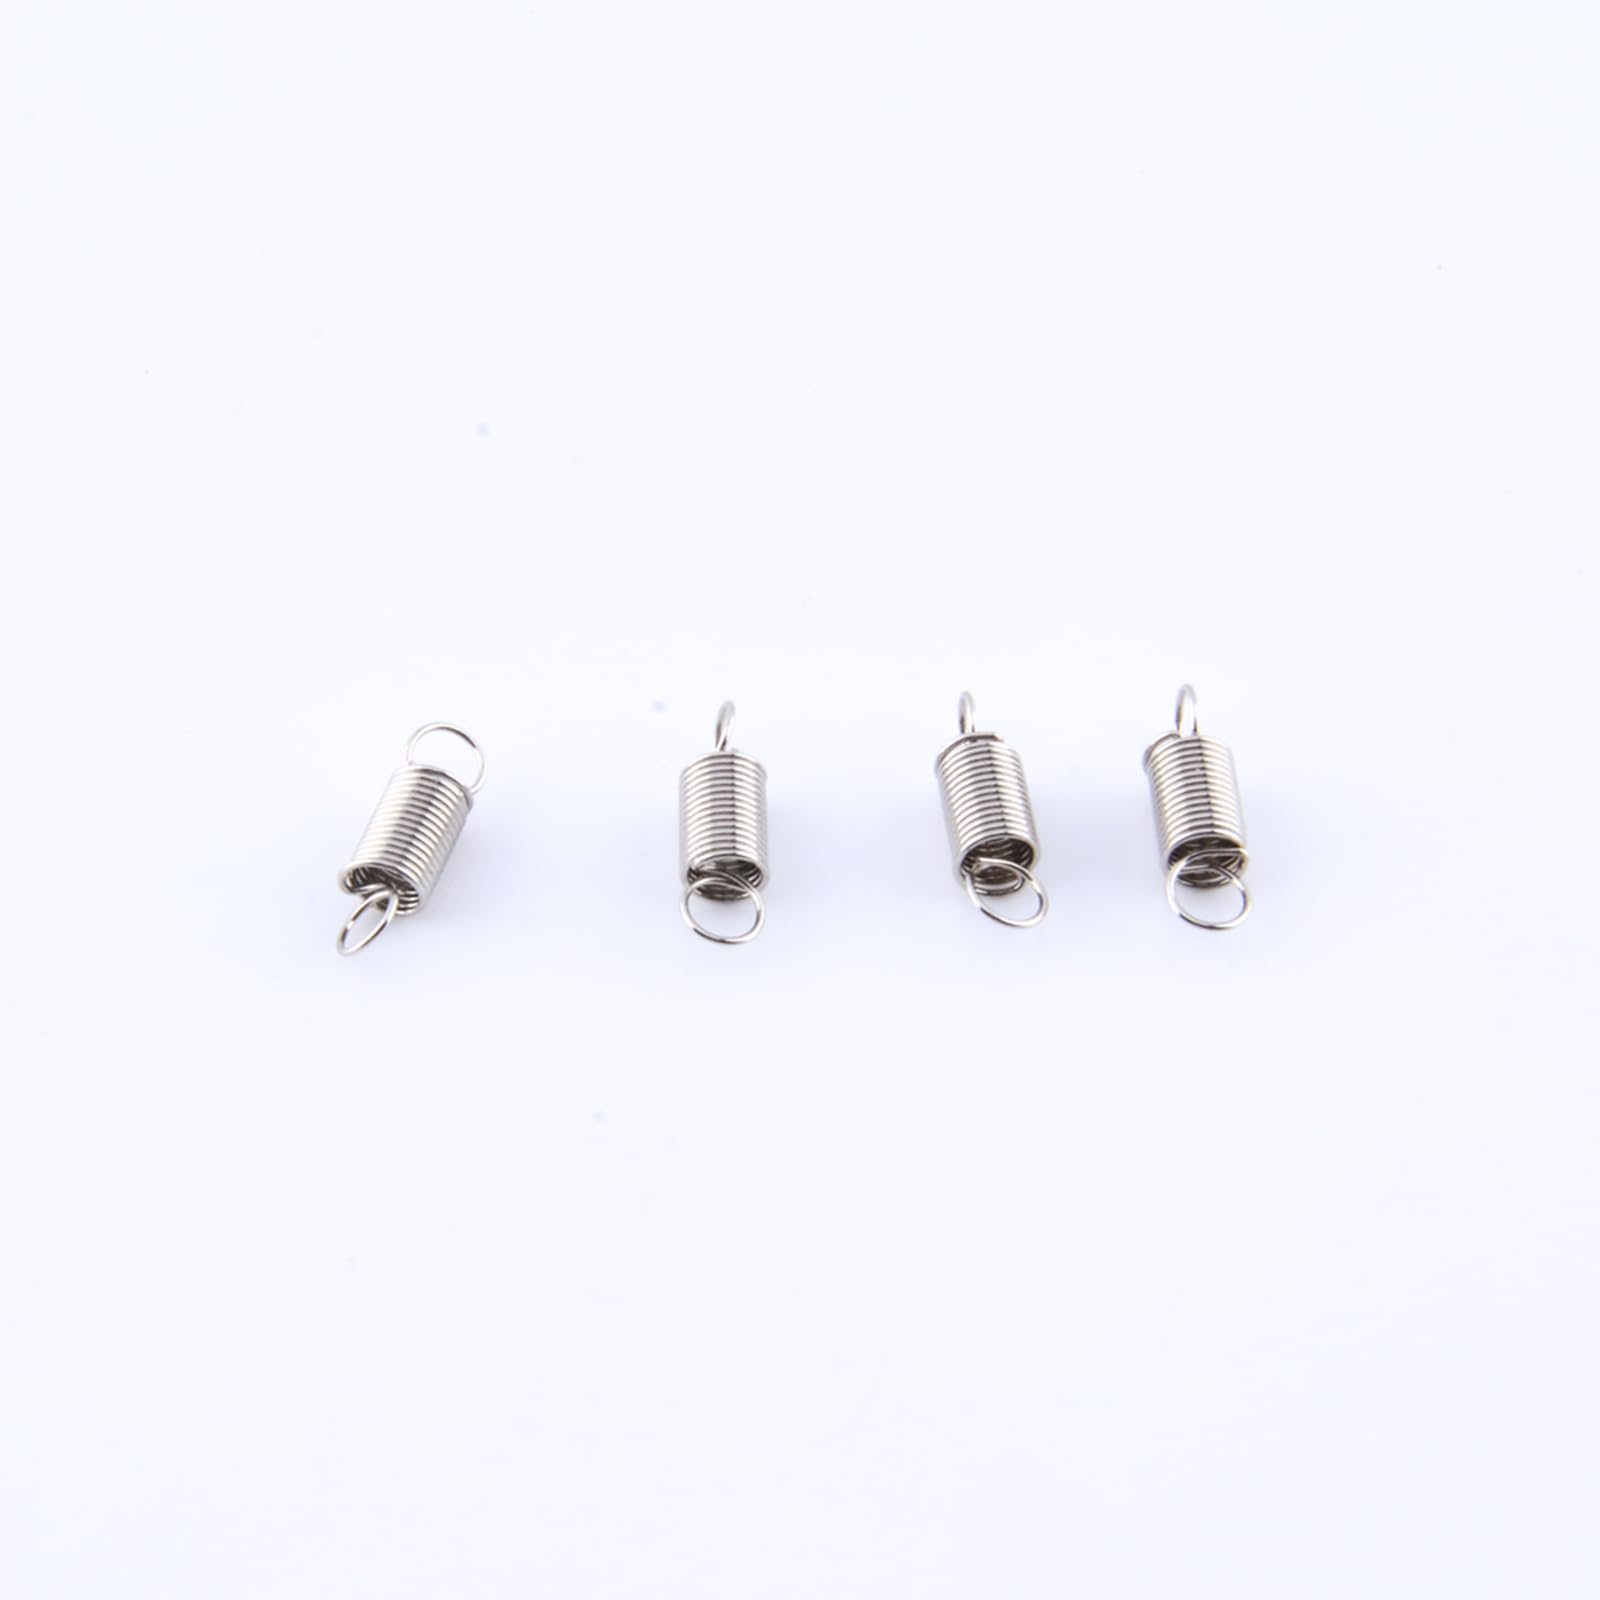
Image: Components of the RADIOMASTER TX16S Gimbal Tension Spring Set, showing various springs for tension adjustment.
Setup u Installazzjoni
Twissija: Modifying your radio transmitter requires careful handling of internal components. Proceed with caution. If you are unsure, consult an experienced technician or refer to official RADIOMASTER TX16S disassembly guides.
- Itfi: Ensure your TX16S radio transmitter is powered off and the battery is disconnected before beginning any work.
- Access Gimbals: Carefully open the TX16S casing to gain access to the gimbal mechanisms. Refer to the TX16S service manual or online guides for specific disassembly instructions.
- Identify Springs: Locate the existing tension springs on the gimbals. There are typically springs for both horizontal and vertical axes.
- Neħħi l-Molol Qodma: Gently remove the original springs. Note their orientation and attachment points.
- Installa Molol Ġodda: Select the desired tension springs from the set. Install them in the same manner as the original springs, ensuring they are securely seated.
- Moviment tat-Test: Before reassembling, gently move the gimbals to ensure smooth operation and the desired tension.
- Erġa' arma: Carefully reassemble the TX16S casing, ensuring all screws are tightened appropriately and no wires are pinched.
Operating (Adjustment)
Once installed, the tension of the gimbals can be further fine-tuned. The TX16S gimbals typically feature external adjustment screws for tension. Refer to your TX16S user manual for precise adjustment procedures.
- Increase Tension: Turn the adjustment screw clockwise to increase spring tension.
- Decrease Tension: Turn the adjustment screw counter-clockwise to decrease spring tension.
Adjust tension incrementally and test the feel until the desired response is achieved. Avoid overtightening or loosening excessively.
Manutenzjoni
The gimbal tension springs are designed for durability. No specific maintenance is typically required for the springs themselves. However, regular inspection of your gimbals is recommended:
- Periodically check for any signs of wear or damage to the springs.
- Ensure the gimbal mechanisms remain clean and free of dust or debris.
- Avoid exposing the radio to extreme temperatures or moisture, which can affect internal components.
Issolvi l-problemi
If you encounter issues after installing the spring set, consider the following:
- Gimbal feels loose or too stiff: Re-check the spring installation. Ensure the correct springs are used for the desired tension and that adjustment screws are properly set.
- Gimbal not returning to center: Verify that the springs are correctly seated and not binding. Ensure no internal wires are interfering with gimbal movement.
- Ħsejjes mhux tas-soltu: Disassemble and inspect for any loose components or incorrect spring placement.
For persistent issues, consult the RADIOMASTER TX16S official support resources or community forums.
Speċifikazzjonijiet
| Attribut | Dettall |
|---|---|
| Isem tal-Prodott | RADIOMASTER TX16S Gimbal Tension Spring Set |
| Kompatibilità tal-Mudell | RADIOMASTER TX16S Radio Transmitter |
| Manifattur | RADIOMASTER |
| ASIN | B0CRDV55GS |
| Età Rakkomandata | 18 snin 'il fuq |
Garanzija u Appoġġ
This product is covered by RADIOMASTER's standard warranty policy. For warranty claims, technical support, or further assistance, please contact RADIOMASTER customer service through their official webis-sit jew in-negozjant awtorizzat tiegħek.
Riżorsi onlajn: www.radiomasterrc.com