
1. Introduzzjoni
The ASUS ROG Azoth is a 75% form factor wireless mechanical gaming keyboard designed for high performance and customization. It features tri-mode connectivity, hot-swappable ROG NX Snow linear switches, durable PBT keycaps, RGB lighting, and an integrated OLED display. This manual provides instructions for setting up, operating, maintaining, and troubleshooting your ROG Azoth keyboard.

2. Setup
2.1 Kontenut tal-Pakkett
Qabel ma tipproċedi, kun żgur li l-oġġetti kollha huma preżenti:
- Tastiera tal-Logħob ROG Azoth
- USB Dongle and Extender
- USB Type-C sa Type-Cable
- ROG Switch Opener
- Keycap Puller
- Iswiċċ Puller
- Lube Station
- Pinzell
- Krytox GPL-205-GD0 Lubricant
- 3 ROG NX Switches (for testing/replacement)
- 8 Stabilizer Mats
- Stiker ROG
- Gwida Quick Start
- Ktejjeb ta' Garanzija
2.2 Għażliet ta' Konnettività
The ROG Azoth supports three connection modes: Wired USB, 2.4 GHz RF Wireless (via USB dongle), and Bluetooth.

2.2.1 Konnessjoni USB bil-wajer
- Connect the USB Type-C end of the cable to the keyboard's port.
- Connect the USB Type-A end to an available USB port on your computer.
- It-tastiera tiġi skoperta awtomatikament u tkun lesta għall-użu.
2.2.2 2.4 GHz RF Wireless Connection
- Locate the USB dongle, typically stored in a compartment on the keyboard.
- Insert the USB dongle into an available USB port on your computer. For optimal signal, use the included extender to position the dongle closer to the keyboard.
- Ensure the keyboard's mode switch (located on the side/back) is set to 2.4 GHz mode.
- It-tastiera għandha tikkonnettja awtomatikament.
2.2.3 Konnessjoni Bluetooth
- Kun żgur li s-swiċċ tal-modalità tat-tastiera huwa ssettjat għall-modalità Bluetooth.
- Fuq il-kompjuter jew l-apparat tiegħek, mur fis-settings tal-Bluetooth u attiva l-Bluetooth.
- The keyboard should appear as "ROG Azoth" in the list of discoverable devices. Select it to pair.
- Segwi kwalunkwe prompts fuq l-iskrin biex tlesti l-proċess ta 'tqabbil.
2.3 Mac/Windows Mode Toggle
The keyboard supports both Windows and macOS operating systems. To switch between modes, use the dedicated toggle switch or key combination as indicated in the quick start guide. This ensures proper key mapping for your operating system.

2.4 Ergonomics and Adjustable Feet
The keyboard features adjustable feet to allow for different typing angles, enhancing comfort during extended use. Experiment with the angles to find what suits your preference.
3. It-Tħaddim tat-Tastiera
3.1 OLED Display and Multi-function Knob
The integrated 2-inch OLED display provides real-time information and allows for intuitive control over various keyboard settings. The multi-function knob, located next to the OLED display, can be used to navigate menus and adjust settings.

Functions controllable via the OLED display and knob include:
- Monitoraġġ tas-Sistema: View CPU/GPU statistics (wired mode only).
- Daqq tal-Midja: Control volume and media tracks.
- Issettjar tat-Tastiera: Adjust RGB lighting effects, brightness, and other keyboard parameters.
- Custom Animations: Display personalized animations (requires Armoury Crate software).
3.2 Dawl RGB
The keyboard features per-key RGB lighting. Lighting effects and brightness can be adjusted directly via the OLED display and multi-function knob, or through the ASUS Armoury Crate software for more advanced customization.
3.3 Software Customization (Armoury Crate)
For advanced customization, including key remapping, macro creation, and detailed RGB lighting control, download and install the ASUS Armoury Crate software from the official ASUS support website. This software allows you to personalize your keyboard experience to a greater extent.
4. Manutenzjoni
4.1 Tindif
To clean the keyboard, use a soft, lint-free cloth. For keycaps, a mild cleaning solution can be applied to the cloth, avoiding direct application to the keyboard. Ensure the keyboard is disconnected from power before cleaning.
4.2 Swiċċijiet li jistgħu jinbidlu bis-sħana
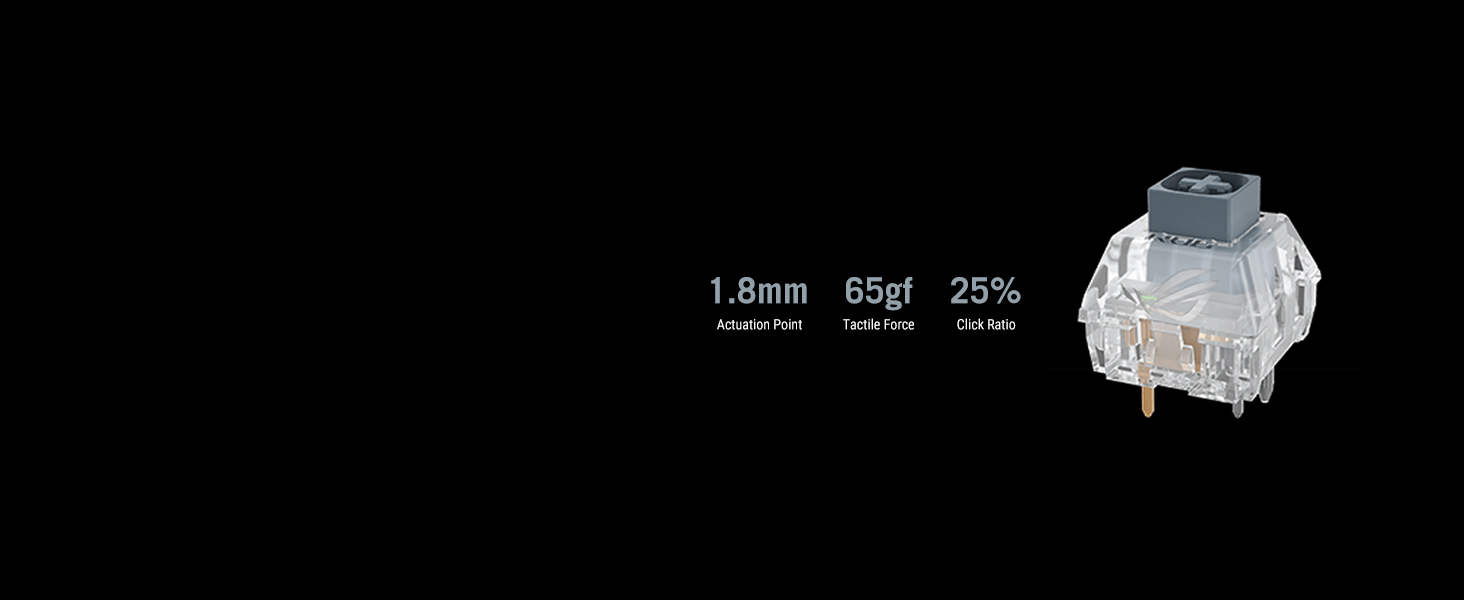
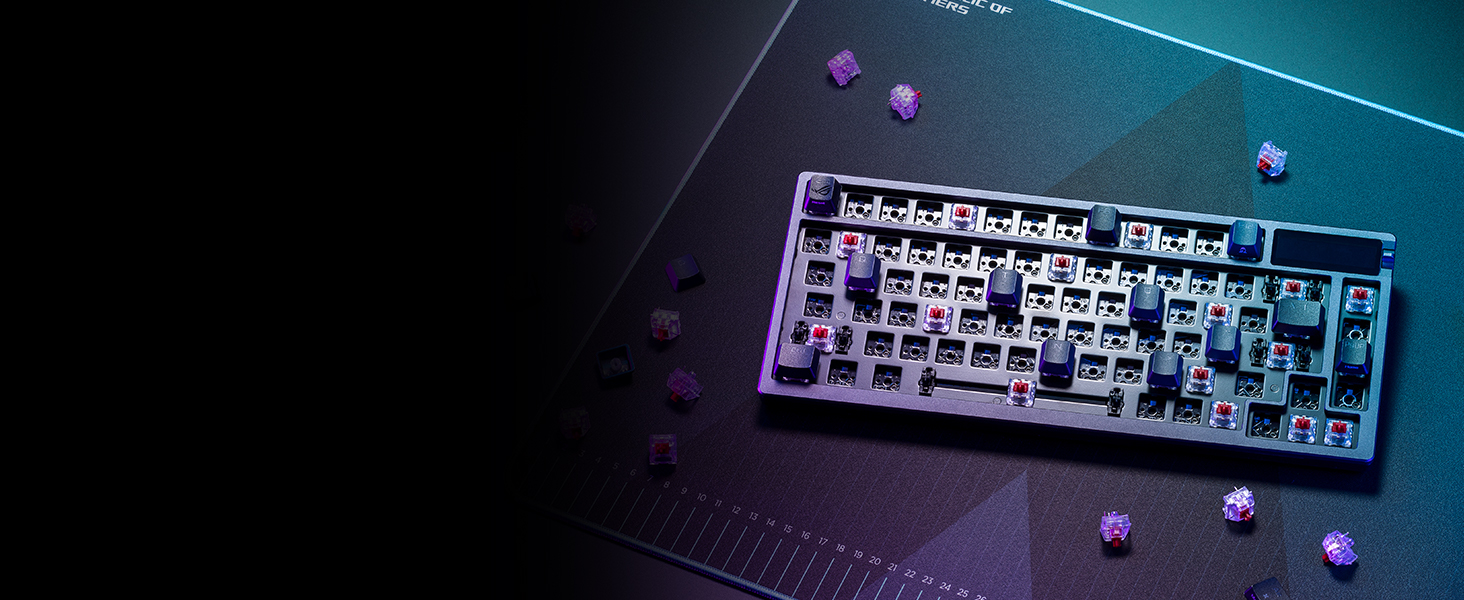
The ROG Azoth features a hot-swappable PCB, allowing you to easily change mechanical switches without soldering. This enables customization of typing feel and sound.
4.2.1 Sostituzzjoni tas-Swiċċijiet
- Uża l-puller tal-keycap inkluż biex tneħħi bir-reqqa l-keycap mixtieq.
- Use the included switch puller to gently grasp the switch and pull it straight up to remove it from the PCB.
- Align the pins of the new switch with the holes on the PCB and press down firmly until it clicks into place. Ensure the pins are not bent.
- Ibdel il-għatu taċ-ċwievet.
4.3 DIY Switch Lubing
The keyboard comes with a DIY lube kit, allowing users to lubricate their switches for a smoother typing experience and altered sound profile.
4.3.1 Lubing Process (General Steps)
- Carefully remove the switch from the keyboard using the switch puller.
- Use the switch opener to disassemble the switch into its components (top housing, stem, spring, bottom housing).
- Place the components in the lube station.
- Using the provided brush and Krytox GPL-205-GD0 lubricant, apply a thin, even layer to the friction points of the switch stem and housing. Avoid over-lubricating.
- Reassemble the switch and reinsert it into the keyboard.
Refer to the detailed instructions in the included quick start guide or online resources for comprehensive switch lubing techniques.
4.4 Gasket Mount and Dampening Design
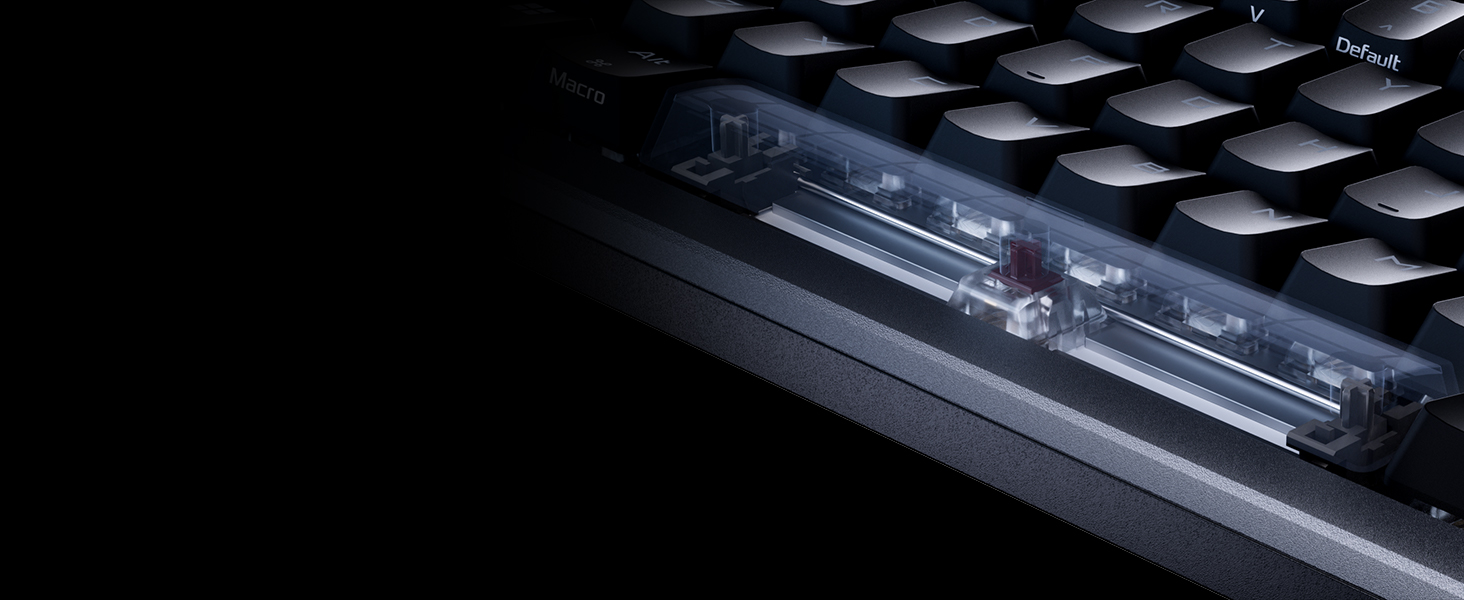
The keyboard features a gasket-mount design with three layers of dampening foam (silicone gasket, 3.5mm silicone pad, PORON foam, silicone foam). This design reduces vibrations and acoustic resonance, contributing to a consistent typing feel and sound.

5 Issolvi l-problemi
5.1 Kwistjonijiet ta' Konnettività
- Skonnettjar mingħajr fili: Ensure the keyboard is charged. For 2.4 GHz, try moving the USB dongle closer to the keyboard using the extender. For Bluetooth, ensure the device's Bluetooth is enabled and the keyboard is paired.
- No Response (Wired): Check the USB cable connection at both ends. Try a different USB port or cable.
5.2 Problemi ta' Input Ewlenin
- Ċwievet Mhux Reġistrazzjoni: If a specific key is not working, try removing and re-inserting its switch. Ensure the switch pins are straight and properly seated.
- Double-Clicking/Chattering: This can sometimes be caused by switch wear or debris. Try cleaning the switch or replacing it with one of the included spare switches.
5.3 OLED Display Issues
- Wiri Mhux Taħdem: Ensure the keyboard is powered on and connected. Check keyboard settings via Armoury Crate to ensure the display is enabled and brightness is adequate.
- System Stats Not Showing (Wireless): Note that CPU/GPU stats are typically only available when the keyboard is connected via wired USB mode.
5.4 Software (Armoury Crate) Issues
- Softwer Mhux Qed Jiskopri t-Tastiera: Ensure the keyboard is connected via wired USB or 2.4 GHz wireless. Restart the software and/or your computer. Ensure Armoury Crate is updated to the latest version.
- Ħsarat fis-Softwer: If Armoury Crate is buggy, try reinstalling it. Refer to ASUS support for specific software troubleshooting steps.
6. Speċifikazzjonijiet
| Karatteristika | Dettall |
|---|---|
| Brand | ASUS |
| Numru tal-Mudell | M701 ROG AZOTH/NXSW/CA/PBT |
| Teknoloġija tal-Konnettività | Bluetooth, USB 2.0 (Wired), 2.4 GHz RF (Wireless) |
| Deskrizzjoni tat-Tastiera | Gaming, Mechanical, 75% TKL |
| Swiċċijiet | ROG NX Snow Linear (Hot-Swappable) |
| Tappijiet ewlenin | PBT Doubleshot |
| Backlighting | RGB (Per-key) |
| Wiri | Skrin OLED ta '2 pulzieri |
| Kontrolli | Multi-function Control Knob |
| Appoġġ tas-Sistema Operattiva | Windows, Mac OS |
| Piż tal-oġġett | 4.05 liri (madwar 1.84 kg) |
| Dimensjonijiet tal-Prodott | 12.83 x 5.35 x 1.57 pulzieri (madwar 32.6 x 13.6 x 4 ċm) |
| Sors tal-Enerġija | USB Powered, Lithium Ion Battery |
| Battery Life (2.4 GHz, OLED & RGB off) | 2000+ siegħa |
7. Garanzija u Appoġġ
7.1 Garanzija tal-Prodott
The ASUS ROG Azoth keyboard comes with a limited manufacturer's warranty. Please refer to the included Warranty Booklet for detailed terms, conditions, and registration information. Keep your proof of purchase for warranty claims.
7.2 Appoġġ Tekniku
Għal assistenza teknika, downloads ta' sewwieqa, jew aktar informazzjoni dwar il-prodott, jekk jogħġbok żur is-sit uffiċjali tal-appoġġ tal-ASUS websit:
You may also contact ASUS customer service directly using the contact information provided in your warranty booklet or on the support websit.