
Introduzzjoni
This manual provides detailed instructions for the installation, operation, and maintenance of your Cooler Master MasterLiquid Atmos 360 Black CPU Liquid Cooler. This all-in-one (AIO) water cooling system is designed to deliver efficient thermal performance for your CPU, featuring a dual-chamber pump, pre-installed SickleFlow 120 Edge fans, and Addressable Gen 2 RGB lighting.
The MasterLiquid Atmos 360 is compatible with a wide range of Intel LGA (1700/1200/1151/1150/1155/1156) and AMD (AM5/AM4) sockets.

Image: The Cooler Master MasterLiquid Atmos 360 Black CPU Liquid Cooler, showcasing its radiator, three RGB fans, and illuminated pump head.
Kontenut tal-Pakkett
Qabel tibda l-installazzjoni, jekk jogħġbok ivverifika li l-komponenti kollha huma preżenti fil-pakkett:
- 360mm Radiator with pre-installed SickleFlow 120 Edge Fans
- CPU Water Block/Pump Unit
- Mounting Hardware for Intel LGA 1700/1200/115x sockets
- Ħardwer tal-Immuntar għas-sokits tal-AMD AM5/AM4
- Pejst Termali
- ARGB Gen 2 Controller (if included)
- Various Cables (PWM fan cables, ARGB cables)
- Manwal għall-Utent

Immaġni: Komprensiva view of all included components for the MasterLiquid Atmos 360, including the radiator, fans, pump, mounting brackets, and accessories.
Setup u Installazzjoni
Follow these steps carefully to install your liquid cooler. Refer to your motherboard and PC case manuals for specific guidance on component placement and cable routing.
1. Ipprepara s-Sokit tas-CPU
- Identify your CPU socket type (Intel LGA or AMD AM).
- Install the appropriate backplate (for Intel) or retention clips (for AMD) as per the included hardware guide.
- Clean the CPU surface with isopropyl alcohol to remove any residue.
2. Applika Pejst Termali
- Apply a small, pea-sized amount of the included thermal paste to the center of your CPU's integrated heat spreader (IHS).
- Do not spread the paste manually; the pressure from the cold plate will distribute it evenly.
3. Install the Radiator and Fans
- Iddetermina l-post ottimali tal-immuntar għar-radjatur ta' 360mm fil-kaxxa tal-PC tiegħek (tipikament fuq jew fuq quddiem).
- Secure the radiator to the case using the provided screws. The SickleFlow Edge fans are pre-installed on the radiator for convenience.
4. Immonta l-Pompa/Pjanċa Kiesħa
- Attach the correct mounting brackets to the pump unit for your CPU socket.
- Poġġi bir-reqqa l-assemblaġġ tal-pompa/pjanċa kiesħa fuq is-CPU, billi tallinja t-toqob tal-immuntar.
- Secure the pump unit with the appropriate screws, tightening them in a diagonal pattern until snug. Do not overtighten.
5. Qabbad Kejbils
- Connect the pump's 3-pin power cable to an available CPU_FAN or AIO_PUMP header on your motherboard.
- Connect the PWM fan cables from the SickleFlow Edge fans to the CPU_FAN or other available fan headers on your motherboard. It is recommended to connect them to a single header using a splitter if necessary, to ensure synchronized fan speed control.
- Connect the ARGB cables from the pump and fans to an Addressable Gen 2 RGB header on your motherboard (5V-D-G) or to the included ARGB controller.

Image: The assembled MasterLiquid Atmos 360, showing the radiator, fans, and pump unit connected by tubing.
Istruzzjonijiet Operattivi
Power-On Inizjali
After installation, power on your system. The pump and fans should begin operating. Monitor your CPU temperatures using system monitoring software to ensure proper function.
Kontroll tad-Dawl RGB
The MasterLiquid Atmos 360 features Addressable Gen 2 RGB lighting on both the pump and fans. You can control the lighting effects through several methods:
- Sinkronizzazzjoni tal-Motherboard: If connected to a compatible ARGB motherboard header, use your motherboard's RGB software (e.g., ASUS Aura Sync, MSI Mystic Light, Gigabyte RGB Fusion, ASRock Polychrome Sync) to customize lighting.
- Kontrollur ARGB inkluż: If an ARGB controller is included, use its physical buttons to cycle through pre-set lighting modes and colors.
- Cooler Master MasterCTRL/MasterPlus Software: Download and install Cooler Master's MasterCTRL or MasterPlus software for advanced customization of lighting effects and device performance.
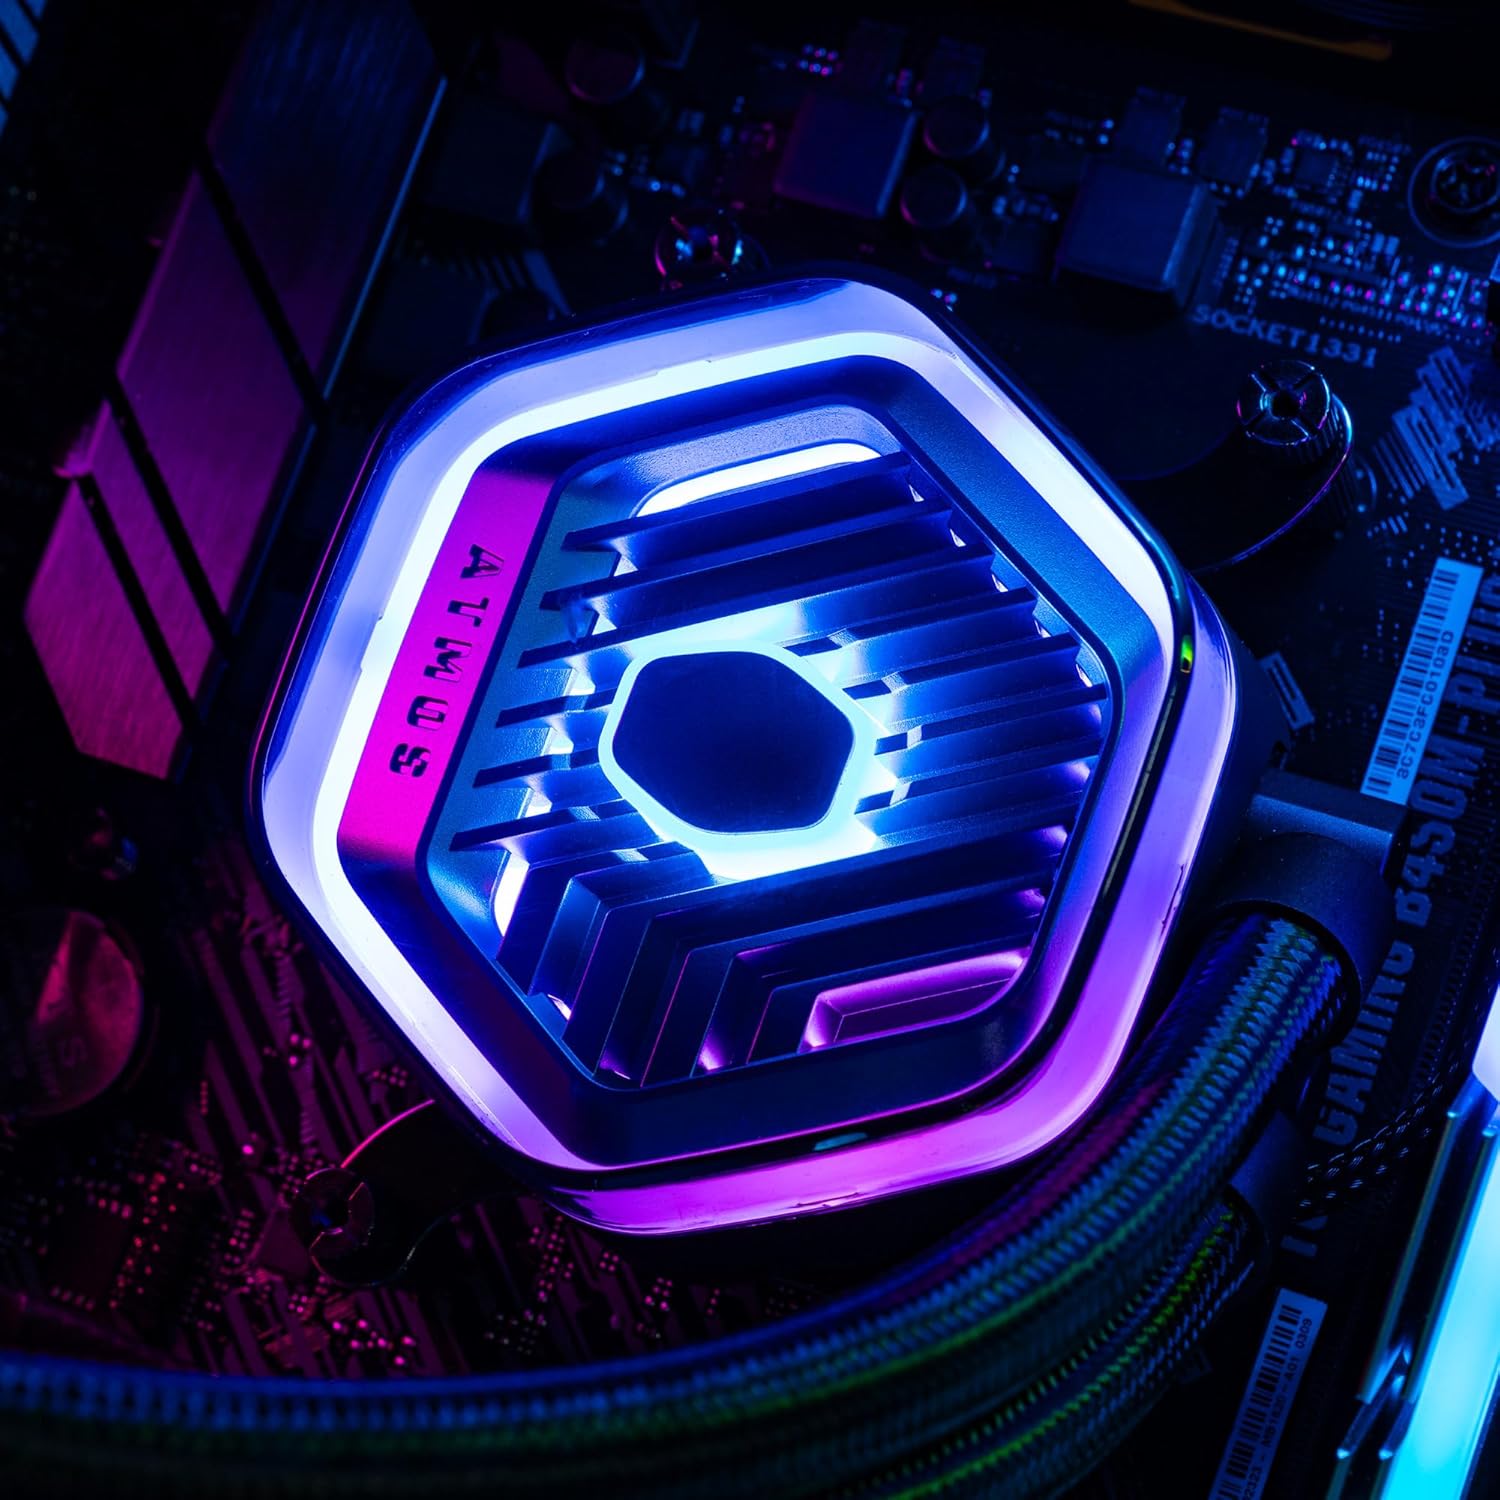
Immaġni: Dettaljata view of the MasterLiquid Atmos pump head, showcasing its unique design and customizable RGB illumination.
Kontroll tal-Veloċità tal-Fann
The SickleFlow Edge fans are PWM (Pulse Width Modulation) controlled. Their speed can be managed via your motherboard's BIOS/UEFI settings or through motherboard-specific software. Adjust fan curves to balance cooling performance and noise levels according to your preferences.
Manutenzjoni
Manutenzjoni regolari tgħin biex tiżgura prestazzjoni ottimali u lonġevità tal-likwidu li jkessaħ tiegħek.
- Tindif tat-Trab: Periodically clean dust from the radiator fins and fan blades using compressed air or a soft brush. Ensure the system is powered off before cleaning.
- Spezzjoni Viżwali: Occasionally inspect the tubing and connections for any signs of leaks or damage. While AIO coolers are sealed systems, a quick visual check can prevent potential issues.
- Aġġornamenti tas-Software: Keep your Cooler Master MasterCTRL/MasterPlus software and motherboard BIOS/UEFI updated to ensure compatibility and access to the latest features and performance optimizations.
Issolvi l-problemi
If you encounter issues with your MasterLiquid Atmos 360, refer to the following common troubleshooting steps:
Temperaturi Għolja tas-CPU
- Iċċekkja l-Konnessjoni tal-Pompa: Ensure the pump's power cable is securely connected to the correct motherboard header (CPU_FAN or AIO_PUMP) and receiving power.
- Ivverifika t-tħaddim tal-fann: Confirm that all radiator fans are spinning. Check their connections to the motherboard or fan controller.
- Pejst Termali: Ensure thermal paste was applied correctly and the cold plate has good contact with the CPU. Re-apply if necessary.
- Fluss tal-arja: Check your PC case's overall airflow. Ensure radiator fans are oriented correctly for intake or exhaust as desired.
Dawl RGB Mhux Taħdim
- Konnessjoni ARGB: Verify that the ARGB cables are correctly connected to a 5V-D-G header on your motherboard or the ARGB controller. Ensure it is not connected to a 12V RGB header, which can damage the LEDs.
- Software: Check your motherboard's RGB software or Cooler Master's MasterCTRL/MasterPlus software for lighting settings. Ensure the lighting is enabled and configured.
- Qawwa tal-Kontrollur: If using an external ARGB controller, ensure it is receiving power (usually via SATA power connector).
Storbju mhux tas-soltu tal-pompa
- Bżieżaq tal-Ajru: New AIOs may have some air bubbles that can cause gurgling noises initially. These usually dissipate within a few hours of operation. Gently tilt your PC case to help move air bubbles to the radiator.
- Immuntar: Kun żgur li l-pompa hija mmuntata sew u ma tivvibrax ma' komponenti oħra.
If problems persist, please contact Cooler Master customer support.
Speċifikazzjonijiet
| Karatteristika | Speċifikazzjoni |
|---|---|
| Numru tal-Mudell | MLX-D36M-A25PZ-R1 |
| Dimensjonijiet tal-Prodott (L x W x H) | 15.51" x 4.71" x 1.07" (394 x 119.6 x 27.2 mm) |
| Metodu tat-tkessiħ | Likwidu (Kollox f'Wieħed) |
| Apparati Kompatibbli | Desktop, Server |
| Sokits Kompatibbli | Intel LGA 1700/1200/1151/1150/1155/1156, AMD AM5/AM4 |
| Livell ta' Storbju | 27.2 Decibels (Fan) |
| Veloċità Massima tar-Rotazzjoni (Fann) | 2500 RPM |
| Air Flow Capacity (Fan) | 70.7 CFM |
| Materjal | Aluminju (Radjatur) |
| Tip ta 'Konnettur tal-Enerġija | 3-Pin (Pompa), 4-Pin PWM (Fannijiet) |
| Voltage | 12 Volts |
| Wattage | 3.6 watt |
| Piż tal-oġġett | 1.42 Kilogrammi |
Informazzjoni dwar Garanzija
The Cooler Master MasterLiquid Atmos 360 Black CPU Liquid Cooler comes with a 5-Sena Garanzija mid-data tax-xiri. Din il-garanzija tkopri difetti fil-materjali u l-abbilità taħt użu normali.
For warranty claims or detailed terms and conditions, please retain your proof of purchase and visit the official Cooler Master websit jew ikkuntattja lill-appoġġ tal-klijenti tagħhom.
Appoġġ
For further assistance, technical support, or to download the latest software and drivers, please visit the official Cooler Master websit:
You may also find helpful resources, FAQs, and community forums on their support pages.