
1. Prodott Aktarview
The Genmitsu Photoelectric Z-Axis Tool Setting Touch Probe is designed to enhance the precision and efficiency of tool height calibration on compatible CNC machines. This advanced Z-probe utilizes photoelectric technology for accurate measurements and features dual indicator lights to provide clear operational feedback. It is compatible with Genmitsu CNC Machine models 3018-PROVer V2, 4040-PRO, 4040 Reno, and 3020-PRO MAX V2.

Image 1.1: Genmitsu Photoelectric Z-Axis Tool Setting Touch Probe.
2. Setup u Installazzjoni
2.1 Kontenut tal-Pakkett
- 1 x Genmitsu Photoelectric Z-Axis Tool Setting Touch Probe
- 1 x Alligator Clip
- Kejbils ta' Konnessjoni
2.2 Konnessjoni tas-Sonda
- Identify the Z-Probe Port: Locate the dedicated 3-pin Z-probe port on your Genmitsu CNC machine's control board.
- Connect the Probe Cable: Plug the probe's 3-pin connector into the identified Z-probe port on the control board. Ensure a secure connection. The blue indicator light on the probe should illuminate, confirming a successful connection to the control board.
- Attach the Alligator Clip: Securely attach the alligator clip to the CNC router bit. Ensure good electrical contact.
- Position the Probe: Place the touch probe directly beneath the router bit on the CNC machine's work surface. Ensure it is stable and will not move during the probing process.
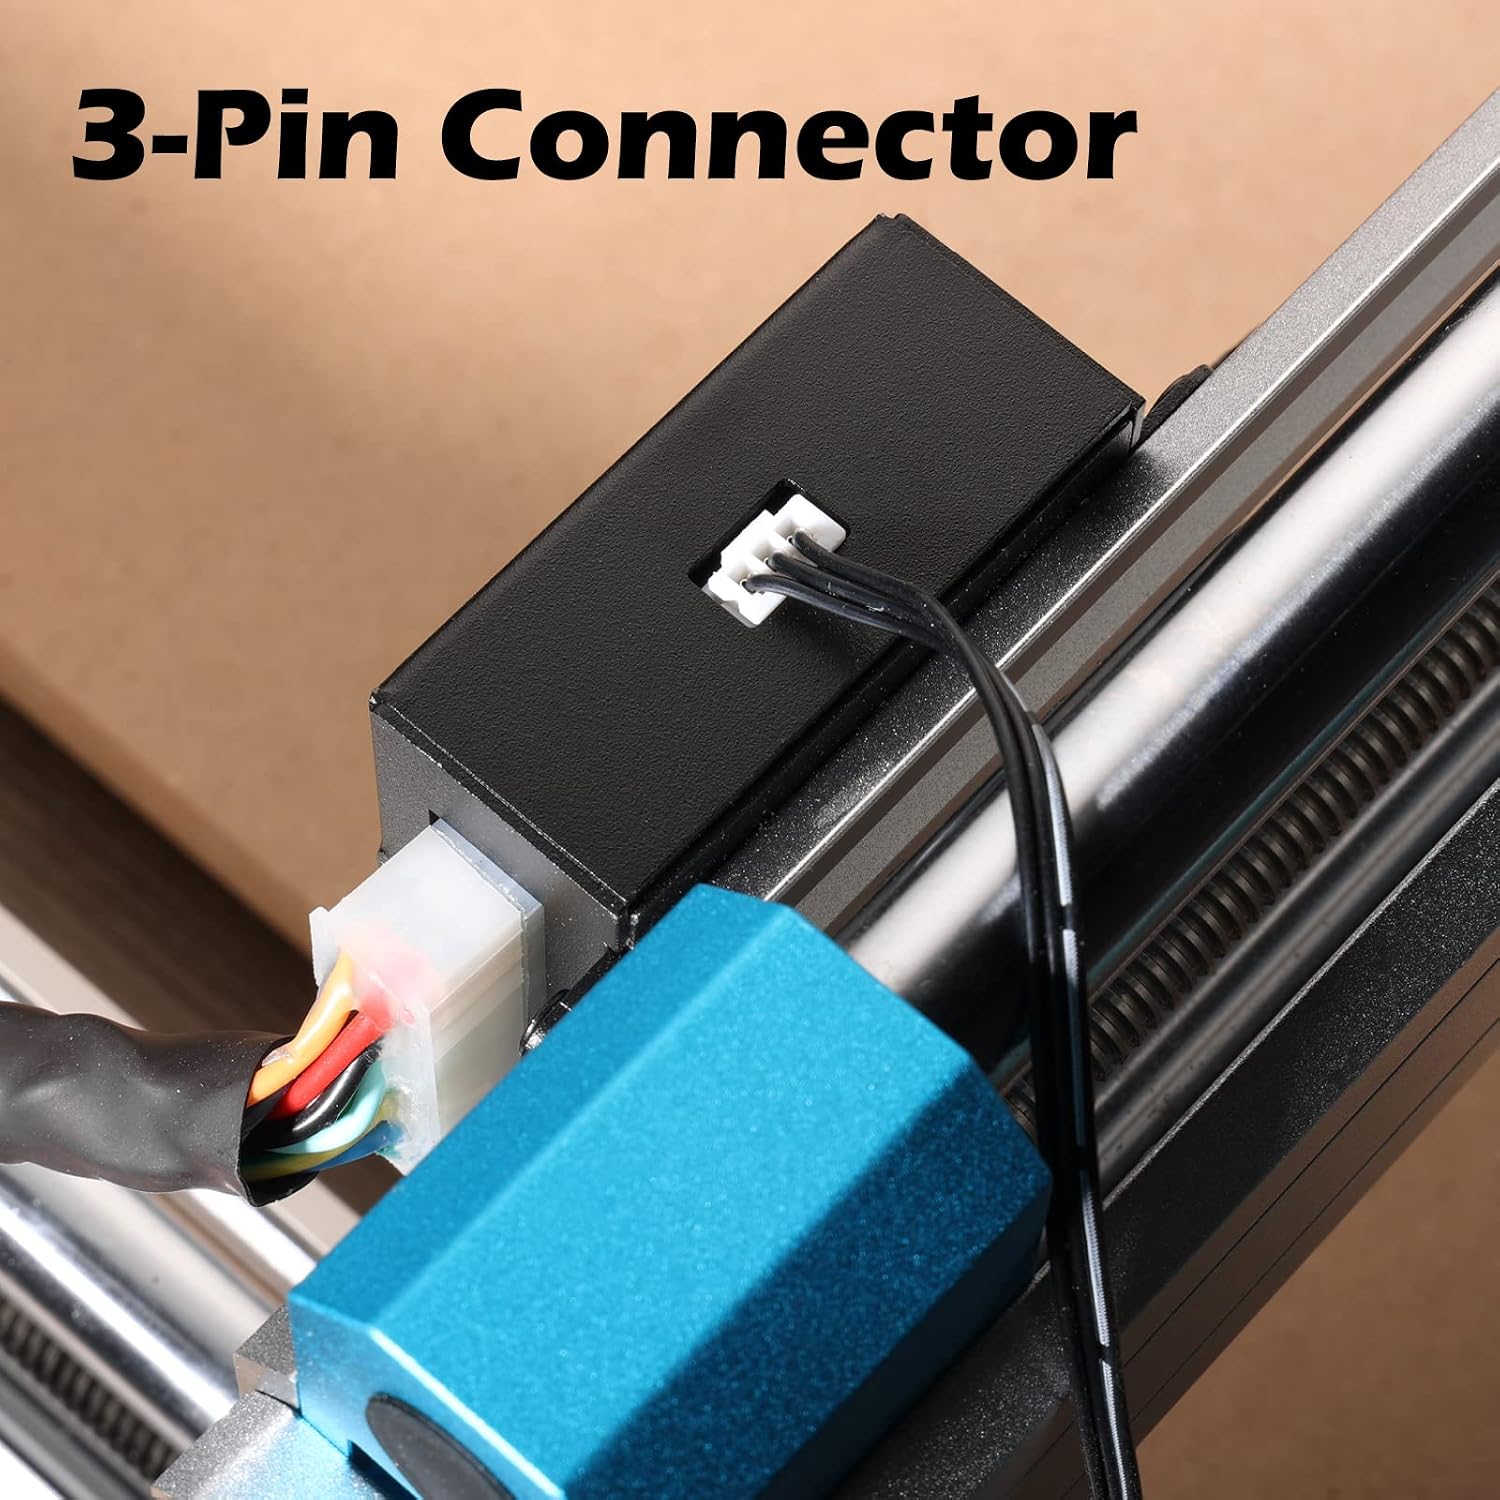
Image 2.1: The 3-pin connector for the Z-Axis Touch Probe.

Image 2.2: The alligator clip used for connecting to the CNC router bit.
Video 2.1: Demonstrates the connection of the CNC Automatic Tool Sensor Gauge and its initial setup with Grblcontrol.
3. Istruzzjonijiet Operattivi
3.1 Tool Height Calibration
The photoelectric Z-probe allows for precise and automatic tool height setting, eliminating the need for manual paper methods. This process ensures consistent and accurate carving depths.
- Setup Inizjali: Ensure the probe is correctly connected and positioned as described in Section 2.2. The blue indicator light on the probe should be on.
- Konfigurazzjoni tas-Softwer: Open your CNC control software (e.g., Grblcontrol/Candle). Navigate to the settings or probe commands section.
- Measure Probe Height: Before initiating the auto-tool set, measure the actual height of the touch probe using a caliper. This value is crucial for accurate calibration.
- Update Probe Commands: In the CNC control software, edit the probe commands to reflect the measured height of the probe. For example, if the measured height is 14.09mm, update the command to include "Z14.09". Confirm the changes by clicking OK.
- Initiate Auto-Tool Set: In your CNC control software, click the 'Auto Tool Set' button or execute the corresponding probe command. The CNC machine will automatically lower the router bit towards the probe.
- Osserva l-Indikaturi: As the router bit touches the probe, the red indicator light on the probe will illuminate, signaling contact. The machine will then retract and set the Z-axis zero point based on the probe's height.

Image 3.1: The Z-Axis Touch Probe showing both blue (connected) and red (touched) indicator lights.

Image 3.2: The Z-Axis Touch Probe actively setting the tool height on a CNC machine.
Video 3.1: A demonstration of the SainSmart CNC Router Z-Axis Tool Setting Touch Probe in action, showing the automatic tool height calibration process.
Video 3.2: Illustrates the accurate positioning capabilities of a CNC Router Tool Setting Touch Probe during operation.
4. Manutenzjoni
To ensure the longevity and accuracy of your Genmitsu Z-Axis Touch Probe, follow these maintenance guidelines:
- Żomm Nadif: Regularly clean the probe's contact surface and body to prevent dust and debris from affecting its performance. Use a soft, dry cloth.
- Spezzjona Kejbils: Periodically check the connection cables for any signs of wear, fraying, or damage. Replace damaged cables immediately to prevent electrical issues.
- Aħżen sew: When not in use, store the probe in a clean, dry environment away from excessive heat, moisture, and direct sunlight.
- Immaniġġja b'Kura: Avoid dropping or subjecting the probe to strong impacts, as this can damage its internal components and affect accuracy.
5 Issolvi l-problemi
If you encounter issues with your Z-Axis Touch Probe, refer to the following troubleshooting steps:
- Probe Not Lighting Up (Blue Indicator):
- Check if the 3-pin connector is securely plugged into the control board.
- Verify that the CNC machine is powered on.
- Spezzjona l-kejbil għal kwalunkwe ħsara viżibbli.
- Red Indicator Not Lighting Up on Contact:
- Ensure the alligator clip is firmly attached to the router bit and making good electrical contact.
- Confirm that the probe's contact surface is clean and free of debris.
- Check the probe commands in your CNC software to ensure they are correctly configured for probing.
- Inaccurate Z-Axis Readings:
- Re-measure the actual height of the probe with a precise caliper and update the value in your CNC software's probe commands.
- Ensure the probe is placed on a flat, stable surface during calibration.
- Verify that the router bit is clean and free of material buildup.
- Probe Not Responding in Software:
- Restart both the CNC machine and the control software.
- Check the connection settings in your software (e.g., COM port, baud rate).
- Consult your CNC machine's specific documentation for software-related probing issues.
6. Speċifikazzjonijiet
| Karatteristika | Dettall |
|---|---|
| Numru tal-Mudell | Z Probe |
| Kompatibilità | Genmitsu 3018-PROVer V2, 4040-PRO, 4040 Reno, 3020-PRO MAX V2 CNC Machines |
| Tip ta' Sonda | Photoelectric Z-Probe |
| Dwal Indikaturi | Blue (Connected), Red (Touched) |
| Dimensjonijiet | Diameter: 24mm, Height: 12mm (approximate, refer to diagram) |
| Tul tal-Wajer | 63cm (approximate) |
| Konnessjoni | Konnettur 3-Pin |

Image 6.1: Diagram illustrating the dimensions of the Z-Axis Touch Probe.
7. Garanzija u Appoġġ
For warranty information, technical support, or service inquiries regarding your Genmitsu Photoelectric Z-Axis Tool Setting Touch Probe, please refer to the official Genmitsu website or contact their customer service directly. Ensure you have your product model number and purchase details available when seeking support.