Introduzzjoni
This manual provides detailed instructions for the setup, operation, and maintenance of your Gioteck SC3 Wireless Pro Controller. Designed for use with Nintendo Switch, PC, and mobile devices, this controller features programmable back buttons, customizable RGB lighting, and changeable magnetic thumb sticks for an enhanced gaming experience.
1. Setup
1.1 Kontenut tal-Pakkett
- Gioteck SC3 Wireless Pro Controller
- Cable tal-Iċċarġjar tal-USB
- Additional Magnetic Thumb Sticks (if included)
- Manwal għall-Utent (dan id-dokument)
1.2 Iċċarġjar tal-Kontrollur
Before initial use, fully charge the controller. Connect the supplied USB charging cable to the controller's charging port and the other end to a USB power source (e.g., Nintendo Switch dock, PC USB port, or USB wall adapter).
- L-indikatur LED se juri l-istatus tal-iċċarġjar.
- Ċarġ sħiħ tipikament jieħu madwar 2-3 sigħat.
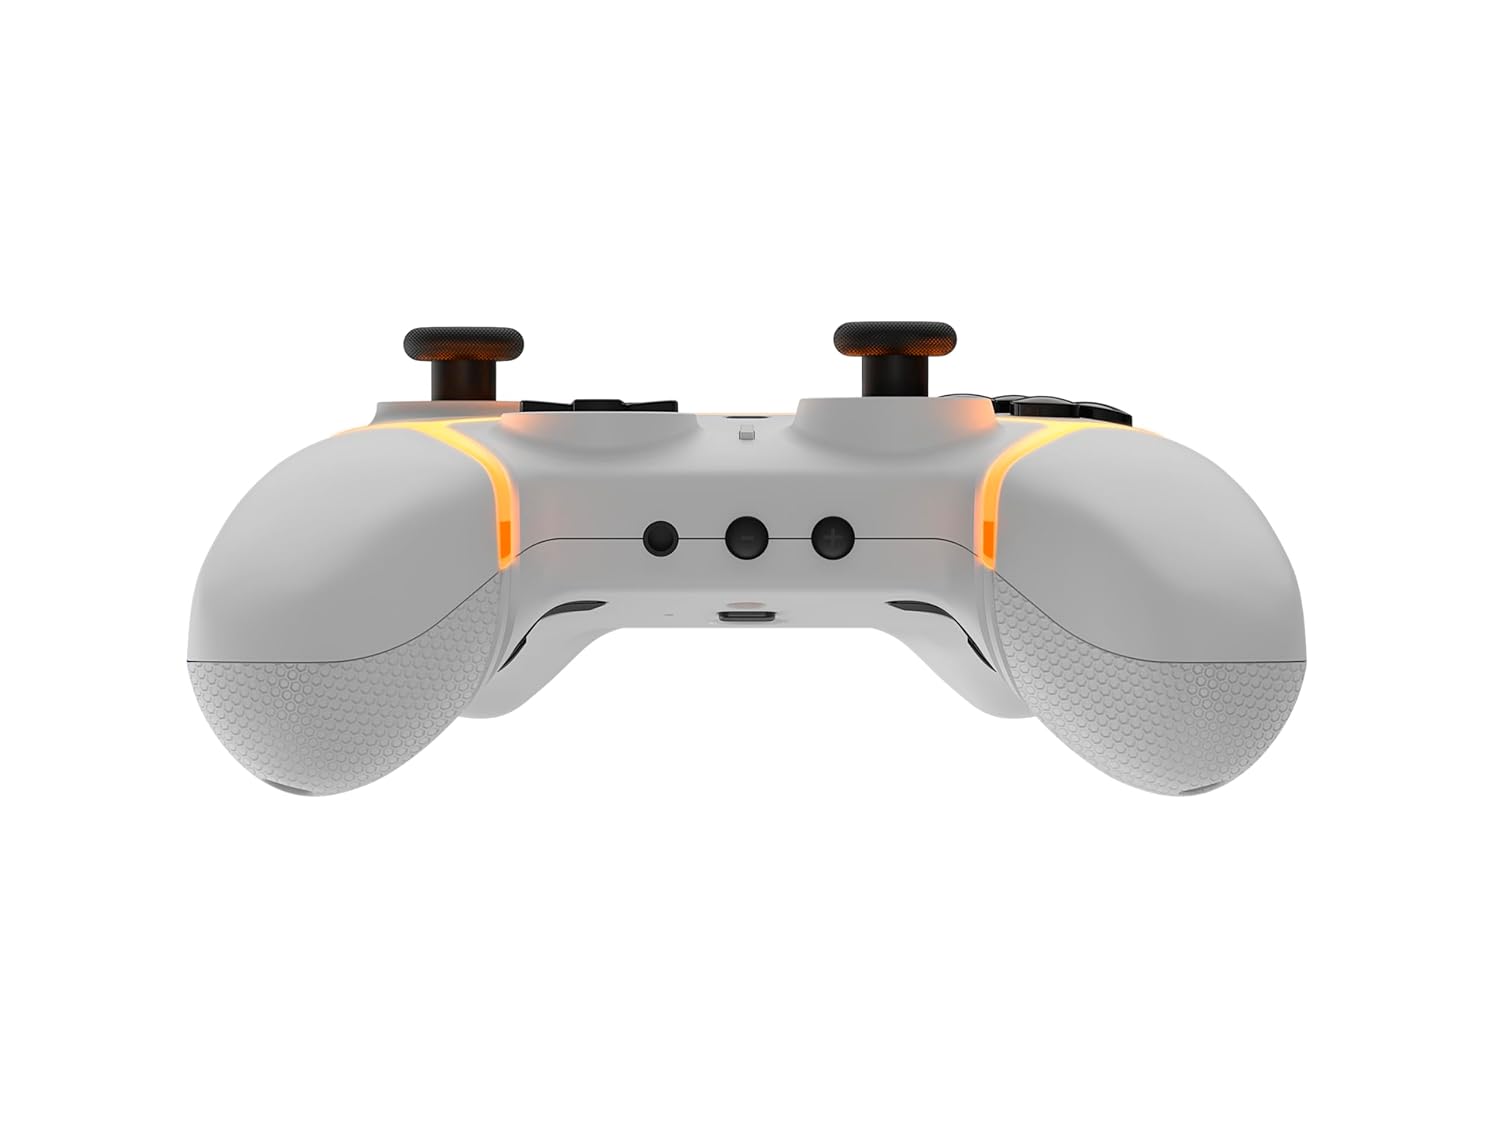
Immaġni: Taħt view of the Gioteck SC3 controller, highlighting the USB-C charging port located between the two textured grips.
1.3 Tqabbil man-Nintendo Switch
- Mill-Menu HOME tan-Nintendo Switch, agħżel Kontrolluri, imbagħad Ibdel il-Maqbad/Ordni.
- On the SC3 controller, press and hold the Buttuna ta' Tqabbil (usually a small button on the top or back) for a few seconds until the LED indicators begin to flash rapidly.
- Once the controller is recognized by the Switch, the player LED(s) on the controller will illuminate solid, indicating successful pairing.
- Agħfas il- Buttuna biex tikkonferma.
Note: For subsequent uses, the controller should automatically reconnect to the last paired Switch console when powered on.
1.4 Connecting to PC/Mobile (Bluetooth)
- Ensure Bluetooth is enabled on your PC or mobile device.
- On the SC3 controller, press and hold the Buttuna ta' Tqabbil for a few seconds until the LED indicators flash rapidly.
- On your PC/mobile device, navigate to Bluetooth settings and search for new devices.
- Select "Gioteck SC3" or similar from the list of available devices to pair.
- The controller's LED will become solid upon successful connection.
1.5 Installing Magnetic Thumb Sticks
The SC3 controller features changeable magnetic thumb sticks. To replace them:
- Gently pull the existing thumb stick straight up to remove it.
- Align the desired magnetic thumb stick with the base and gently push it down until it snaps into place.

Immaġni: Quddiem view of the Gioteck SC3 controller, showcasing the magnetic thumb sticks and button layout.
2. Istruzzjonijiet Operattivi
2.1 Button Layout
The SC3 controller features a traditional button layout. Refer to the image below for button identification.

Immaġni: Quddiem angolat view of the Gioteck SC3 controller, displaying the full button layout including face buttons, D-pad, analog sticks, and shoulder buttons.
- Sticks Analogiċi tax-Xellug/Lemin: Għall-moviment u l-kontroll tal-kamera.
- D-Pad: Input direzzjonali.
- Buttuni A/B/X/Y: Buttuni ta' azzjoni.
- Buttuni L/R/ZL/ZR: Buttuni tal-ispalla u tal-grillu.
- Buttuni +/-: Start/Select equivalents.
- Buttuna tad-dar: Returns to the console's home menu.
- Buttuna Qbid: Jieħu screenshots.
2.2 Buttuni ta' wara Programmabbli
The SC3 controller includes programmable back buttons (M1, M2, M3, M4) for custom assignments.

Immaġni: Wara view of the Gioteck SC3 controller, clearly showing the four programmable back buttons (M1, M2, M3, M4) and textured grips.
Passi ta' Programmazzjoni:
- Agħfas u żomm il- Buttuna tal-Programm (refer to diagram if available, usually a small button on the back) until the LED indicator flashes.
- Agħfas il- Buttuna Lura (M1, M2, M3, or M4) you wish to program. The LED will flash slowly.
- Agħfas il- Buttuna tal-Input (e.g., A, B, X, Y, L, R, ZL, ZR, D-pad direction) you want to assign to the back button.
- Agħfas il- Buttuna tal-Programm again to save the assignment. The LED will stop flashing.
- Repeat for other back buttons as desired.
To clear a programmed button, follow steps 1-2, then press the Program Button again without pressing an input button.
2.3 Personalizzazzjoni tad-Dawl RGB
The controller features customizable RGB lighting. Specific instructions for changing colors or effects are typically found in the product's quick start guide or by pressing a dedicated button combination (e.g., Function + R3).
Consult the quick start guide included with your controller for precise button combinations to adjust RGB lighting.
2.4 Motion Controls
The SC3 controller supports motion controls, allowing for immersive gameplay in compatible Nintendo Switch titles. No special setup is usually required; motion controls activate automatically when supported by the game.
2.5 Audio Headset Jack
A 3.5mm audio headset jack is located on the controller for connecting compatible headsets. It includes dedicated mute and volume control buttons.
- Volum 'il fuq/Niżżel: Aġġusta l-output tal-awdjo.
- Buttuna Mute: Mute/unmute microphone input.

Immaġni: Fuq view of the Gioteck SC3 controller, highlighting the 3.5mm audio jack, volume controls, and mute button.
3. Manutenzjoni
3.1 Tindif
Biex tnaddaf il-kontrollur tiegħek, uża drapp artab u niexef. Għal ħmieġ iebes, nixxef ftit.ampLaħlaħ id-drapp bl-ilma. Evita li tuża kimiċi ħarxa, prodotti tat-tindif li joborxu, jew solventi, għax dawn jistgħu jagħmlu ħsara lill-finitura tal-kontrollur u lill-komponenti interni.
- Do not immerse the controller in water or any other liquid.
- Kun żgur li l-portijiet kollha huma niexfa qabel ma tiċċarġja jew tqabbad apparati.
3.2 Ħażna
Store the controller in a cool, dry place away from direct sunlight and extreme temperatures. Avoid placing heavy objects on the controller to prevent damage.
3.3 Kura tal-Batterija
The controller contains a rechargeable battery. To prolong battery life:
- Evita li tiċċarġja l-batterija kompletament ta' spiss.
- Charge the controller regularly, even if not in use for extended periods (e.g., once every 3-6 months).
- Do not expose the controller to temperatures above 60°C (140°F).
4 Issolvi l-problemi
4.1 Il-Kontrollur Mhux Qed Jikkonnettja/Jiġi Ppariġġjat
- Iċċekkja l-batterija: Kun żgur li l-kontrollur huwa ċċarġjat biżżejjed.
- Erġa 'par: Follow the pairing instructions in Section 1.3 or 1.4.
- Interferenza: Move closer to the console/device and away from potential sources of wireless interference (e.g., Wi-Fi routers, other Bluetooth devices).
- Irrisettja l-Kontrollur: Locate a small reset button (often a pinhole) on the back of the controller. Use a paperclip to press and hold it for a few seconds. Then attempt to re-pair.
- Update Console/Device Software: Ensure your Nintendo Switch, PC, or mobile device's operating system is up to date.
4.2 Buttons/Sticks Not Responding
- Sinkronizzazzjoni mill-ġdid: Skonnettja u erġa' qabbad il-kontrollur.
- Naddaf: Ensure no debris is lodged around the buttons or sticks.
- Test in another game/menu: Determine if the issue is specific to a game or system-wide.
- Irrisettja l-Kontrollur: Perform a hard reset as described above.
4.3 Motion Controls Not Working
- Kompatibbiltà tal-Logħob: Verify that the game you are playing supports motion controls.
- Ikkalibra mill-ġdid: On Nintendo Switch, you can recalibrate motion controls in the system settings.
- Irrisettja l-Kontrollur: Wettaq hard reset.
5. Speċifikazzjonijiet
| Mudell: | Gioteck SC3 Wireless Pro Controller |
| Kompatibilità: | Nintendo Switch (Original, Lite, OLED), PC, Mobile Devices |
| Konnettività: | Bluetooth Wireless |
| Dimensjonijiet (madwar): | 2.87 x 5.35 x 6.34 pulzieri (7.29 x 13.59 x 16.1 ċm) |
| Piż (madwar): | 10.6 uqija (300 gramma) |
| Awdjo Jack: | 3.5mm with mute and volume controls |
| Karatteristiċi Speċjali: | Programmable back buttons, Magnetic thumb sticks, RGB lighting, Motion controls |
6. Informazzjoni dwar Garanzija
The Gioteck SC3 Wireless Pro Controller comes with a manufacturer's warranty. For specific details regarding warranty coverage, duration, and claims process, please refer to the warranty card included with your product or visit the official Gioteck websit.
Jekk jogħġbok żomm il-prova tax-xiri tiegħek għal skopijiet ta' garanzija.
7. Appoġġ għall-Klijent
If you encounter any issues or have questions not covered in this manual, please contact Gioteck customer support. Contact information can typically be found on the product packaging or the official Gioteck websit.
Gioteck Official Websit: www.gioteck.com