
Informazzjoni dwar is-Sigurtà
The ATOMSTACK S20 Pro is a Class 4 laser product. Always wear appropriate laser safety goggles when operating the machine. Never look directly into the laser beam. Ensure the work area is well-ventilated to dissipate fumes. Keep children and pets away from the operating machine.
- Dejjem ilbes nuċċalijiet tas-sigurtà tal-lejżer.
- Żgura ventilazzjoni xierqa fiż-żona tax-xogħol.
- Keep clear of the laser path during operation.
- Do not leave the machine unattended while operating.
- Familiarize yourself with the emergency stop button.
X'hemm fil-Kaxxa
- ATOMSTACK S20 Pro Laser Engraver Unit
- F30 Pro Air Assist Kit (with dual built-in pumps)
- Adapter tal-Enerġija
- Cable USB
- Nuċċalijiet tas-Sigurtà
- One-step Installation Tools
- Manwal għall-Utent
- Test Materials (e.g., wood, metal sampIL)
Gwida ta' Setup
Follow these steps to assemble and prepare your ATOMSTACK S20 Pro Laser Engraver for first use.
1. Spakkjar u Armar
Carefully remove all components from the packaging. Refer to the included "One-step Installation Tools" for assembly.

Image: All components of the ATOMSTACK S20 Pro Laser Engraver laid out on a table, including the main frame, laser module, air assist pump, control panel, and accessories.
2. Connecting the Air Assist Pump
The F30 Pro Air Assist Kit is designed to improve cutting performance and reduce charring. Connect the air assist tube to the laser module and the pump unit.

Image: A close-up of the ATOMSTACK F30 Pro Air Assist Pump connected to the laser engraver, showing the tube interface and power input.
3. Konnessjoni tal-Enerġija
Connect the power adapter to the control unit and plug it into a suitable power outlet.
4. Laser Module Installation and Focusing
Install the laser module onto the gantry. Use the provided focusing tool or adjustable knob to set the correct focal length (typically 4.5mm from the material surface).
Immaġni: Dettaljata view of the ATOMSTACK S20 Pro laser module, highlighting the adjustable knob used for precise focusing.
Installazzjoni Video Tutorial
Video: A step-by-step guide demonstrating the installation process for the ATOMSTACK S20 Pro Laser Engraving Machine.
Istruzzjonijiet Operattivi
The ATOMSTACK S20 Pro offers multiple operating methods for your convenience.
1. Metodi ta' Operazzjoni
- USB tal-kompjuter: Connect the engraver to your computer via USB. Compatible with LightBurn and LaserGRBL software.
- Touchscreen: Utilize the built-in offline control touchscreen for direct operation by inserting a TF card with engraved patterns.
- APP tat-Telefon Mobbli: Use the ATOMSTACK APP (available for Android and Apple) to connect and control the engraver via WiFi.

Image: An illustration showing the three primary connection and control methods for the ATOMSTACK S20 Pro: via Computer USB, directly through the Touch Screen, or wirelessly using a Mobile Phone APP.
2. Offline Engraving via Touchscreen
To perform offline engraving, ensure your TF card contains the desired engraving patterns. Insert the TF card into the control unit. Select "Carve" from the touchscreen menu, choose your file, and initiate the engraving process.
Video: A demonstration of how to achieve offline engraving using the touchscreen interface of the ATOMSTACK S20 Pro.
3. Konnessjoni tal-APP tat-Telefon Mobbli
Download the ATOMSTACK APP from your phone's app store. Connect your mobile phone to the engraver's WiFi network (default password: 12345678). Open the APP, select your engraver, and you can now control it wirelessly.
Video: A guide on connecting the ATOMSTACK S20 Pro to a mobile phone via WiFi and using the dedicated application for control.
4. Engraving and Cutting Materials
The S20 Pro is capable of engraving and cutting a wide variety of materials.

Immaġni: Wirja ta' kollaġġasing various materials that can be engraved or cut by the ATOMSTACK S20 Pro, including wood, metal, acrylic, leather, and more.
5. High Precision Engraving
The 0.08 * 0.1mm laser spot area and 256-bit grayscale ensure high contrast and delicate patterns, especially on metal.

Immaġni: Maqtugħ view of the laser module, illustrating the 4x6W laser coupling technology that achieves 20W output power and a fine 0.08x0.1mm compressed spot for high-precision engraving.
6. Deep and Fast Cutting
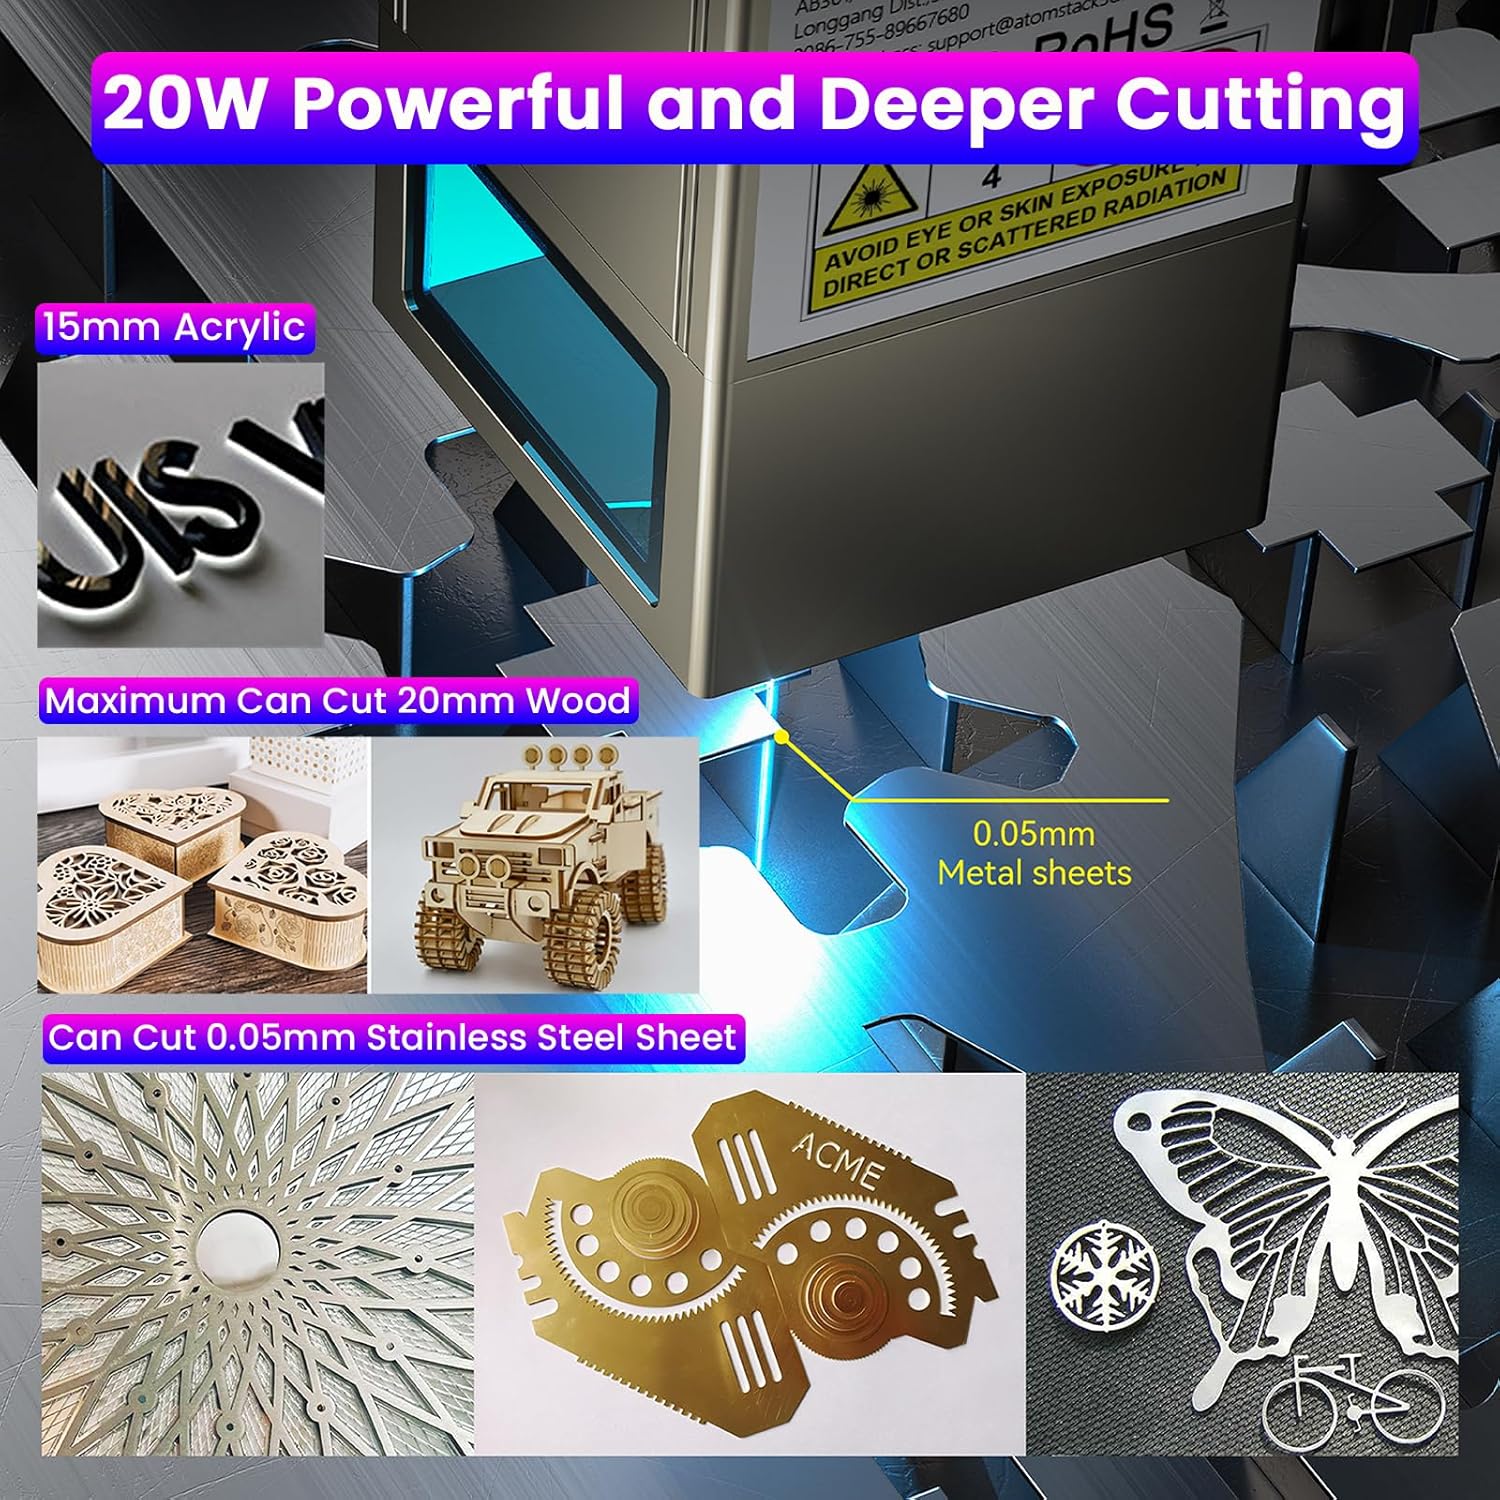
With 20000mW output, the S20 Pro can cut 15-20mm thick tung wood and 8-10mm thick black acrylic in one pass. It can also cut 0.05mm stainless steel. The air assist kit significantly enhances cutting speed and edge cleanliness.
Image: The ATOMSTACK S20 Pro demonstrating its powerful cutting capabilities on various materials, including 15mm acrylic, 20mm wood, and 0.05mm metal sheets.
Manutenzjoni
1. Cleaning the Laser Lens
Regularly clean the laser lens with a soft, lint-free cloth and isopropyl alcohol to ensure optimal performance and prevent residue buildup.
2. Gantry and Rail Lubrication
Periodically lubricate the gantry and rails with a small amount of machine oil to ensure smooth movement of the laser module.
3. Air Assist System Check
Inspect the air assist tube and pump for any blockages or damage. Ensure the air filter (if applicable) is clean.

Image: A comparison showing the effect of the air assist pump on cutting quality, with a smooth, clean edge on the left (with air assist) and a burnt, rough edge on the right (no air assist).
Issolvi l-problemi
1. Laser Not Firing
- Iċċekkja jekk il-kejbil tal-enerġija huwiex imqabbad sew.
- Kun żgur li l-buttuna tal-waqfien ta' emerġenza mhix attivata.
- Verify the laser module is correctly installed and connected.
- Confirm the software settings (power, speed) are appropriate for the material.
2. Poor Engraving/Cutting Quality
- Adjust the focal length of the laser. Incorrect focus is a common cause of poor quality.
- Naddaf il-lenti tal-lejżer.
- Increase laser power or decrease engraving/cutting speed.
- Ensure the material is flat and securely placed.
- Check the air assist system for proper function.
3. Connection Issues (WiFi/USB)
- For WiFi, ensure your device is connected to the engraver's network and the password is correct.
- For USB, ensure the cable is securely connected to both the engraver and the computer. Install necessary drivers if prompted.
- Restart both the engraver and the controlling device.
Customer Testimonial Video
Video: A customer's real-world testing and review of the ATOMSTACK S20 Pro, demonstrating its performance and capabilities.
Speċifikazzjonijiet
| Karatteristika | Dettall |
|---|---|
| Numru tal-Mudell | S20 Pro |
| Optical Laser Power | 20000mW (20W) |
| Qawwa tal-Magni | 130W |
| Żona tal-Post tal-Laser | 0.08 * 0.1mm |
| Motherboard | 32-bit |
| Skala griża | 256-bit |
| Kit ta' Assistenza bl-Ajru | F30 Pro (Dual built-in pumps) |
| Max Wood Cutting Thickness | 15-20mm (Tung wood, single pass) |
| Max Acrylic Cutting Thickness | 8-10mm (Black acrylic, single pass) |
| Max Stainless Steel Cutting Thickness | 0.05mm |
| Dimensjonijiet tal-Prodott | 25.98 x 22.36 x 9.33 pulzieri |
| Piż tal-oġġett | 20 liri |
Garanzija u Appoġġ
For warranty information, technical support, or further assistance, please refer to the official ATOMSTACK websit jew ikkuntattja lis-servizz tal-konsumatur direttament.
The manufacturer is ATOMSTACK, Co, Ltd.
Għal aktar riżorsi u appoġġ, żur il- Ħanut Uffiċjali ta' ATOMSTACK.