1. Introduzzjoni
Thank you for choosing the NEEWER TP-M200 Heavy Duty Video Tripod. This manual provides essential information for the safe and effective use of your tripod. Please read these instructions carefully before operation and retain them for future reference. This tripod is designed for stability and smooth camera movements, suitable for various photography and videography applications with DSLR cameras and camcorders.
2. Prodott Aktarview & Komponenti
The NEEWER TP-M200 tripod features a robust aluminum alloy construction, a 360° fluid drag head, and a quick release plate for versatile camera mounting. Key components include:
- Ras tal-Ġbid tal-Fluwidu: Allows for smooth 360° horizontal panning and -70° to +90° vertical tilting.
- Pjanċa ta' Rilaxx malajr: Equipped with 1/4" and 3/8" screws for broad compatibility with various cameras and camcorders.
- Flip Locks: Securely extend and retract the tripod legs for height adjustment.
- 70mm Bowl Base: Provides stability and allows for quick leveling on uneven surfaces.
- Spreader ta' Livell Nofsani: Enhances stability and allows for precise leg angle adjustments.
- Double Tube Metal Legs: Heavy-duty design for durability and stability.
- Livell tal-bużżieqa: Integrated to ensure the tripod is perfectly balanced.
- Saqajn tal-Lastiku li ma jiżolqux: Provides secure footing on various terrains.

Figure 1: Key structural components including the 70mm bowl base, mid-level spreader, and double tube metal legs.
3. Speċifikazzjonijiet
| Brand | PLUS ĠODDA |
| Isem tal-Mudell | TP-M200 |
| Tip ta' Materjal | Liga tal-Aluminju |
| Għoli Massimu | 200 ċm (79 pulzieri) |
| Għoli Minimu | 88 ċm (34.6 pulzieri) |
| Daqs mitwi | 91 ċm (35.8 pulzieri) |
| Piż tal-oġġett | 5.64 Kilogrammi |
| Limitu tal-Piż | 8 Kilogramma (17.6 lbs) |
| Tip ta' Kap | Kap tal-fluwidu |
| Sezzjonijiet tar-riġlejn | 3 |
| Apparati Kompatibbli | DSLR Cameras, Camcorders, Handheld Cameras, Mirrorless Cameras, Telephoto Lens Cameras, Camera Sliders |
4. Setup
4.1 Kif tiftaħ it-Tripod
- Poġġi t-tripod fuq wiċċ ċatt u stabbli.
- Ħoll il-qfil tas-saqajn fuq kull sieq.
- Extend the legs to the desired height. Ensure all leg sections are fully extended or retracted evenly for optimal stability.
- Securely fasten all flip locks to prevent accidental collapse.

Figure 2: Adjustable height mechanism using flip locks, showing various height configurations from 35.8 inches (91cm) folded to 78.7 inches (200cm) fully extended.
4.2 It-twaħħil tal-Kamera
- Sib il-pjanċa tar-rilaxx rapidu fuq ir-ras tal-fluwidu.
- Press the QR plate release button and slide the quick release plate out.
- Attach the quick release plate to the bottom of your camera or camcorder using the appropriate 1/4" or 3/8" screw. Ensure it is tightened securely.
- Slide the camera with the attached quick release plate back into the fluid head until it clicks into place.
- Tighten the QR plate locking knob to prevent any movement.

Figura 3: Dettaljat view of the quick release plate mechanism and fluid head controls.
4.3 Livellar tat-Tripod
- Adjust the tripod legs until the built-in bubble level indicates a level position.
- For fine adjustments, the 70mm bowl base allows for minor leveling without adjusting the legs. Loosen the bowl base locking knob, adjust the head until level, and then re-tighten the knob.
5. Istruzzjonijiet Operattivi
5.1 Panning u Tilting
- Moviment Pan: Loosen the pan locking knob to allow horizontal rotation (360°). Tighten the knob to lock the head in position.
- Moviment Mejjel: Loosen the tilt locking knob to allow vertical movement (-70° to +90°). Tighten the knob to secure the desired tilt angle.
- Use the fluid head handle for smooth and controlled movements.

Figure 4: Demonstrates the 360° panoramic rotation and vertical tilt range of the fluid head.
5.2 Kapaċità tat-Tagħbija
The tripod has a maximum load capacity of 8 kg (17.6 lbs). Do not exceed this weight limit to ensure stability and prevent damage to the tripod or your equipment.
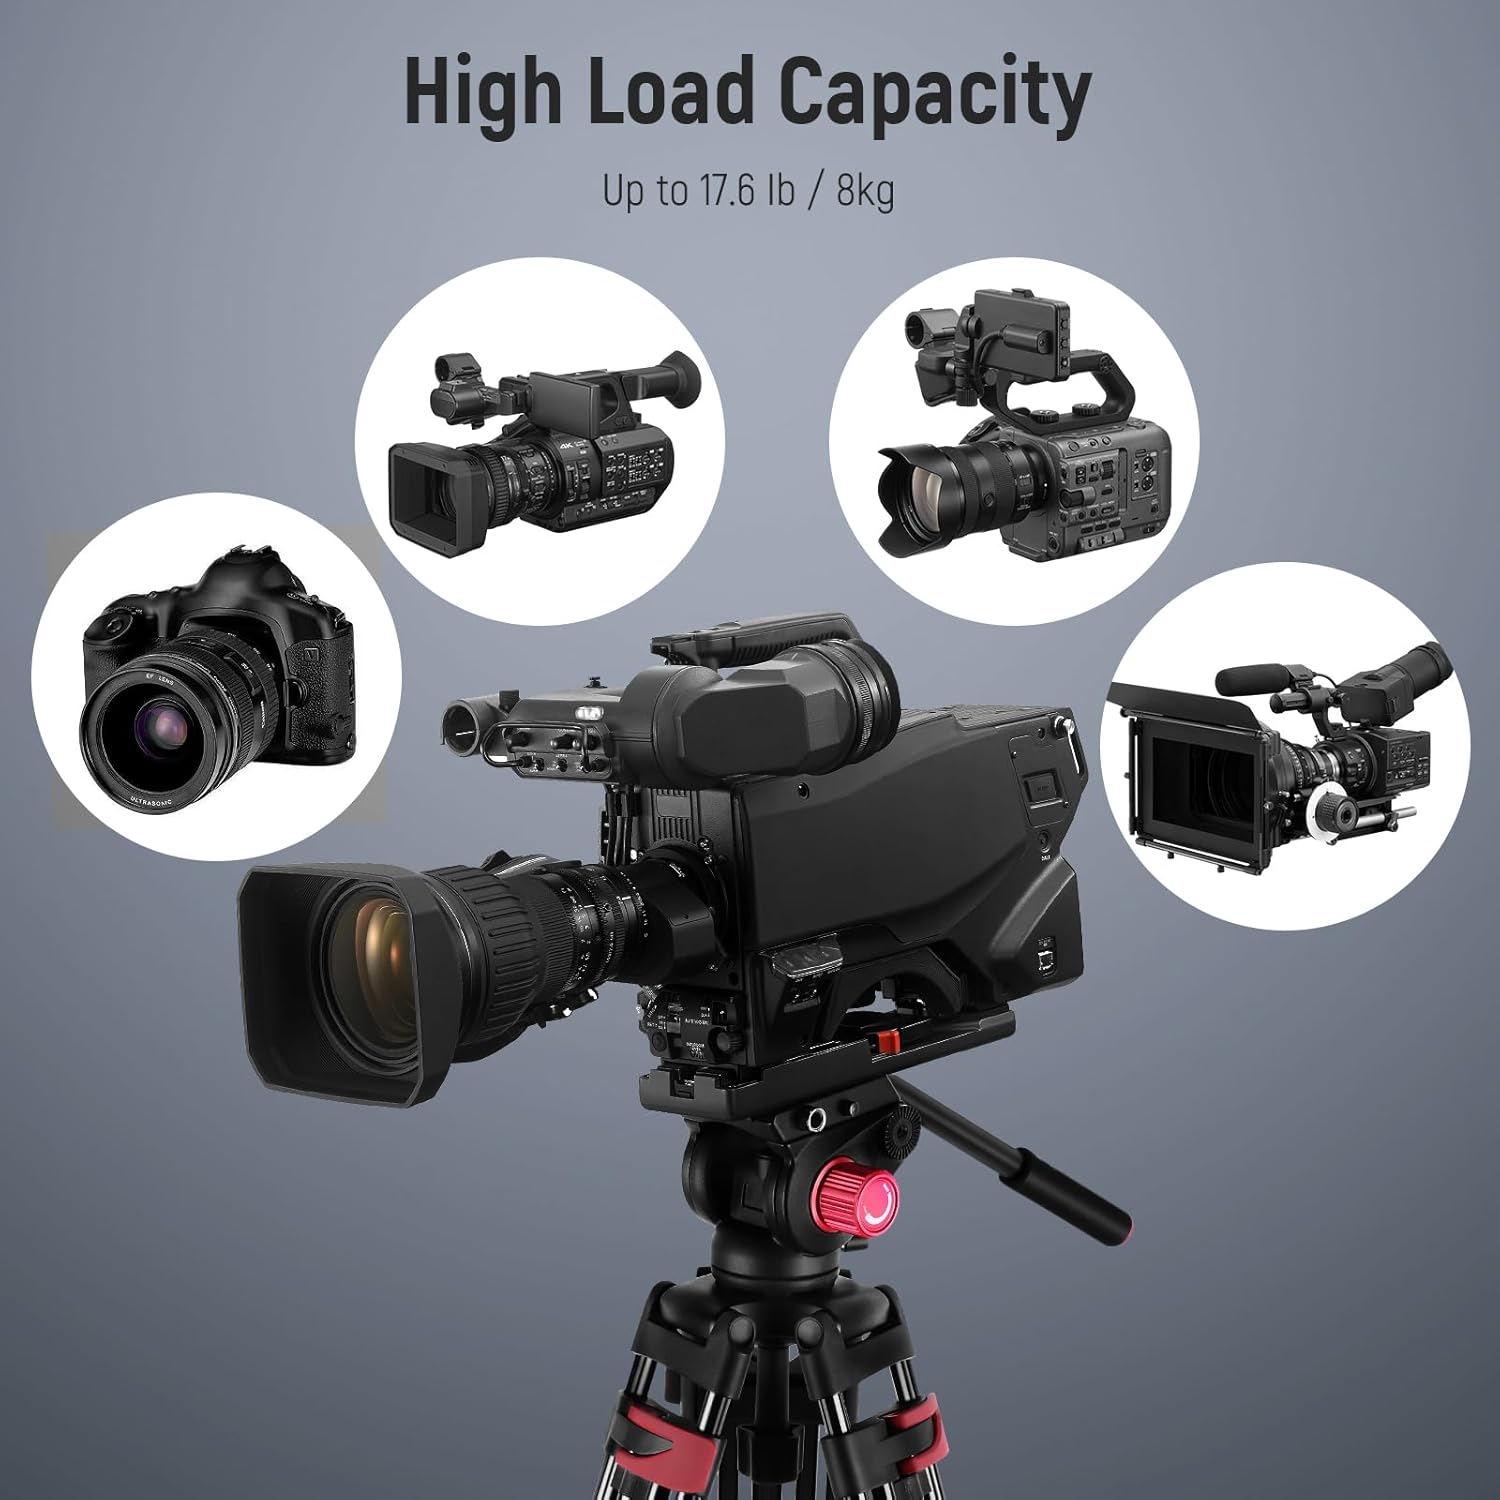
Figure 5: The tripod supports a variety of cameras and camcorders up to its maximum load capacity.
5.3 Kompatibilità
The quick release plate features both 1/4" and 3/8" mounting screws, making it compatible with a wide range of photography and videography equipment, including:
- Kameras DSLR
- Kameras mingħajr mera
- Kameras li jinżammu fl-idejn
- Telephoto Lens Cameras
- Professional Video Cameras
- Camera Sliders

Figure 6: The tripod's quick release plate offers wide compatibility with 1/4" and 3/8" screws.
6. Manutenzjoni
Manutenzjoni xierqa tiżgura l-lonġevità u l-prestazzjoni ottimali tat-tripod tiegħek.
- Tindif: Imsaħ it-tripod b'ċarruta ratba u niexfa wara kull użu. Għal ħmieġ iebes, uża ċarruta ħafifa.amp drapp u sapun ħafif, imbagħad nixxef sew. Evita kimiċi ħarxa.
- Lubrikazzjoni: Periodically check moving parts for smooth operation. If any part feels stiff, apply a small amount of silicone-based lubricant to the joints and locks. Do not over-lubricate.
- Ħażna: Store the tripod in its included carrying bag in a cool, dry place, away from direct sunlight and extreme temperatures.
- Spezzjoni: Spezzjona regolarment il-viti, il-pumi, u s-serraturi tas-saqajn kollha għal sigurtà u użu. Issikka kwalunkwe komponent maħlul u ibdel il-partijiet milbusa kif meħtieġ.
7 Issolvi l-problemi
If you encounter issues with your NEEWER TP-M200 tripod, refer to the following common problems and solutions:
| Problema | Kawża Possibbli | Soluzzjoni |
|---|---|---|
| It-tripod mhux stabbli jew jitħarrek. | Leg locks not fully tightened; uneven surface; weight exceeding capacity. | Ensure all leg locks are securely fastened. Adjust legs for a level surface using the bubble level. Verify camera weight is within the 8kg limit. |
| Fluid head movements are stiff or jerky. | Pan/tilt locking knobs are too tight; lack of lubrication; dirt in mechanism. | Loosen pan/tilt locking knobs slightly. Clean the head and apply a small amount of silicone lubricant if necessary. |
| Il-pjanċa li tinħall malajr mhix imwaħħla sew. | QR plate not fully inserted; locking knob not tightened; obstruction. | Ensure the QR plate is fully seated and clicks into place. Tighten the QR plate locking knob firmly. Check for any debris obstructing the plate slot. |
| Legs do not extend or retract smoothly. | Dirt or debris in leg sections; worn leg locks. | Clean leg sections thoroughly. Inspect leg locks for damage and replace if necessary. |
8. Garanzija u Appoġġ
This NEEWER TP-M200 tripod comes with a Garanzija tal-Manifattur ta' 1 Snin mid-data tax-xiri. Din il-garanzija tkopri difetti fil-materjali u l-abbilità taħt użu normali.
For warranty claims, technical support, or any inquiries regarding your product, please contact NEEWER customer service through the retailer where you purchased the product or visit the official NEEWER websit għal informazzjoni ta' kuntatt.
Jekk jogħġbok żomm il-prova tax-xiri tiegħek għall-validazzjoni tal-garanzija.