1. Introduzzjoni
The EVTSCAN Peakmeter PM8213C is a portable digital multimeter designed for various electrical measurements. This instrument offers stable performance, high precision, and low power consumption, making it a reliable tool for both professional and DIY users. Its compact appearance and comprehensive features ensure accurate readings for voltage, current, resistance, continuity, non-contact voltage (NCV), frequency, and duty cycle.
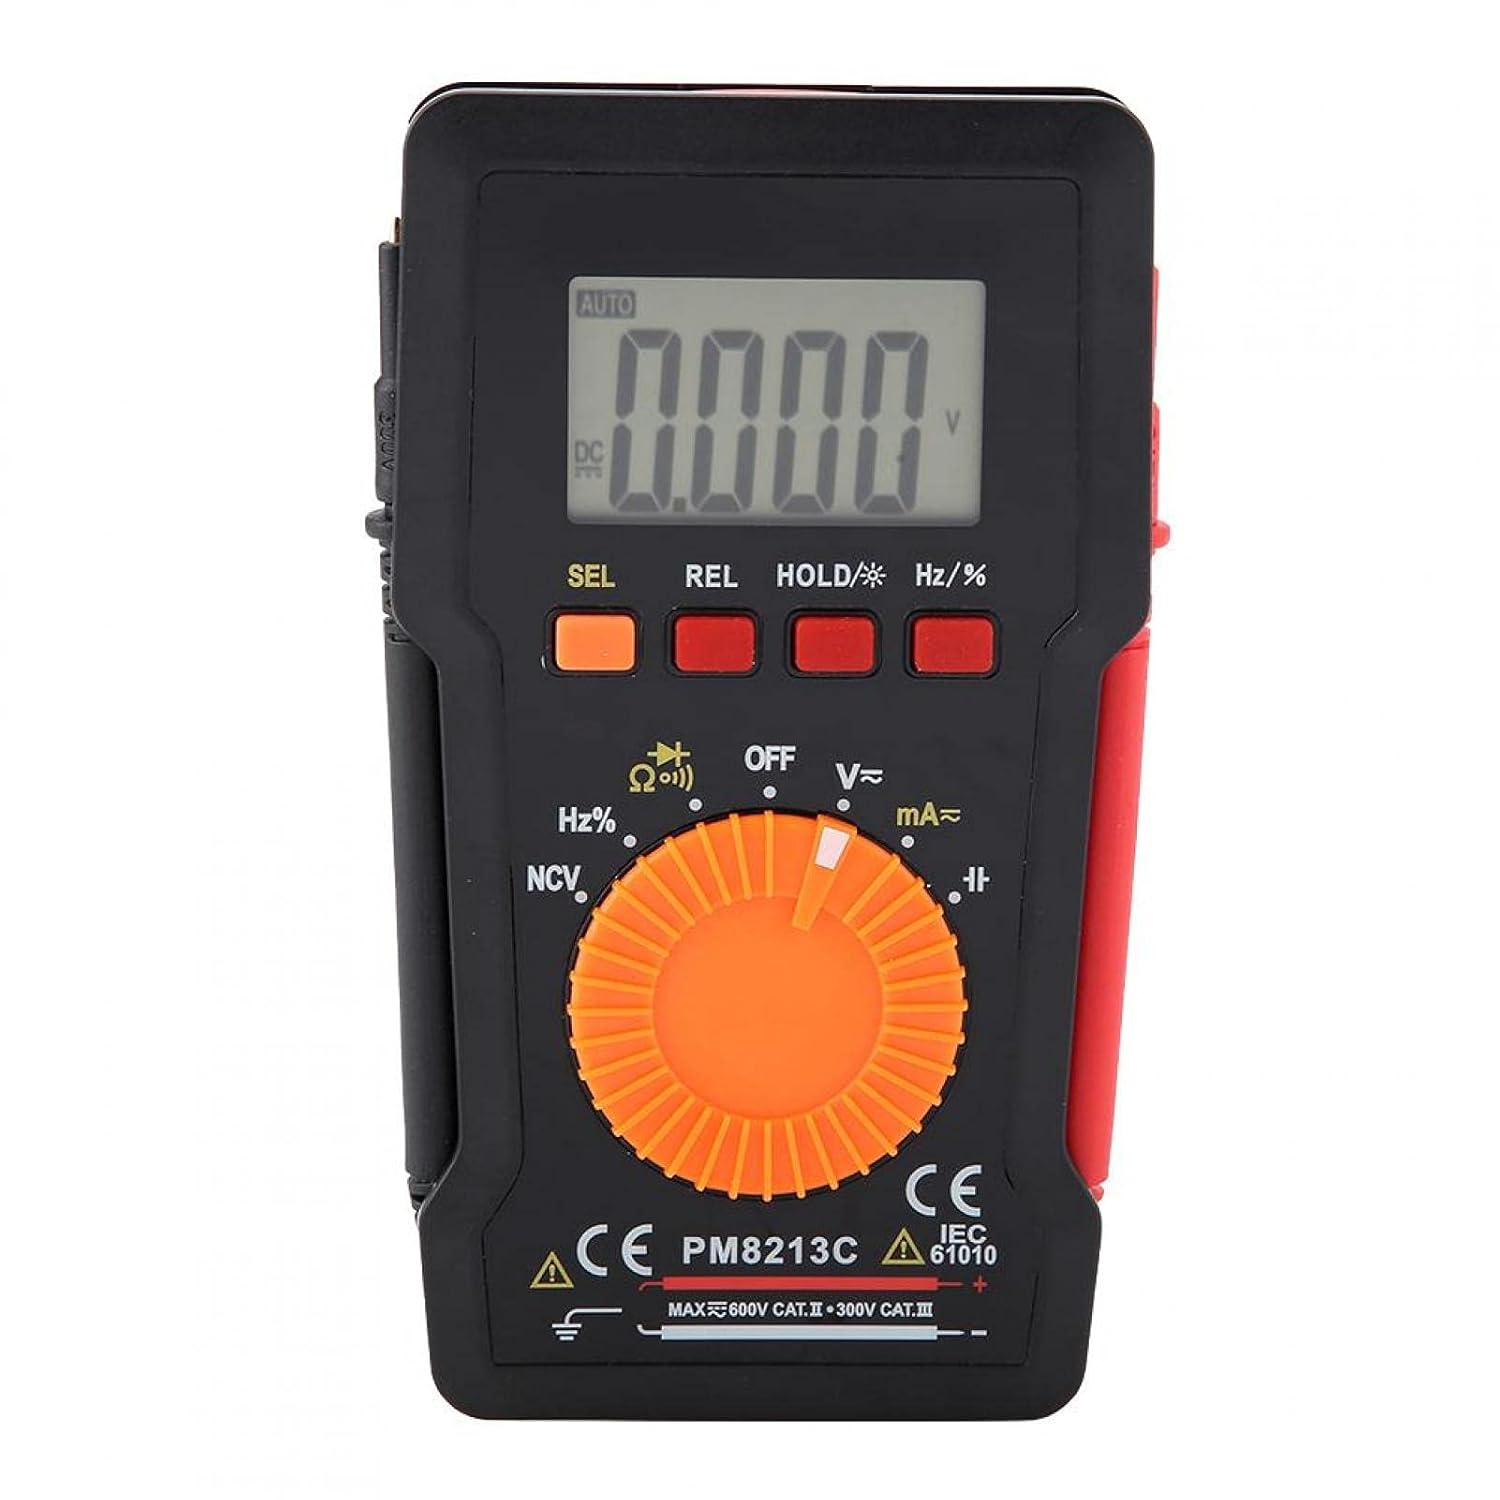
Figura 1: Quddiem view of the EVTSCAN Peakmeter PM8213C Digital Multimeter.
2. Informazzjoni dwar is-Sigurtà
To ensure safe operation and service of the meter, please read this manual carefully before use. Failure to observe safety warnings can result in serious injury or death. Always adhere to local and national safety codes.
- Teċċedix il-limiti massimi tad-dħul għal kwalunkwe funzjoni.
- Oqgħod attent meta taħdem bil-voltag'il fuq minn 30V AC RMS, 42V peak, jew 60V DC. Dawn il-volumitages joħolqu periklu ta' xokk.
- Before measuring current, ensure the meter's test leads are connected to the correct input jacks and the function switch is set to the appropriate current range.
- Dejjem skonnettja l-wajers tat-test miċ-ċirkwit qabel ma tbiddel il-pożizzjoni tas-swiċċ tal-funzjoni.
- Ibdel il-batterija immedjatament meta jidher l-indikatur ta' batterija baxxa biex tiżgura qari preċiż.
- Do not operate the meter if it appears damaged or if the protective casing jitneħħa.
- Żomm idejk u subgħajk wara l-ostakli tas-sonda waqt il-kejl.
3. Prodott Aktarview
3.1. Komponenti
The PM8213C multimeter consists of the following main components:
- Display LCD: Juri l-qari tal-kejl, l-unitajiet, u l-indikaturi tal-funzjoni.
- Buttuni tal-Funzjoni: SEL (Select), REL (Relative), HOLD (Data Hold), Hz/% (Frequency/Duty Cycle).
- Swiċċ li jdur: Used to select the desired measurement function (e.g., V~, V-, Ω, Continuity, NCV, Hz%, mA~, A~).
- Ġakkijiet tad-dħul: Terminals for connecting test leads (COM, VΩHz, mA, A).
- Test Leads: Red and black leads for connecting to the circuit under test.
- Kawża Protettiva: Provides protection for the meter.

Figure 2: Key features of the PM8213C Multimeter, including LCD screen and compact design.
3.2. Wiri Simboli
Familiarize yourself with the symbols that may appear on the LCD display:
- AUTO: Il-modalità awtomatika tal-firxa hija attiva.
- DC/AC: Direct Current / Alternating Current.
- V: Volts (Voltagu).
- Ω: Ohms (Resistance).
- Hz: Hertz (Frequency).
- %: Ċiklu ta' Dazju.
- NCV: Mhux Kuntatt VoltagSejbien.
- ŻOMM: Data Hold function is active.
- REL: Modalità ta' kejl relattiva.
- Simbolu tal-Batterija: Jindika qawwa baxxa tal-batterija.
- OOL: Over-range indication.
4. Setup
4.1. Installazzjoni tal-batterija
The PM8213C requires one CR2032 (3V) button cell battery for operation. The battery is typically not included in the package.
- Kun żgur li l-multimetru huwa MITFI.
- Sib il-kompartiment tal-batterija fuq wara tal-miter.
- Use a suitable tool (e.g., a small screwdriver) to open the battery compartment cover.
- Insert the CR2032 battery, observing the correct polarity (+ and - markings).
- Ibdel l-għatu tal-kompartiment tal-batterija u waħħalha.
4.2. Konnessjoni tal-wajer tat-test
Connect the test leads to the appropriate input jacks before taking any measurements.
- Qabbad il- iswed ċomb tat-test għall- COM jack tad-dħul (komuni).
- Għal ħafna kejl (voltage, resistance, frequency, duty cycle, continuity), connect the aħmar ċomb tat-test għall- VΩHz jack tad-dħul.
- For current measurements (mA), connect the aħmar ċomb tat-test għall- mA jack tad-dħul.
- For higher current measurements (A), connect the aħmar ċomb tat-test għall- A input jack (if available and distinct from mA). Note: The PM8213C typically uses a single current input for mA/A, check the dial for specific ranges.
5. Istruzzjonijiet Operattivi
5.1. Power On/Off
To turn the multimeter ON, rotate the function switch from the OFF position to any desired measurement function. To turn the multimeter OFF, rotate the function switch to the OFF position. The meter features an automatic power-off function after approximately 30 minutes of inactivity to conserve battery life.
5.2. Għażla tal-Funzjoni
Use the rotary switch to select the primary measurement function. For functions with multiple modes (e.g., AC/DC voltage, continuity/diode), press the SEL button to toggle between modes.
5.3. Kejl tal-Volum DCtage (V-)
- Qabbad il-wajer tat-test aħmar mal-jack VΩHz u l-wajer tat-test iswed mal-jack COM.
- Set the rotary switch to the V- position.
- Connect the test leads in parallel to the DC voltage source or component you wish to measure.
- Aqra l-voltage valur fuq il-wiri LCD.
5.4. Kejl AC Voltage (V~)
- Qabbad il-wajer tat-test aħmar mal-jack VΩHz u l-wajer tat-test iswed mal-jack COM.
- Set the rotary switch to the V~ position.
- Qabbad il-wajers tat-test b'mod parallel mal-vultaġġ ACtagsors jew komponent elettroniku.
- Aqra l-voltage valur fuq il-wiri LCD.
5.5. Kejl tar-Reżistenza (Ω)
- Kun żgur li ċ-ċirkwit ma jkollux l-enerġija qabel ma tkejjel ir-reżistenza.
- Qabbad il-wajer tat-test aħmar mal-jack VΩHz u l-wajer tat-test iswed mal-jack COM.
- Issettja s-swiċċ rotatorju għall-pożizzjoni Ω.
- Qabbad il-wajers tat-test mal-komponent li tiegħu trid tkejjel ir-reżistenza.
- Aqra l-valur tar-reżistenza fuq id-displej LCD.
5.6. Test tal-Kontinwità (Ω))))
- Kun żgur li ċ-ċirkwit ma jkollux l-enerġija.
- Qabbad il-wajer tat-test aħmar mal-jack VΩHz u l-wajer tat-test iswed mal-jack COM.
- Set the rotary switch to the Continuity position (often shared with Resistance or Diode). Press SEL if needed to select continuity.
- Qabbad il-wajers tat-test mal-komponent jew mal-wajer.
- Jekk teżisti kontinwità (reżistenza baxxa), il-miter se joħroġ ħoss ta' ħoss.
5.7. Mhux ta' Kuntatt Voltage (NCV) Sejbien
- Issettja s-swiċċ rotatorju għall-pożizzjoni NCV.
- Move the top edge of the multimeter close to the conductor suspected of having AC voltage.
- Il-miter jindika l-preżenza tal-volum tal-ACtage through an audible beep and/or visual indicator (e.g., LED).
5.8. Kejl tal-Frekwenza (Hz) u ċ-Ċiklu ta' Dazju (%)
- Qabbad il-wajer tat-test aħmar mal-jack VΩHz u l-wajer tat-test iswed mal-jack COM.
- Set the rotary switch to the Hz/% position.
- Qabbad il-wajers tat-test b'mod parallel mas-sors tas-sinjal.
- Agħfas il- Hz /% button to toggle between frequency and duty cycle measurements.
- Aqra l-valur fuq il-wiri LCD.
5.9. Measuring Current (mA~, A~)
- TWISSIJA: Never connect the meter in parallel to a voltage source when measuring current. This will blow the fuse and can damage the meter.
- Kun żgur li ċ-ċirkwit ma jkollux l-enerġija.
- Qabbad iċ-ċomb iswed tat-test mal-jack COM.
- Għal milliampere (mA) measurements, connect the red test lead to the mA jack. For ampere (A) measurements, connect the red test lead to the A jack (if separate).
- Set the rotary switch to the appropriate mA~ or A~ position.
- Open the circuit where you want to measure current and connect the meter in series with the load.
- Re-energize the circuit and read the current value on the LCD display.
6. Manutenzjoni
6.1. Tindif
Imsaħ il-kaxxa tal-miter b'reklamaramp drapp u deterġent ħafif. Tużax abrażivi jew solventi. Żomm it-terminals tad-dħul ħielsa mill-ħmieġ u l-umdità.
6.2. Sostituzzjoni tal-batterija
When the low battery indicator appears on the display, replace the CR2032 battery promptly to ensure accurate measurements.
- Turn the multimeter OFF and disconnect all test leads.
- Iftaħ l-għatu tal-kompartiment tal-batterija fuq wara tal-meter.
- Neħħi l-batterija CR2032 l-antika.
- Insert a new CR2032 (3V) button cell battery, ensuring correct polarity.
- Agħlaq sewwa l-għatu tal-kompartiment tal-batterija.
6.3. Sostituzzjoni tal-fjus
If the current measurement function stops working, the fuse may need replacement. The fuse specification is F 400mA/250V.
- Turn the multimeter OFF and disconnect all test leads.
- Open the meter's casing (refer to the battery replacement section for access, or consult the full service manual if necessary).
- Locate the blown fuse.
- Carefully remove the old fuse and replace it with a new fuse of the exact same type and rating (F 400mA/250V).
- Reassemble the meter's casing b'mod sigur.
7 Issolvi l-problemi
If the meter does not function correctly, check the following points before seeking service:
- L-ebda wiri jew wiri dgħajjef: Iċċekkja l-installazzjoni tal-batterija u ibdel jekk meħtieġ.
- Qari mhux korrett: Ensure test leads are correctly connected to the appropriate input jacks and the rotary switch is set to the correct function and range. Check battery level.
- Il-kejl tal-kurrent mhux qed jaħdem: Check and replace the fuse if blown. Ensure test leads are connected in series with the circuit.
- "OOL" displayed: The measured value exceeds the selected range. Switch to a higher range or ensure the input is within the meter's capabilities.
8. Speċifikazzjonijiet
| Altitudni | Inqas minn 2000 m |
| Temperatura operattiva | 0 ~ 40 °C |
| Umdità Operattiva | <80% RH (not considered at <10 °C) |
| Temperatura tal-Ħażna | -10 ~ 60 °C |
| Umdità tal-Ħażna | <70% RH (remove batteries) |
| Koeffiċjent tat-Temperatura | 0.1 precision/°C |
| Max Permissibbli Voltage (Input għall-Art) | 600V DC jew AC rms |
| Protezzjoni tal-Fjusis | F 400mA/250V |
| SampRata tal-linarda | Approximately 3 times/second |
| Auto Power Mitfi | Madwar 30 minuta |
| Wiri | Maximum 3999 counts |
| Over-range Display | "OOL" |
| Provvista tal-Enerġija | CR2032 (3V) button cell battery |
| Piż | Approximately 120 - 142 g |
| Dimensjonijiet (L x W x H) | 127 x 70 x 12.5 mm (madwar 12.8 x 7.5 x 1.3 ċm) |
8.1. DC Voltage (PM8213C)
| Firxa | Riżoluzzjoni | Eżattezza |
|---|---|---|
| 4 V | 0.001 V | ±(0.1% + 3 ċifri) |
| 40 V | 0.01 V | ±(0.1% + 3 ċifri) |
| 400 V | 0.1 V | ±(0.1% + 3 ċifri) |
| 600 V | 1 V | ±(0.1% + 3 ċifri) |
8.2. Kontenut tal-Pakkett
- 1 x Digital Multimeter (PM8213C)
- 2 x Test Leads
- 1 x Kawża Protettiva
9. Garanzija u Appoġġ
Għal informazzjoni dwar il-garanzija jew appoġġ tekniku, jekk jogħġbok ikkuntattja lill-bejjiegħ jew lill-manifattur direttament. Żomm l-irċevuta tax-xiri tiegħek bħala prova tax-xiri.