1. Introduzzjoni
Thank you for choosing the InFocus P120 INL412 Multimedia Projector. This manual provides essential information for the safe and efficient operation of your projector. Please read it thoroughly before using the device and retain it for future reference. The InFocus P120 INL412 is designed for versatile multimedia presentations, offering clear and vibrant images for various applications.
2. Informazzjoni dwar is-Sigurtà
To ensure safe operation and prevent damage to the projector, please observe the following safety precautions:
- Timblokkax il-fetħiet tal-ventilazzjoni. Kun żgur li jkun hemm biżżejjed spazju madwar il-proġettazzjoni għal fluss tal-arja xieraq biex tevita li jisħon iżżejjed.
- Evita li tħares direttament fil-lenti tal-proġekter meta l-lamp ikun mixgħul, għax id-dawl qawwi jista’ jikkawża ħsara lill-għajnejn.
- Do not place the projector on an unstable cart, stand, or table. The projector may fall, causing serious injury to a child or adult, and serious damage to the unit.
- Skonnettja l-korda tal-enerġija mis-sokit tal-ħajt jekk il-proġettazzjoni ma tkunx se tintuża għal perjodu estiż.
- Irreferi kull servizz lil persunal tas-servizz kwalifikat. Tippruvax tiftaħ jew issewwi l-proġettazzjoni int stess.
- Keep the projector away from water or moisture. Do not expose it to rain or immerse it in liquid.
- Use only the power cord supplied with the projector or an authorized replacement.
3. Kontenut tal-Pakkett
Verify that all items listed below are included in your projector package:
- InFocus P120 INL412 Multimedia Projector
- Korda tal-Enerġija
- Kontroll mill-bogħod bil-batteriji
- Kejbil VGA
- Manwal għall-Utent (dan id-dokument)
- Gwida Quick Start
4. Prodott Aktarview
Familiarize yourself with the main components of your InFocus P120 INL412 projector.
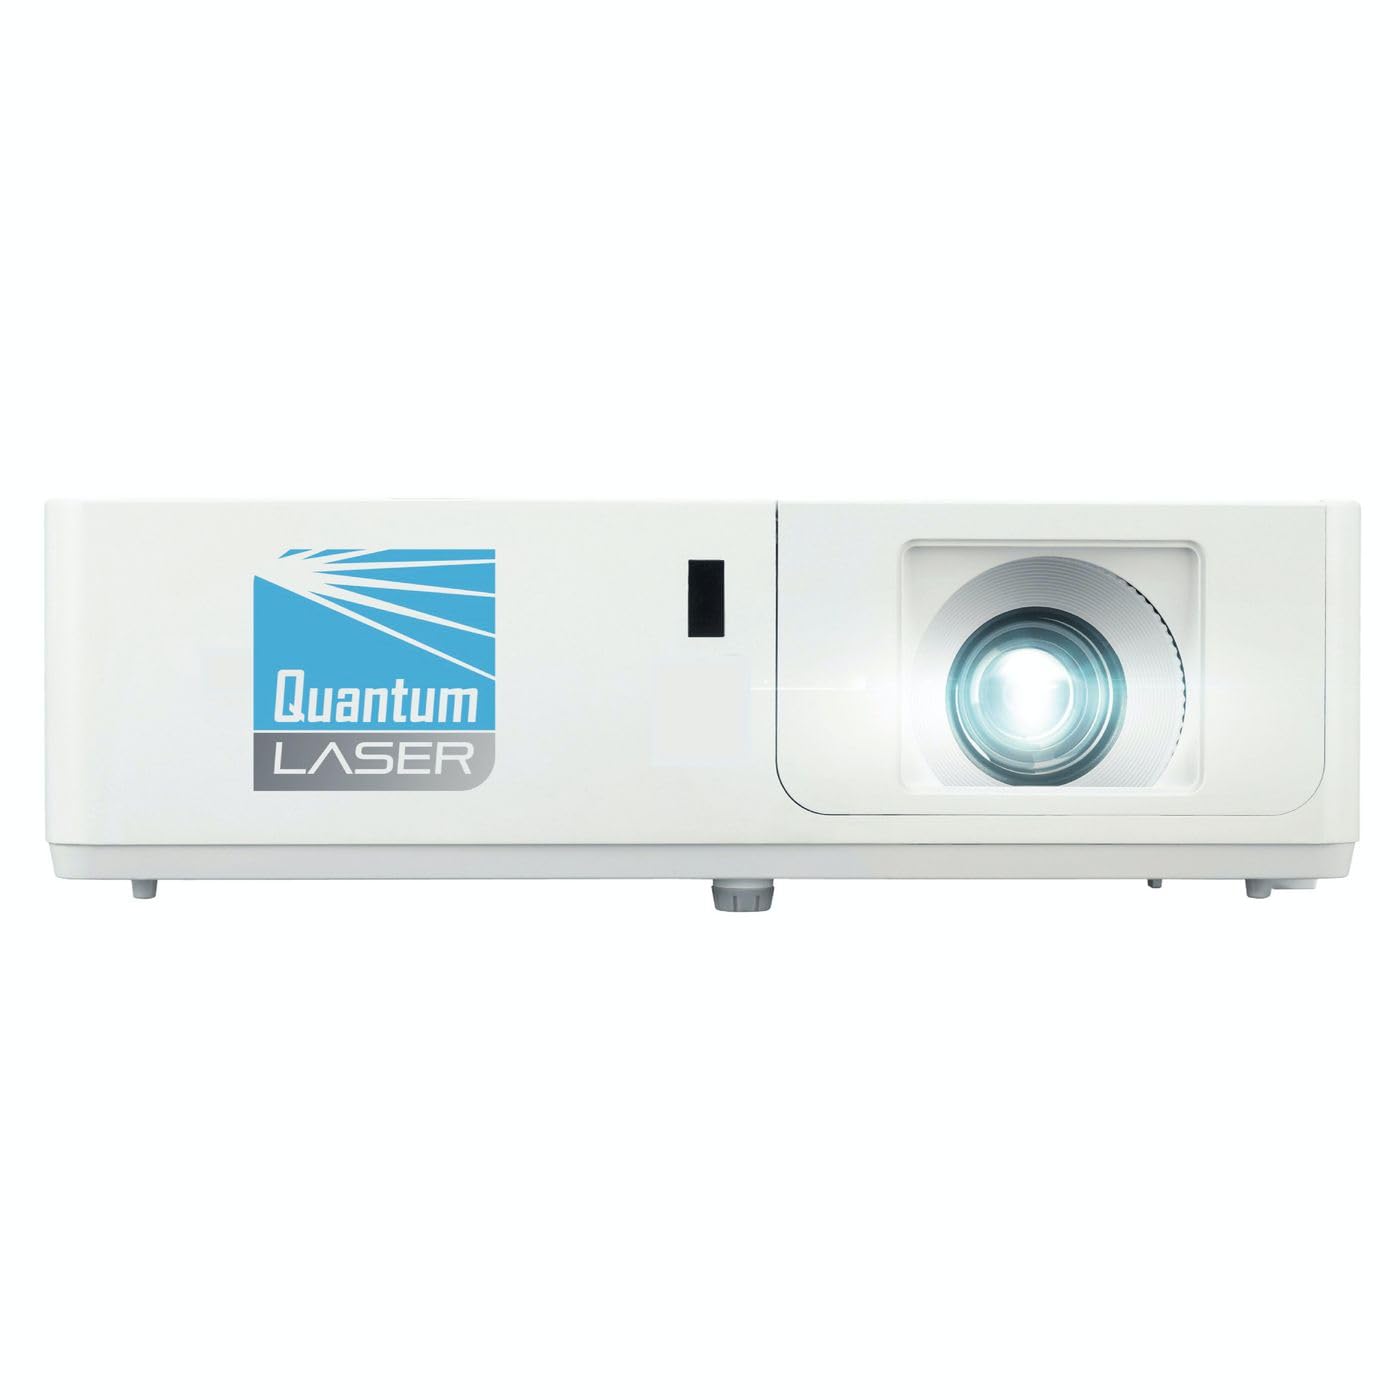
Stampa 1: Quddiem view of the InFocus P120 INL412 Multimedia Projector, showing the lens and ventilation grilles.
4.1 Panel ta 'Quddiem
- Lenti tal-Projezzjoni: Titfa' l-immaġni fuq l-iskrin.
- Ċirku tal-Fokus: Jaġġusta ċ-ċarezza tal-immaġni pproġettata.
- Ċirku Zoom: Adjusts the size of the projected image.
- Riċevitur IR: Jirċievi sinjali mill-kontroll remot.
4.2 Panel ta 'Fuq
- Panel tal-Kontroll: Buttuni għall-qawwa, navigazzjoni fil-menu, għażla tas-sors, u korrezzjoni tat-trapezoidal.
- Dwal indikaturi: Display the projector's status (e.g., power, lamp, temperature).
4.3 Rear Panel (Connectivity)
- Input HDMI: Connects to HDMI-enabled devices (laptops, Blu-ray players).
- Input VGA: Connects to computers with VGA output.
- Port USB: For service or connecting USB devices (if supported by model).
- Awdjo In/Out: For connecting external audio sources or speakers.
- Daħla tal-Qawwa: Tqabbad il-korda tad-dawl.
5. Setup
Segwi dawn il-passi għas-setup inizjali tal-proġekter tiegħek:
- Pjazzament: Place the projector on a stable, flat surface or mount it securely. Ensure the projector is positioned at an appropriate distance from the screen to achieve the desired image size.
- Konnessjoni tal-Enerġija: Connect the power cord to the projector's power inlet and then to a grounded electrical outlet.
- Qabbad Apparat Sors: Connect your source device (e.g., laptop, DVD player) to the projector using an appropriate cable (HDMI, VGA, etc.). Ensure the cable is securely connected to both the source and the projector.
- Qawwa Mixgħul: Press the power button on the projector's control panel or the remote control to turn on the projector. The power indicator light will illuminate.
- Adjust Focus and Zoom: Once an image is projected, rotate the focus ring on the lens until the image is sharp and clear. Use the zoom ring to adjust the image size to fit your screen.
- Korrezzjoni Keystone: If the image appears trapezoidal, use the keystone correction function (either via buttons on the projector/remote or through the on-screen menu) to square the image.
6. Istruzzjonijiet Operattivi
6.1 Power On/Off
- Biex Tixgħel: Press the power button once. The projector will go through a warm-up sequence.
- Biex Tifi: Press the power button twice. The first press will prompt a shutdown confirmation; the second press will initiate shutdown. Allow the projector to cool down completely before unplugging.
6.2 Għażla tas-Sors
Press the 'Source' button on the projector or remote control to cycle through available input sources (HDMI, VGA, etc.) until your desired source is displayed.
6.3 Navigazzjoni tal-Menu
Press the 'Menu' button to access the on-screen display (OSD) menu. Use the arrow buttons to navigate through options and 'Enter' or 'OK' to select. Use the 'Exit' or 'Menu' button to close the OSD.
- Settings tal-Immaġni: Adjust brightness, contrast, color, aspect ratio, and picture mode.
- Issettjar tal-wiri: Configure keystone, projection mode (front/rear, desktop/ceiling), and resolution.
- Settings tal-awdjo: Control volume and audio output options.
- Issettjar tas-Sistema: Manage language, timer, power-saving modes, and factory reset.
7. Manutenzjoni
Manutenzjoni regolari tiżgura prestazzjoni ottimali u testendi l-ħajja tal-proġettazzjoni tiegħek.
- Tindif tal-Lenti: Imsaħ il-lenti tal-proġettazzjoni bil-mod b'ċarruta ratba u mingħajr suf, iddisinjata speċifikament għal uċuħ ottiċi. Tużax prodotti tat-tindif li joborxu jew forza eċċessiva.
- Tindif tal-Kabinett: Use a soft, dry cloth to clean the projector's exterior. For stubborn marks, dampen the cloth slightly with water. Avoid using harsh chemicals.
- Tindif/Sostituzzjoni tal-Filtru tal-Arja: Check the air filter periodically. If your model has a removable filter, clean it with a soft brush or vacuum cleaner. Replace the filter as recommended in the on-screen menu or when visibly dirty to maintain proper ventilation.
- Lamp Sostituzzjoni: Il-proġekter lamp għandu ħajja finita. Meta l-lamp life indicator appears, or the image brightness significantly decreases, replace the lamp according to the instructions provided in the full service manual or by a qualified technician. Always allow the projector to cool down completely before attempting lamp sostituzzjoni.
8 Issolvi l-problemi
Irreferi għat-tabella t'hawn taħt għal kwistjonijiet komuni u s-soluzzjonijiet tagħhom:
| Problema | Kawża Possibbli | Soluzzjoni |
|---|---|---|
| Ebda immaġini murija | Power cord disconnected, incorrect input source, source device off. | Check power connections. Select correct input source. Ensure source device is powered on. |
| L-immaġni hija mċajpra | Lens out of focus, incorrect projection distance. | Adjust the focus ring on the lens. Reposition the projector closer or further from the screen. |
| L-immaġni hija trapezojdali | Il-proġettur mhux perpendikolari mal-iskrin. | Use keystone correction (manual or automatic) to square the image. |
| Il-proġettur jisħon iżżejjed u jintefa | Blocked ventilation, dirty air filter. | Kun żgur li jkun hemm spazju vojt madwar il-ventijiet. Naddaf jew ibdel il-filtru tal-arja. |
| Il-kontroll mill-bogħod ma jaħdimx | Dead batteries, obstruction between remote and projector, incorrect angle. | Replace batteries. Ensure clear line of sight to IR receiver. Point remote directly at the projector. |
9. Speċifikazzjonijiet
Key technical specifications for the InFocus P120 INL412 Multimedia Projector:
| Karatteristika | Speċifikazzjoni |
|---|---|
| Numru tal-Mudell | P120 INL412 (Item model number: 7296144) |
| Tip ta 'Wiri | DLP |
| Riżoluzzjoni Nattiva | 1280 x 800 |
| Riżoluzzjoni Massima tal-Wiri | 1280 x 800 |
| Teknoloġija tal-Konnettività | USB (and other standard inputs like HDMI, VGA) |
| Dimensjonijiet tal-Prodott | 5.25 x 0.31 x 1.66 pulzieri |
| Piż tal-oġġett | 6.6 liri |
| Manifattur | In Focus |
10. Garanzija u Appoġġ
The InFocus P120 INL412 Multimedia Projector comes with a standard manufacturer's warranty. Please refer to the warranty card included in your package for specific terms and conditions, including warranty duration and coverage details. For technical support, service, or further inquiries, please visit the official InFocus support websit jew ikkuntattja lid-dipartiment tas-servizz tal-konsumatur tagħhom.
Għall-aktar informazzjoni ta' appoġġ aġġornata, jekk jogħġbok żur: www.infocus.com/support