
Introduzzjoni
This manual provides essential information for the safe and effective operation of your Amewi Buzzard V2 Single-Rotor Helicopter. Please read these instructions thoroughly before first use to ensure proper handling and to maximize your flying experience.

Informazzjoni dwar is-Sigurtà
Warning: Do not give this model to children below the indicated age limit. Do not allow children to play unsupervised.
Always operate the helicopter in a safe environment, away from people, animals, and obstacles. Ensure sufficient clear space for flight. Avoid flying near power lines, roads, or water bodies. Do not fly in strong winds or adverse weather conditions. Always maintain visual contact with the helicopter during operation.
X'hemm fil-Kaxxa
Upon opening your Amewi Buzzard V2 package, you should find the following components:
- Amewi Buzzard V2 Helicopter Model
- Trasmettitur ta' 2.4 GHz (Kontroll mill-Bogħod)
- LiPo Battery (2S 7.4V 1300mAh)
- Cable tal-Iċċarġjar tal-USB
- Spare Main Rotor Blades
- Spare Tail Rotor Blades
- Tornavit
- User Manual (DE/EN)
Setup
1. Installazzjoni tal-Batterija tat-Trasmettitur
The transmitter requires 6 AA 1.5V batteries (not included). Open the battery compartment on the back of the transmitter, insert the batteries with correct polarity, and close the compartment securely.
2. Helicopter Battery Charging
The helicopter's LiPo battery (2S 7.4V 1300mAh 20C) comes in a hard case with an integrated USB charging port. Connect the provided USB charging cable to the battery and a suitable USB power source (e.g., computer USB port, USB wall adapter). The charging time is approximately 2-3 hours. The indicator light on the USB cable will show charging status (typically red for charging, off or green for fully charged).
3. Helicopter Battery Installation
Carefully insert the fully charged LiPo battery into the helicopter's battery compartment. Ensure the battery connector is securely plugged into the helicopter's power port. Close the battery compartment cover.
4. Binding the Transmitter and Helicopter
Ensure both the helicopter and transmitter are powered off. First, power on the transmitter. Then, power on the helicopter. The helicopter and transmitter should automatically bind. Wait for the indicator lights on both devices to confirm a successful connection (e.g., solid light on the helicopter, specific sound or light on the transmitter).
Istruzzjonijiet Operattivi
Automatic Take-off and Landing
The Buzzard V2 features an automatic take-off/landing function for ease of use. Press the designated button on the transmitter (usually marked with an arrow or helicopter icon) to initiate an automatic take-off. The helicopter will ascend to a stable hover height of approximately 1 to 1.2 meters. To land, press the same button again, and the helicopter will gently descend and shut off its motor upon reaching the ground.
Manual Flight Controls (Mode 2)
In Mode 2 (the default configuration), the left stick controls throttle and rudder, while the right stick controls cyclic movements.
- Left Stick Up/Down: Controls the helicopter's altitude (ascend/descend) by increasing jew tnaqqisasing rotor speed.
- Left Stick Left/Right: Controls the helicopter's rotation around its vertical axis (rudder), making it turn left or right.
- Right Stick Up/Down: Controls the helicopter's forward and backward movement.
- Right Stick Left/Right: Controls the helicopter's sideward movement (left/right).
Funzjoni ta' Rata Doppja
The transmitter includes a Dual Rate function, which allows you to switch between two speed levels. This feature limits the servo travel, providing either a more stable and less sensitive control for beginners or a more agile and responsive control for experienced pilots. Refer to your transmitter's specific buttons for activating this function.
Kalibrazzjoni tal-Ġiroskopju
If the helicopter exhibits unwanted drifting during flight, a gyro calibration may be necessary. Power on the helicopter and transmitter, then place the helicopter on a flat, level surface. Consult the included DE/EN manual for the precise sequence of stick movements or button presses required to perform a gyro calibration.
Operazzjoni ta' Barra
With its robust design and powerful motor, the Amewi Buzzard V2 is well-suited for outdoor flight, even in light wind conditions. Always ensure you have a large, clear flying area free from obstructions and people.
Manutenzjoni
Sostituzzjoni tax-xafra tar-rotor
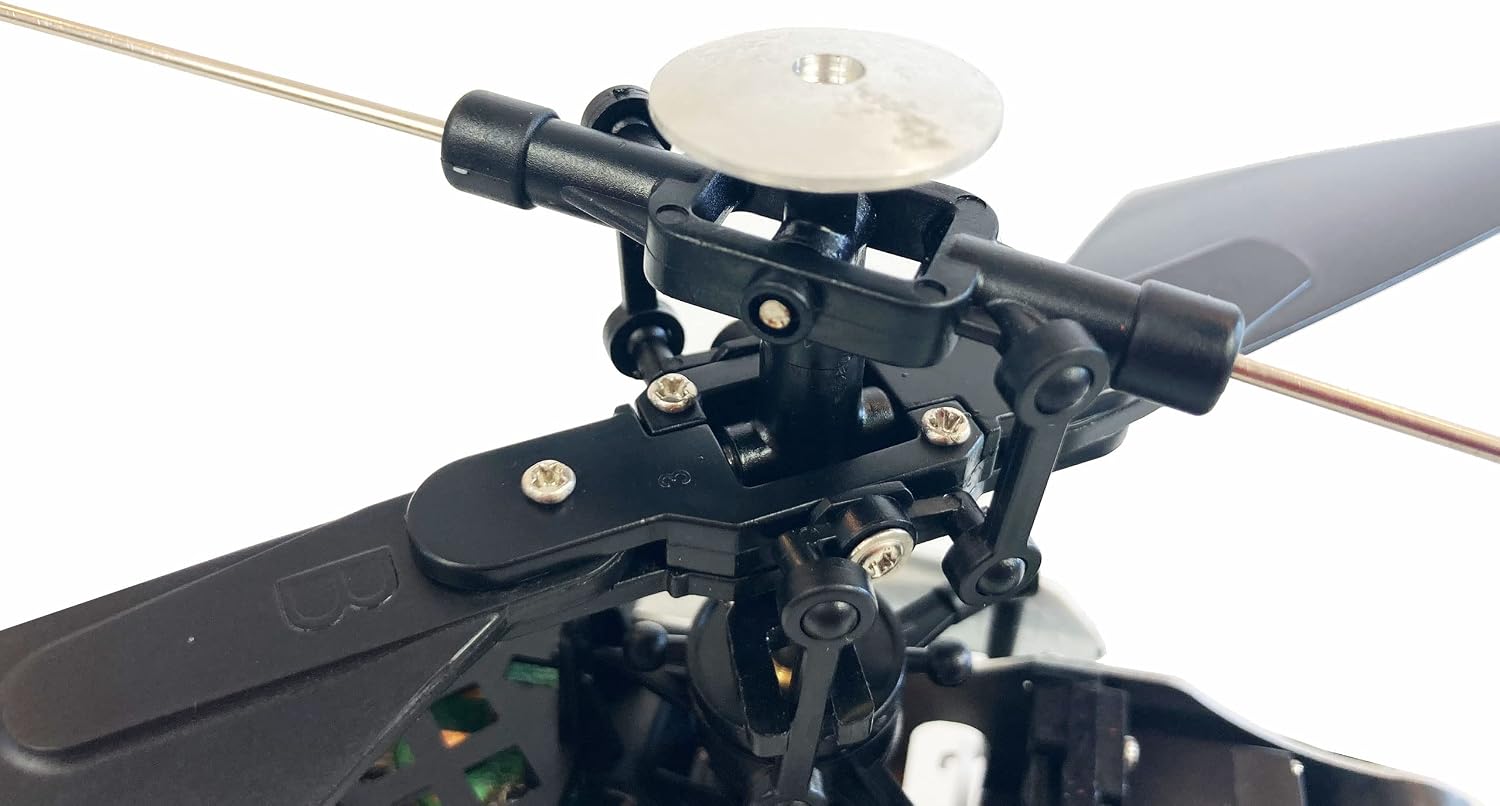
Spare main and tail rotor blades are included with your helicopter. If any blades become damaged during flight, carefully replace them using the provided screwdriver. Ensure that the new blades are installed in the correct orientation as the original ones.

Kura tal-batterija
Always use the specified LiPo battery and the original USB charging cable. To prolong battery life and ensure safety, do not overcharge or deep discharge the battery. Disconnect the battery from the charger once fully charged. Store the battery in a cool, dry place away from direct sunlight and extreme temperatures when not in use.
Tindif Ġenerali
After each use, especially after outdoor flights, gently wipe the helicopter clean with a soft, dry cloth to remove any dust, dirt, or debris. Avoid using water or harsh cleaning agents, as these can damage the electronic components.
Issolvi l-problemi
Kwistjonijiet Komuni u Soluzzjonijiet
- Helicopter does not respond to controls:
- Ensure both the helicopter and transmitter are powered on.
- Verify that the helicopter and transmitter are successfully bound.
- Check if the transmitter batteries are installed correctly and have sufficient charge.
- Ħin qasir ta' titjira:
- Ensure the helicopter battery is fully charged before each flight. Flight time is approximately 10-15 minutes.
- Battery performance can decrease over time; consider replacing old batteries.
- Helicopter drifts during flight:
- Perform a gyro calibration as described in the 'Operating Instructions' section or the full manual.
- Check for any damaged or bent rotor blades, which can cause instability.
- Il-mutur ma jibdax:
- Ensure the helicopter battery is connected correctly and fully charged.
- Verify that the helicopter and transmitter are bound.
For more detailed troubleshooting steps and solutions, please refer to the comprehensive user manual included in the product packaging.
Speċifikazzjonijiet
| Karatteristika | Dettall |
|---|---|
| Brand | Amewi |
| Isem tal-Mudell | Buzzard V2 Single-Rotor-Helikopter |
| Numru tal-Mudell | 25317 |
| Tul | 410 mm |
| Wisa' | 83 mm |
| Għoli | 155 mm |
| Dijametru tar-rotor | 390 mm |
| Materjal Prinċipali | Metall u Plastik |
| Weight (Ready to Fly) | 341 g |
| Kontroll mill-bogħod | 2.4 GHz, 6-il kanal |
| Firxa | Appross. 150 m |
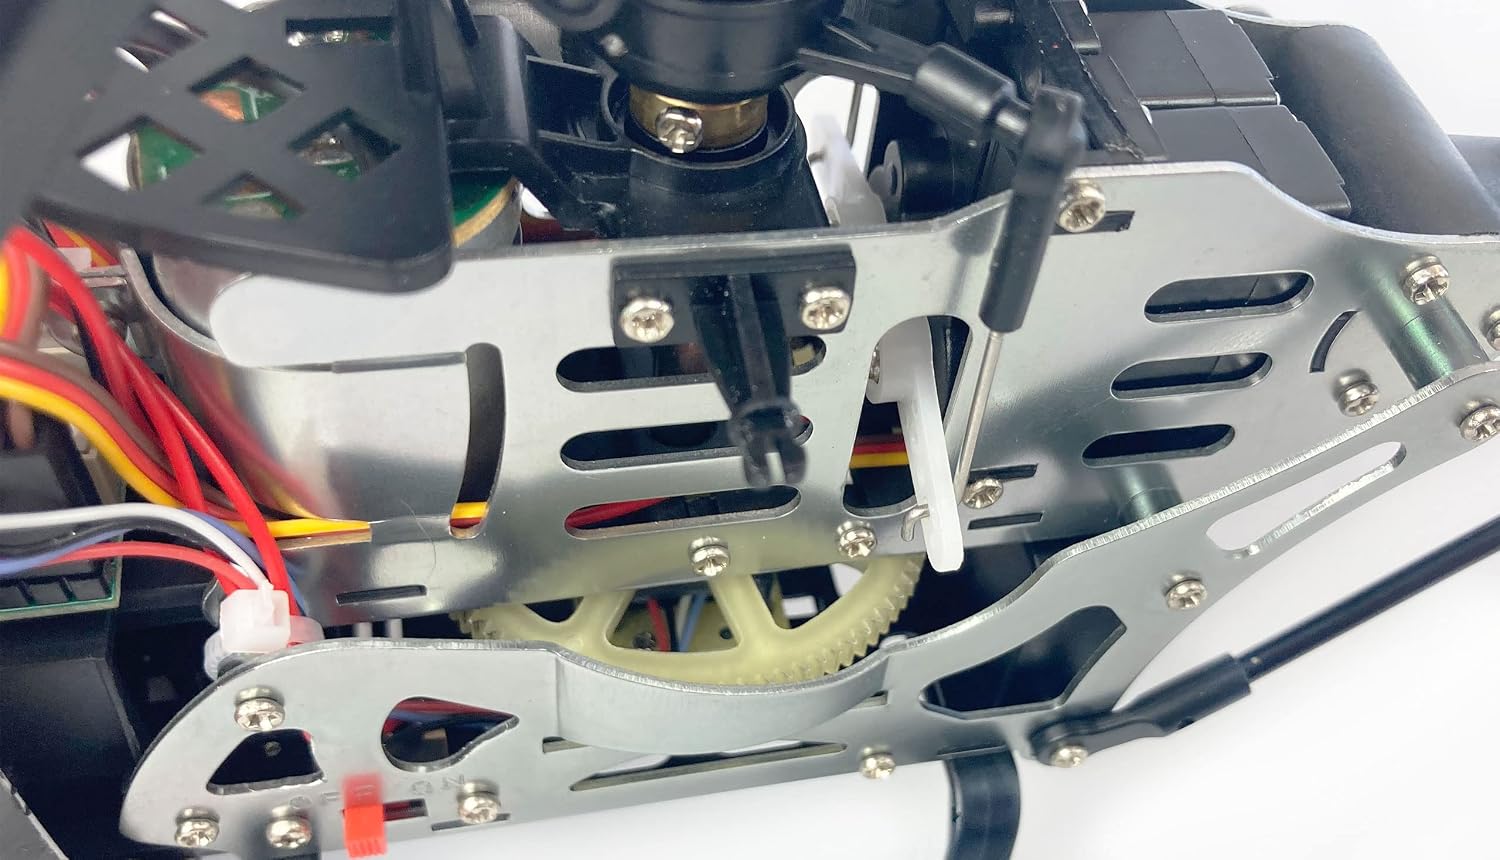
| Servos | Two mini servomotors with plastic gear and JR connector |
| Batterija | LiPo, 2S 7.4 V 1300 mAh 20C (Hard case with integrated USB charging system) |
| Ħin tat-Titjira | Appross. 10-15 min |
| Ħin tal-Iċċarġjar | Appross. 2-3 sigħat |
| Karatteristiċi Speċjali | Transmitter with automatic start/landing, Dual Rate, Gyro stabilization |
| Età Rakkomandata | Teenagers, young adults, adults |
Garanzija u Appoġġ
For detailed warranty information, terms, and conditions, please refer to the documentation provided with your purchase or contact your retailer directly. For technical support, spare parts, or service inquiries, please reach out to the manufacturer, Amewi, through their official channels. Always retain your proof of purchase for any warranty claims.