1. Introduzzjoni
This manual provides detailed instructions for the proper installation, operation, and maintenance of your Dynascan M-79V VHF Radio. Please read this manual thoroughly before using the radio to ensure optimal performance and safety. The Dynascan M-79V is a compact VHF transceiver designed for reliable communication within the 136-174 MHz frequency range.
2. Kontenut tal-Pakkett
Upon unpacking, please verify that all items listed below are present and in good condition. If any items are missing or damaged, contact your dealer immediately.
- Dynascan M-79V VHF Radio Unit
- Mikrofonu
- Power Line (DC power cable)
- Support Mount (Mounting Bracket)
- Mounting Hardware (Screws, nuts, washers)
- Manwal għall-Utent (Dan id-dokument)
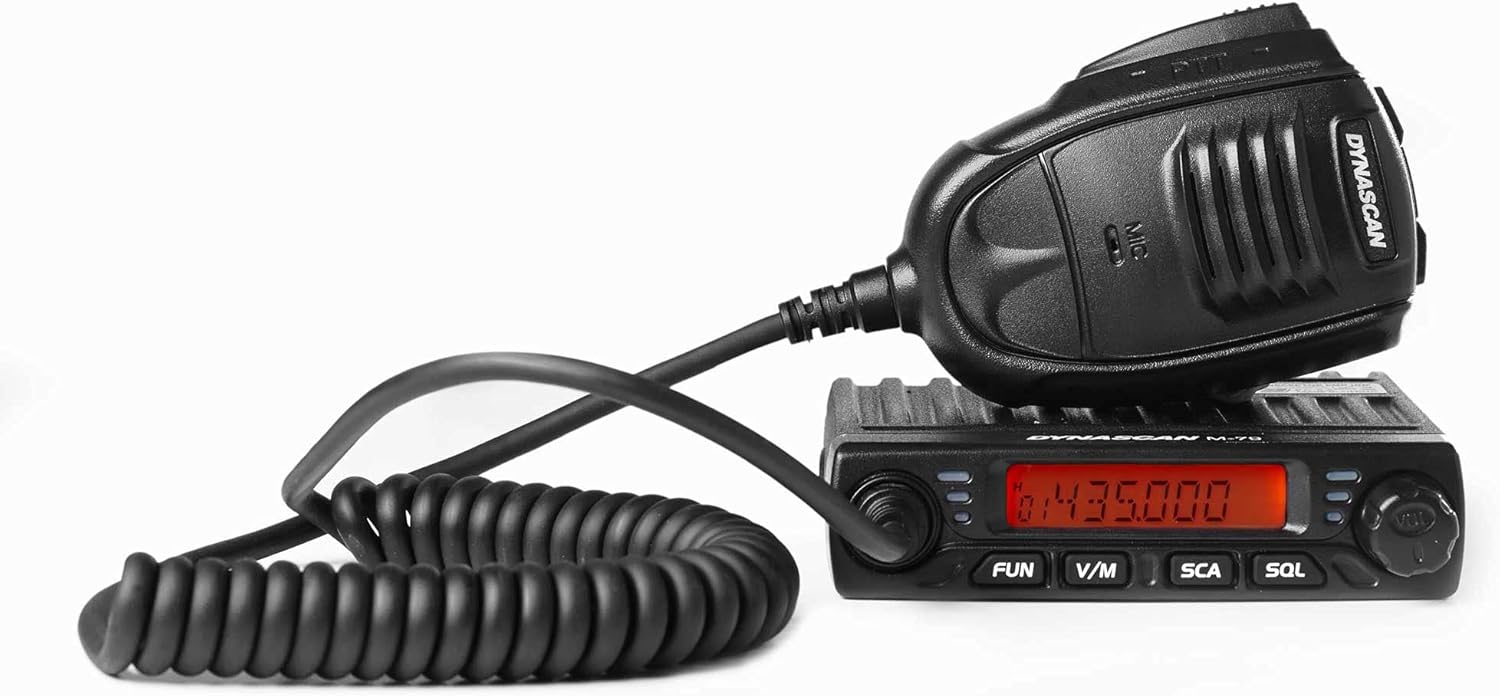
Figure 2.1: Dynascan M-79V VHF Radio unit with connected microphone.

Figure 2.2: All included components: radio unit, microphone, power cable, mounting bracket, and hardware.

Figura 2.3: Dettaljat view of the mounting bracket and associated hardware.
3. Prodott Aktarview
The Dynascan M-79V features a compact design with essential controls for efficient operation.
3.1 Kontrolli ta' Front Panel

Figure 3.1: Front panel of the Dynascan M-79V radio.
- Display LCD: Shows frequency, channel number, and various status indicators.
- Pum tal-Qawwa/Volum: Turns the radio on/off and adjusts audio volume.
- Pum tas-Selettur tal-Kanal: Used to select channels or adjust frequency.
- FUN Button: Activates function menu or special features.
- V/M Button: Toggles between VFO (Frequency) mode and Memory (Channel) mode.
- SCA Button: Initiates or stops scanning.
- SQL Button: Adjusts the squelch level.
3.2 Konnessjonijiet tal-Panew ta' wara
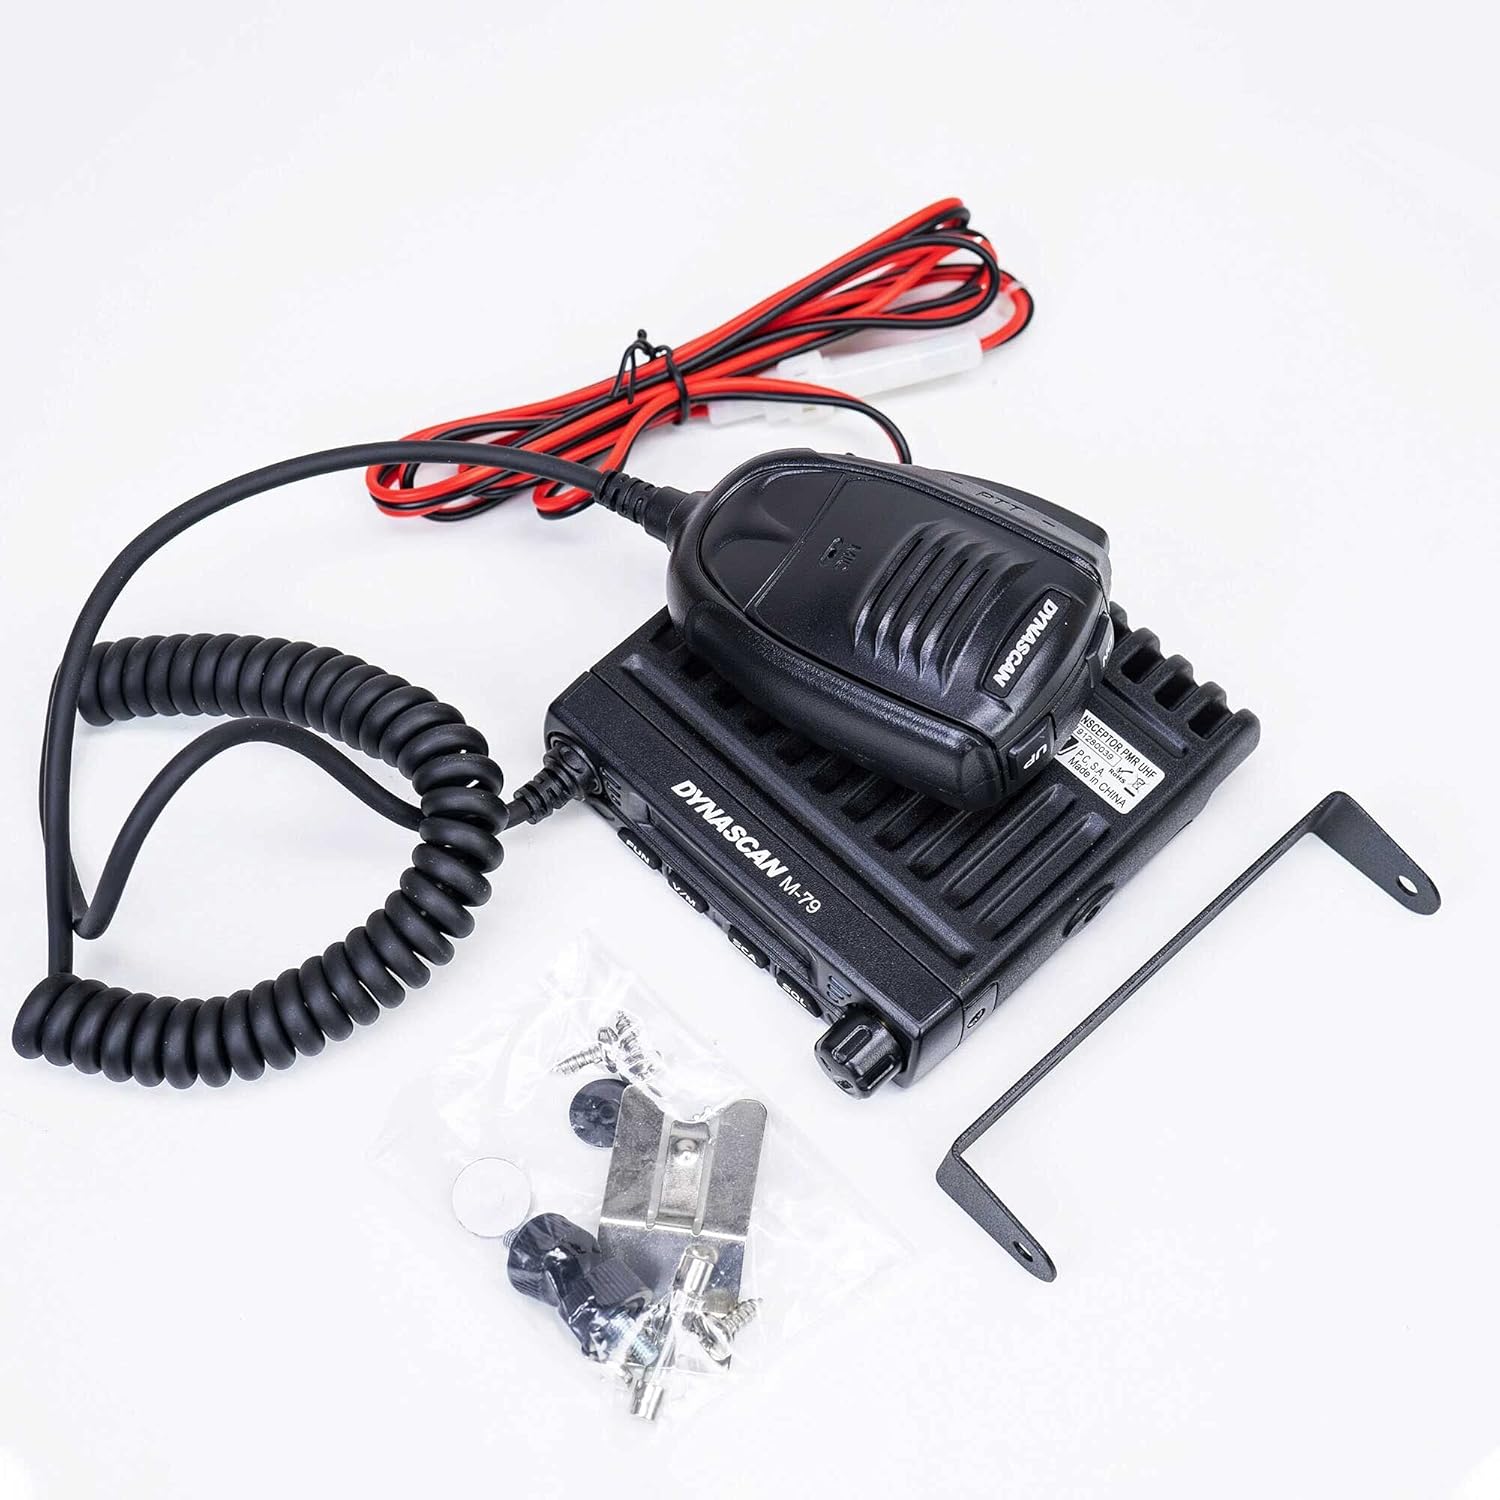
Figure 3.2: Rear panel connections of the Dynascan M-79V radio.
- Konnettur ANT: Connects to the VHF antenna (SO-239 type).
- Input ta' Enerġija DC: Connects to the 13.8V DC power source.
- EXT.SP Jack: For connecting an optional external speaker.
3.3 Mikrofonu

Figure 3.3: Dynascan M-79V microphone with PTT button and coiled cable.
- Buttuna PTT (Agħfas biex Titkellem): Press to transmit, release to receive.
- Element tal-mikrofonu: Għall-input tal-vuċi.
4. Setup
4.1 Immuntar tar-Radju
- Select a secure and convenient location for mounting the radio, ensuring adequate ventilation.
- Uża l-bracket tal-immuntar ipprovdut bħala mudell biex timmarka l-postijiet tat-tħaffir.
- Ħaffer toqob pilota u waħħal il-bracket tal-immuntar billi tuża l-viti fornuti.
- Attach the radio to the bracket using the thumb screws.
4.2 Konnessjoni tal-antenna
Connect a suitable VHF antenna (136-174 MHz) with a 50 Ohm impedance to the ANT connector on the rear panel. Ensure the connection is tight to prevent signal loss and potential damage.
4.3 Konnessjoni tal-Enerġija
Connect the supplied DC power cable to the 13.8V DC power input on the rear of the radio. Connect the other end of the power cable to a stable 13.8V DC power supply capable of providing sufficient current (refer to specifications for current draw). Observe correct polarity: red wire to positive (+), black wire to negative (-). Incorrect polarity can damage the radio.
4.4 Konnessjoni tal-Mikrofonu
Plug the microphone connector into the microphone jack on the front panel of the radio.
5. Istruzzjonijiet Operattivi
5.1 Aġġustament tal-Mixgħul/Mitfi u l-Volum
- To power on the radio, rotate the Power/Volume knob clockwise.
- Kompli dawwar lejn l-arloġġ biex iżżid il-volum.
- Dawwar kontra l-arloġġ biex tnaqqas il-volum.
- To power off, rotate the knob fully counter-clockwise until it clicks.
5.2 Għażla tal-Frekwenza u l-Kanal
- Modalità VFO (Modalità ta' Frekwenza): Agħfas il- V/M button to enter VFO mode. Use the Channel Selector knob to adjust the frequency. The frequency step can be configured in the menu.
- Modalità tal-Memorja (Modalità tal-Kanal): Agħfas il- V/M button to enter Memory mode. Use the Channel Selector knob to select a programmed channel.
5.3 Squelch Adjustment (SQL)
The squelch function mutes the speaker when no signal is present, eliminating background noise.
- Agħfas il- SQL buttuna.
- Use the Channel Selector knob to adjust the squelch level. A lower number opens the squelch more easily (more sensitive), while a higher number requires a stronger signal to open (less sensitive).
- Agħfas SQL again or wait a few seconds to exit squelch adjustment.
5.4 Scanning (SCA)
The scan function allows the radio to automatically search for active signals across frequencies or programmed channels.
- Agħfas il- SCA buttuna biex tibda tiskennja.
- The radio will stop on an active signal.
- Agħfas SCA għal darb'oħra biex twaqqaf l-iskennjar.
5.5 Trażmissjoni
To transmit, ensure you are on a clear frequency or channel.
- Agħfas u żomm il- PTT buttuna fuq il-mikrofonu.
- Kellem ċar fil-mikrofonu.
- Irrilaxxa l- PTT button to return to receive mode.
5.6 Advanced Features (via FUN button)
Il- DIVERTIMENT button accesses various advanced settings and features. Consult the full user manual for detailed instructions on programming and using these functions.
- Scrambler: Encrypts your voice for private communication.
- Tkellem Madwar: Allows direct radio-to-radio communication on a repeater output frequency.
- Timeout Timer (TOT): Jillimita t-tul tat-trażmissjoni biex jipprevjeni trażmissjonijiet twal aċċidentali.
- Busy Channel Lockout (BCL): Prevents transmission on an occupied channel.
- CTCSS/DCS: Sub-audible tones for selective calling.
- Mik Gwadan: Adjusts microphone sensitivity.
6. Manutenzjoni
6.1 Kura Ġenerali
- Żomm ir-radju niexef. Jekk jixxarrab, imsaħ niexef minnufih.
- Tesponix ir-radju għal temperaturi estremi.
- Evita li twaqqa’ jew li tissottometti r-radju għal impatti qawwija.
- Naddaf il-barra tar-radju b'ċarruta ratba u driegħ.amp drapp. Tużax kimiċi ħarxa jew solventi.
6.2 Antenna and Power Cable Inspection
Regularly inspect the antenna and power cable for any signs of damage, fraying, or corrosion. Damaged cables or antennas can impair performance and pose safety risks.
7 Issolvi l-problemi
| Problema | Kawża Possibbli | Soluzzjoni |
|---|---|---|
| Ir-radju ma jixgħelx. |
|
|
| L-ebda riċeviment jew sinjali dgħajfa. |
|
|
| Ma tistax tittrażmetti. |
|
|
8. Speċifikazzjonijiet
| Medda ta' Frekwenzi | 136 - 174 MHz (VHF) |
| Kanali programmabbli | 199 Kanali |
| Passi ta' Frekwenza | 2.5 / 5 / 6.25 / 10 / 12.5 / 20 / 25 / 30 / 50 KHz |
| Provvista tal-Enerġija | 13.8V DC |
| Impedenza tal-antenna | 50 Ohm |
| Qawwa tal-Ħruġ | 17W, 10W, 5W (Selectable) |
| Dimensjonijiet (W x H x D) | 10.5 x 10.5 x 2.5 ċm (madwar) |
| Piż | 435 grams (radio unit only) / 640 grams (item weight) |
| Karatteristiċi Speċjali | Scrambler, Talk Around, Scan, Timeout Timer (TOT), Busy Channel Lockout (BCL), Squelch, CTCSS/DCS, Mic Gain |
9. Garanzija u Appoġġ
For warranty information, please refer to the warranty card included with your purchase or contact your authorized Dynascan dealer. For technical support or service inquiries, please contact your point of purchase or visit the official Dynascan websit għad-dettalji tal-kuntatt.
Nota: L-ispeċifikazzjonijiet huma soġġetti għal bidla mingħajr avviż.