Introduzzjoni
Thank you for choosing the FITCAMX 2.5K Dash Cam. This device is designed to provide high-definition video recording for your vehicle, enhancing driving safety and providing evidence in case of incidents. This manual will guide you through the installation, operation, and maintenance of your dash cam.
Kontenut tal-Pakkett
Jekk jogħġbok immarka l-kaxxa għall-oġġetti li ġejjin:
- FITCAMX Dash Cam (2.5K)
- Kejbils tal-Enerġija
- Manwal għall-Utent
- 32GB Karta tal-Memorja
- Removal Pry Tool
Prodott Overview
The FITCAMX 2.5K Dash Cam features a Novatek chip, a 170-degree wide-angle lens, and an f/1.6 large aperture for superior video quality. It includes built-in Wi-Fi for app control, G-Sensor for collision detection, and loop recording for continuous operation.

Immaġni: Fuqview of the FITCAMX Dash Cam's key features, including 2.5K resolution, SONY image sensor, Novatek chip, f/1.6 aperture, Wi-Fi, easy installation, STARVIS night vision, and G-Sensor functionality.
Setup u Installazzjoni
The FITCAMX Dash Cam is designed for specific car models, ensuring an OEM-like fit without obstructing your view or requiring messy wiring. Installation typically involves connecting to the vehicle's OBD port for power.
1. Inserzjoni tal-Kard tal-Memorja
- Locate the memory card slot on the dash cam.
- Insert the provided 32GB memory card into the slot until it clicks into place. Ensure the card is inserted in the correct orientation.
2. Power Connection (OBD)
- Identify your vehicle's OBD port, usually located under the dashboard on the driver's side.
- Connect the provided power cable to the dash cam and then plug the other end into the OBD port. This provides power to the dash cam.

Immaġni: Illustration demonstrating how to connect the dash cam to the vehicle's OBD port for power, highlighting the cable routing and port location.
3. Immuntar tad-Dash Cam
- Position the dash cam near your rearview mirror, ensuring it does not obstruct your driving view.
- Secure the dash cam in its designated mounting area. The design is specific to car models for an integrated look.

Immaġni: A close-up view of the FITCAMX Dash Cam installed in a vehicle, showing its compact and integrated placement near the rearview mera.
Istruzzjonijiet Operattivi
Reġistrazzjoni Awtomatika
Once connected to power, the dash cam will automatically power on and begin recording when your vehicle starts. It will power off automatically when the vehicle is turned off.
Loop Recording
The dash cam continuously records video in short segments. When the memory card is full, the oldest unlocked video files will be overwritten by new recordings. This ensures continuous operation without manual memory management.
G-Sensor (Reġistrazzjoni ta' Emerġenza)
The built-in G-Sensor detects sudden impacts or collisions. In such an event, the current video segment will be automatically locked and saved to a protected folder, preventing it from being overwritten by loop recording. This ensures critical evidence is preserved.
Monitoraġġ tal-Parkeġġ
When your vehicle is parked and the dash cam detects a shake or impact, it will automatically power on and record a short video. This feature provides surveillance for your parked vehicle.

Immaġni: A visual representation of the parking monitoring function, showing the dash cam activating to record an event when the vehicle is parked.
Wi-Fi & App Control
The dash cam features built-in 2.4GHz Wi-Fi, allowing you to connect it to your smartphone or PC via a dedicated app (available for Android and iOS).
- Niżżel l-App: Fittex għal the FITCAMX app on your smartphone's app store.
- Qabbad mal-Wi-Fi: Turn on the dash cam. On your phone, go to Wi-Fi settings and connect to the dash cam's Wi-Fi network (SSID and password can be found in the app or on the device).
- Funzjonijiet tal-App: Ladarba tkun imqabbad, tista':
- View video f'ħin reali footage.
- Ibbrawżja u daqq vidjows irreġistrati.
- Download 2.5K/4K video clips directly to your phone.
- Aġġusta s-settings tal-kamera tad-dash.
- Share clips to social media.
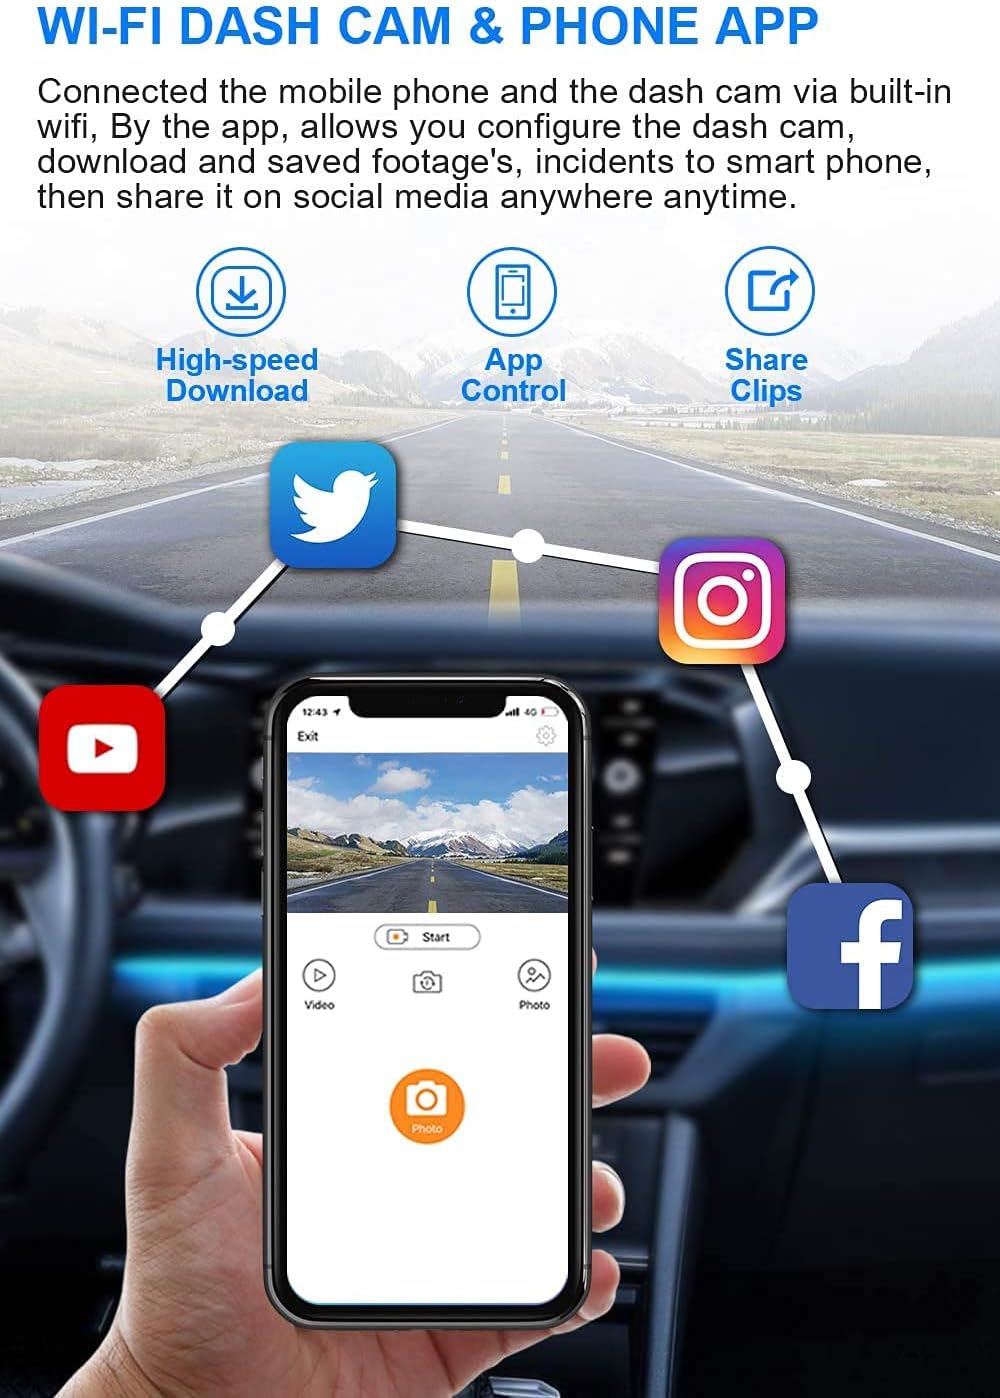
Immaġni: A smartphone displaying the FITCAMX app, illustrating its capabilities for high-speed downloads, direct control of the dash cam, and easy sharing of video clips to various social media platforms.
Manutenzjoni
Ġestjoni tal-Kard tal-Memorja
- Ifformattjar: It is recommended to format the memory card regularly (e.g., once a month) to ensure optimal performance and prevent data corruption. This can usually be done through the dash cam settings via the app.
- Tul tal-Ħajja tal-Karta: Memory cards have a limited number of write cycles. If you experience frequent recording errors, consider replacing the memory card.
Tindif tal-Lenti
- Gently wipe the dash cam lens with a soft, lint-free cloth to remove dust or smudges.
- Avoid using abrasive cleaners or solvents, as these can damage the lens coating.
Issolvi l-problemi
If you encounter issues with your FITCAMX Dash Cam, please refer to the following common problems and solutions:
| Problema | Soluzzjoni Possibbli |
|---|---|
| Id-dash cam ma tixgħelx. | Check the power cable connection to the OBD port and the dash cam. Ensure the vehicle's ignition is on. |
| Ir-reġistrazzjoni tieqaf jew tiffriża. | Format the memory card. Ensure the memory card is a high-speed Class 10 or U3 card. Replace the memory card if the issue persists. |
| Problemi bil-konnessjoni tal-Wi-Fi. | Ensure the dash cam is powered on. Restart your phone and the dash cam. Check your phone's Wi-Fi settings. |
| Kwalità fqira tal-vidjo. | Clean the dash cam lens. Ensure the protective film has been removed from the lens. Check settings via the app to confirm resolution is set to 2.5K. |
| Is-Sensor-G huwa sensittiv wisq/mhux sensittiv biżżejjed. | Adjust the G-Sensor sensitivity settings through the FITCAMX app. |
Speċifikazzjonijiet
| Karatteristika | Speċifikazzjoni |
|---|---|
| Brand | FITCAMX |
| Mudell | B094JPDKT4 |
| Riżoluzzjoni tal-vidjo | 2.5K (1944P) |
| CPU | Novatek |
| Angolu tal-Lenti | 170 grad |
| Apertura | f/1.6 |
| Viżjoni bil-lejl | Superior (HDR & WDR Technology) |
| Wi-Fi | 2.4GHz Inkorporat |
| Kompatibilità tal-App | Android u iOS |
| Kodifikazzjoni tal-vidjo | H.264/H.265 |
| G-Sensor | Iva |
| Loop Recording | Iva |
| Monitoraġġ tal-Parkeġġ | Iva |
| Materjal tal-qoxra | PC+ABS |
| Karta tal-Memorja Inkluża | 32GB |
Garanzija u Appoġġ
For any questions regarding your FITCAMX Dash Cam, including specific car model compatibility or technical assistance, please contact FITCAMX customer service. Refer to the product packaging or the official FITCAMX websit għal informazzjoni ta' kuntatt.
Riżorsi onlajn: You may find additional support and FAQs on the official FITCAMX website or through the FITCAMX app.