
1. Prodott Aktarview
The RICOO TS4011 Monitor Stand is designed to provide an ergonomic and space-saving solution for your display. This stand offers a wide range of adjustments including rotation, swivel, tilt, and height, ensuring optimal viewing comfort for monitors between 17 and 32 inches and up to 7 kg in weight.
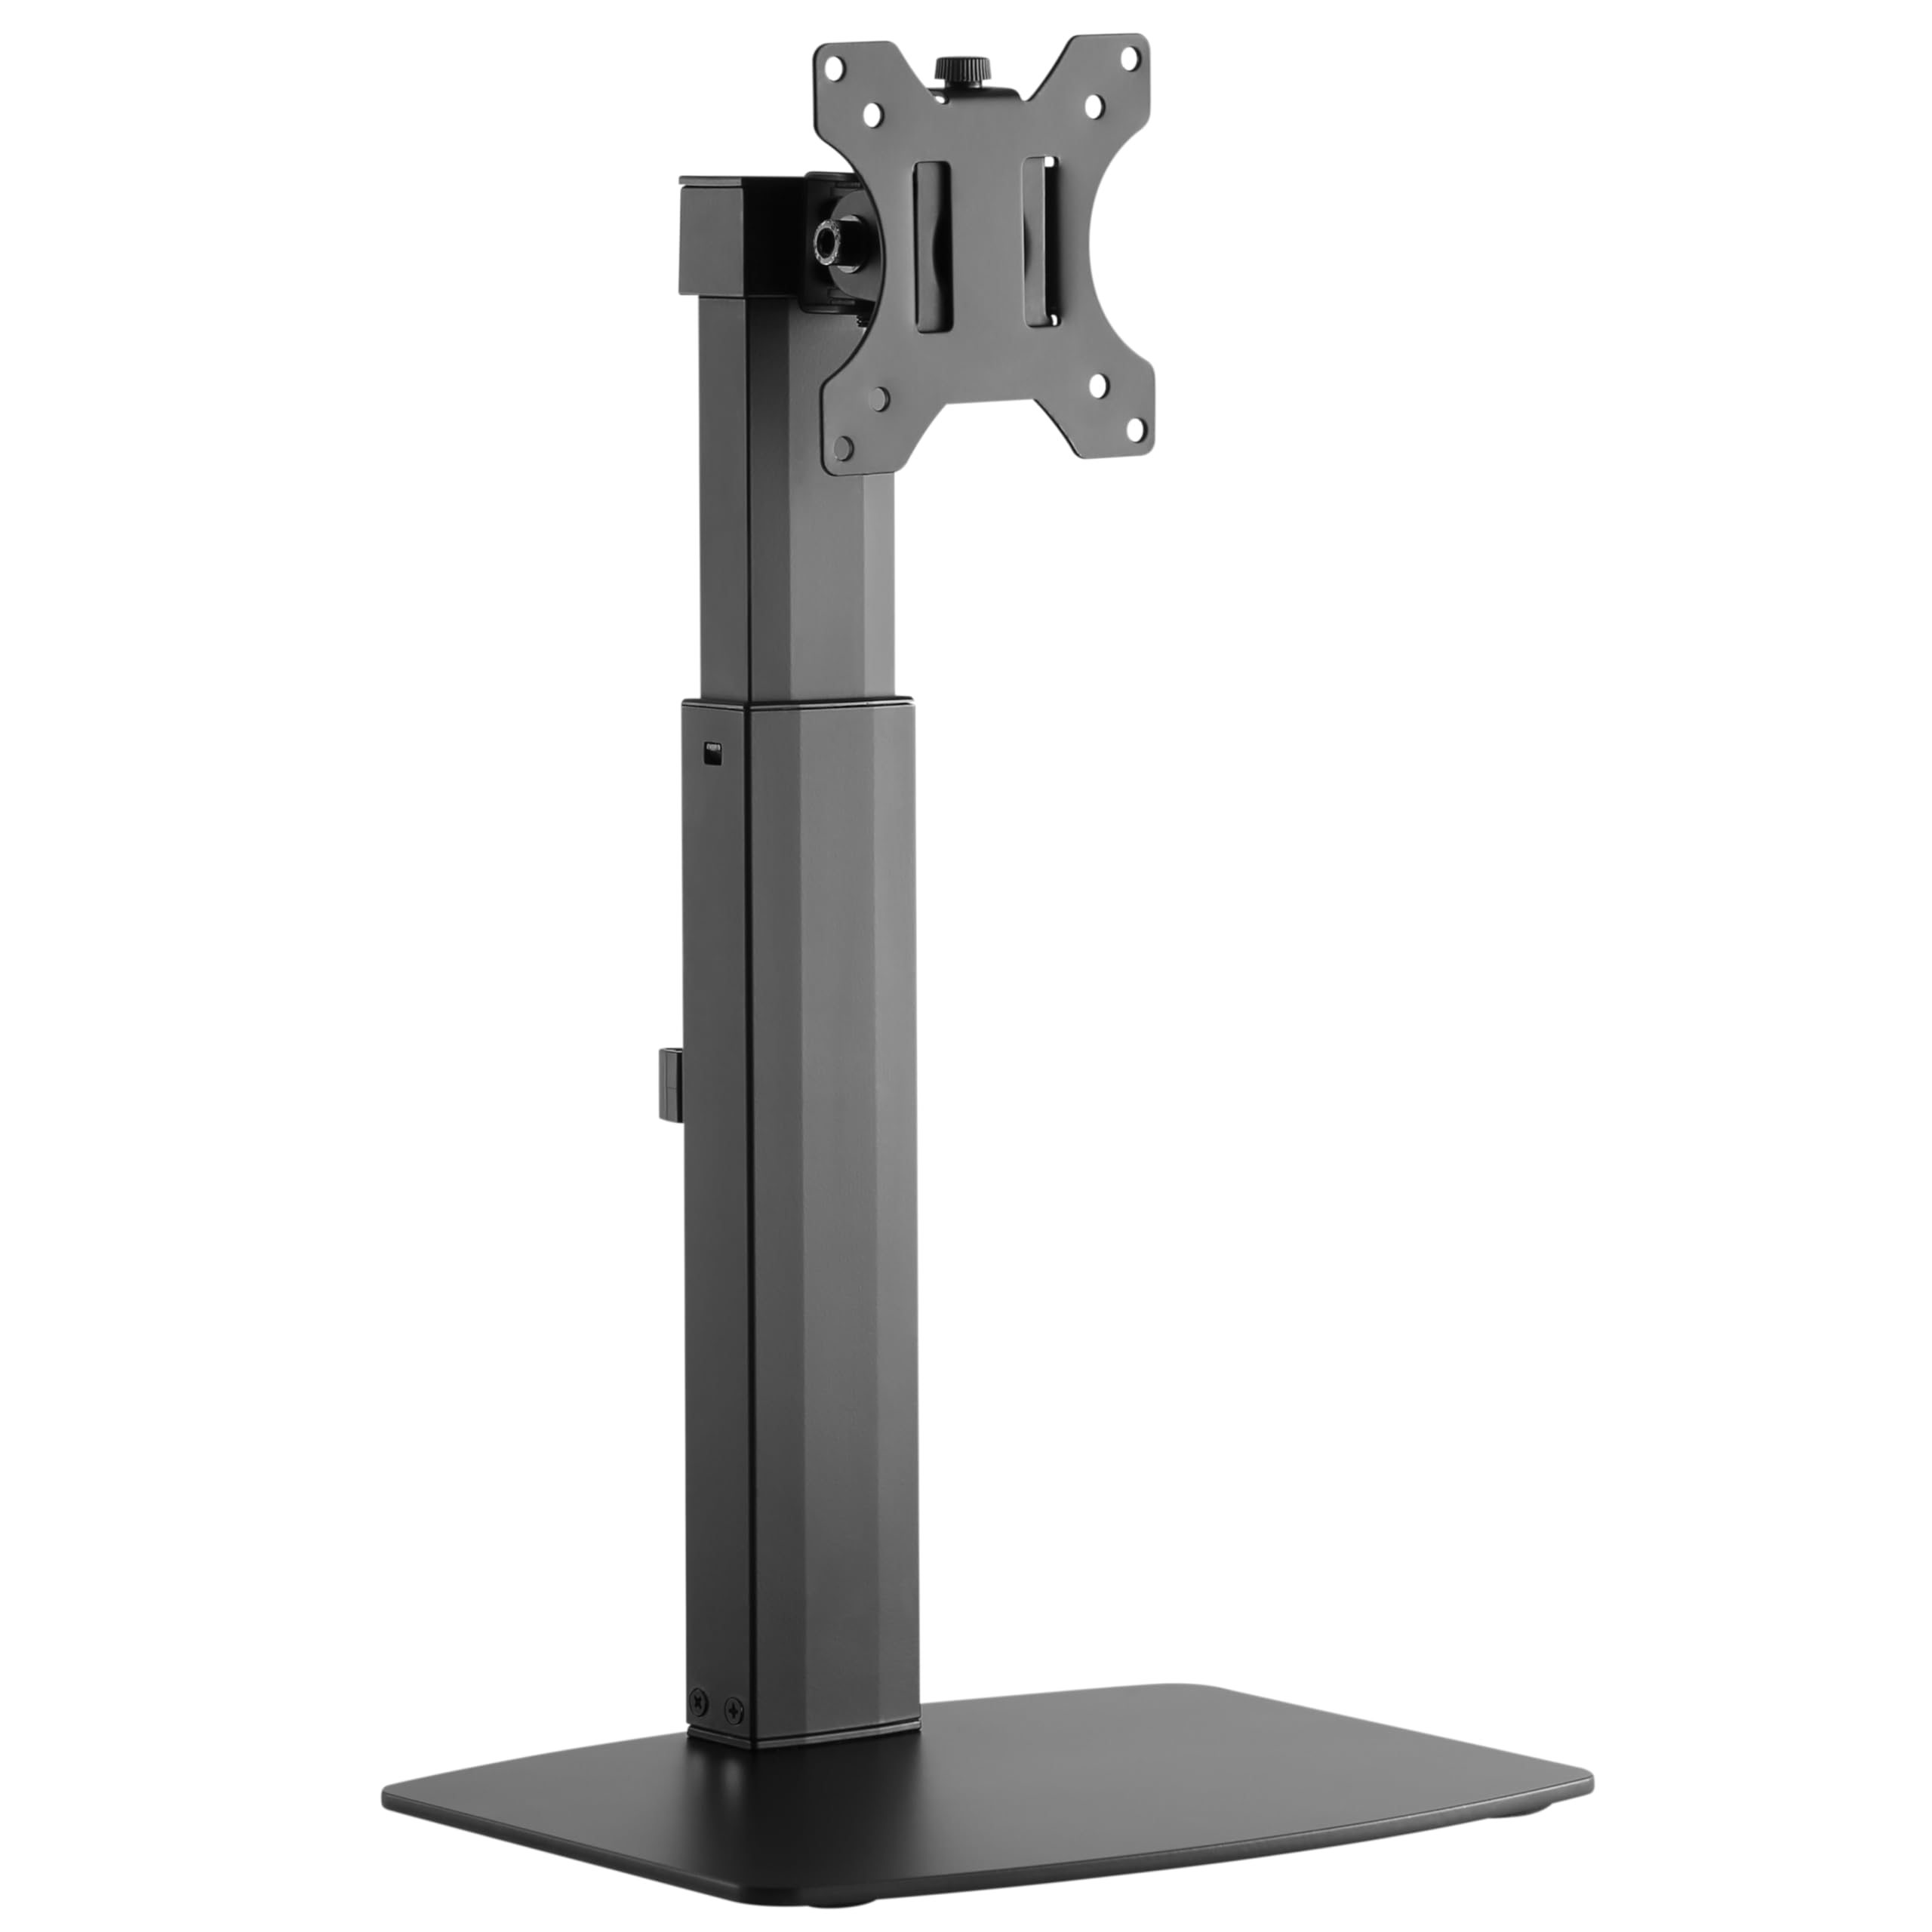
Image: The RICOO TS4011 Monitor Stand, black, supporting a monitor on a light wooden desk.
2. Informazzjoni dwar is-Sigurtà
Please read all instructions carefully before assembly and use. Keep this manual for future reference. Failure to follow these instructions may result in property damage, serious injury, or death.
- Ensure all components are present and undamaged before assembly. Do not use damaged parts.
- Teċċedix il-kapaċità massima tal-piż ta' 7 kg (15.4 lbs).
- Ensure your monitor's VESA mounting pattern (75x75mm or 100x100mm) is compatible with this stand.
- Dan il-prodott huwa maħsub għall-użu fuq ġewwa biss.
- Żomm lit-tfal u l-annimali domestiċi 'l bogħod waqt l-assemblaġġ. Partijiet żgħar jistgħu jkunu perikolużi biex wieħed jifga.
- Dejjem uża l-għodda xierqa u segwi l-passi tal-assemblaġġ fl-ordni.
- If you have any doubts about the installation, consult a qualified professional.
3. Kontenut tal-Pakkett
Iċċekkja li l-oġġetti kollha elenkati hawn taħt huma inklużi fil-pakkett tiegħek:
- Monitor Desk Stand (Main Unit)
- Mounting Kit (various screws, washers, spacers, Allen keys)
- Manwal ta' Istruzzjoni
4. Istruzzjonijiet ta' Setup
Follow these steps to assemble and install your RICOO TS4011 Monitor Stand.
4.1. Arma l-Bażi
Attach the main support pole to the base plate using the provided screws and tools. Ensure all connections are secure.

Image: Diagram illustrating the base dimensions and attachment points for the stand pole.
4.2. Attach VESA Plate to Monitor
Carefully place your monitor face down on a soft, clean surface. Align the VESA mounting plate from the stand with the mounting holes on the back of your monitor. Use the appropriate screws, washers, and spacers from the mounting kit. Tighten securely, but do not overtighten.

Image: Diagram indicating VESA mounting hole measurements (A and B) on the back of a monitor.

Image: Illustration showing the VESA mounting plate securely attached to the back of a monitor.
4.3. Mount Monitor to Stand
With the VESA plate attached to your monitor, carefully lift the monitor and slide the VESA plate onto the mounting head of the stand. Ensure it clicks into place or is secured with any locking mechanisms. Double-check that the monitor is firmly attached before releasing it.

Immaġni: Wara view of a monitor securely mounted on the RICOO TS4011 stand, showcasing the VESA attachment.
4.4. Ġestjoni tal-Kejbil
Utilize the integrated cable management clips on the stand pole to route your monitor cables neatly. This helps to maintain a tidy workspace and prevents cables from snagging during adjustments.

Immaġni: Close-up view of the cable management clips on the stand pole, with cables routed through them for an organized setup.
5. Istruzzjonijiet Operattivi u Aġġustamenti
The RICOO TS4011 Monitor Stand offers various adjustment options to customize your viewing esperjenza.

Image: Visual representation of the stand's adjustable features: 45-degree swivel, 360-degree rotation, 20-degree tilt, and 110mm height adjustment range.
5.1. Aġġustament tal-Għoli
To adjust the monitor height, gently push the monitor upwards to its maximum height. This will release the locking mechanism, allowing you to then lower it to your desired position. To raise the monitor, simply lift it. The stand features a gas spring mechanism for smooth height transitions within its 110mm range.
5.2. Aġġustament tal-Mejjel
The monitor can be tilted +/-20 degrees vertically. Loosen the tilt screw (if applicable, refer to diagram) on the VESA plate, adjust the monitor to your preferred angle, and then retighten the screw to secure it.
5.3. Aġġustament tad-dawrien
The monitor can be swiveled +/-45 degrees horizontally. Gently rotate the monitor to the left or right to achieve your desired viewangolu tal-ing.
5.4. Rotation Adjustment
The VESA plate allows for a full 360-degree rotation, enabling you to switch between landscape and portrait orientations. Simply rotate the monitor to the desired orientation.
6. Manutenzjoni
To ensure the longevity and proper function of your monitor stand, follow these maintenance guidelines:
- Tindif: Imsaħ l-istand b'ċarruta ratba, damp drapp. Evita prodotti tat-tindif jew solventi li joborxu li jistgħu jagħmlu ħsara lill-finitura.
- Kontrolli perjodiċi: Regularly check all screws and connections to ensure they remain tight and secure. Retighten if necessary.
- Lubrikazzjoni: The gas spring mechanism is maintenance-free. Do not attempt to lubricate internal components.
7 Issolvi l-problemi
If you encounter issues with your monitor stand, refer to the following common problems and solutions:
| Problema | Kawża Possibbli | Soluzzjoni |
|---|---|---|
| Il-monitor jinżel jew ma jżommx il-pożizzjoni. | Screws are loose; monitor weight exceeds capacity; tilt mechanism not tightened. | Check and tighten all mounting screws. Ensure monitor weight is within the 7kg limit. Tighten the tilt adjustment screw. |
| Diffikultà biex taġġusta l-għoli. | Gas spring mechanism needs to be reset or is stiff. | To lower the monitor, first push it up to its maximum height to release the mechanism, then gently push down to the desired position. Ensure the monitor is within the specified weight range for optimal gas spring function. |
| Monitor is not level. | Uneven installation or VESA plate not perfectly aligned. | Check the VESA plate attachment to the monitor and the stand. Adjust the monitor's rotation slightly if possible to correct the level. |
| L-istand iħossu instabbli. | Base not fully tightened; stand placed on an uneven surface. | Ensure the base screws are fully tightened. Place the stand on a flat, stable surface. |
8. Speċifikazzjonijiet tal-Prodott
Detailed specifications for the RICOO TS4011 Monitor Stand:
- Mudell: TS4011
- Daqsijiet tal-Iskrin Kompatibbli: 17 - 32 pulzier (43 - 81 ċm)
- Kapaċità massima tat-Tagħbija: 7 kg (15.4 lbs)
- Kompatibbiltà VESA: 75x75 mm, 100x100 mm
- Materjal: Azzar illigat, Aluminju, Ħadid, Metall, Plastik
- Kulur: Iswed
- Tip ta' Moviment: Articulating, Swiveling, Tilting, Rotating, Height Adjustable
- Angolu ta 'l-inklinazzjoni: +/- 20 grad
- Angolu tad-dawran: +/- 45 grad
- Rotazzjoni: 360 degrees (for VESA plate)
- Medda ta' Aġġustament Għoli: Approximately 110 mm (from 352mm to 462mm, based on diagram)
- Piż tal-oġġett: 3.6 kg (7.9 lbs)
- Tip ta 'Immuntar: Table Mount (Freestanding Base)

Image: Visual summary of key specifications: Max 7kg load, 13"-32" screen size compatibility, and VESA 75x75 / 100x100 standards.

Image: Detailed technical diagram of the TS4011 stand, showing all dimensions in millimeters, including height range, VESA plate size, and base measurements.
9. Garanzija u Appoġġ
Garanzija: This product comes with a legal warranty of 24 months for new products, as per European Union regulations.
Appoġġ: For any further questions regarding our products, please do not hesitate to contact us. Our support team will be happy to assist you.
Email: support@ricoo.de
RICOO is a registered trademark in Germany, certified by the European Union Intellectual Property Office, ensuring proven quality and reliability.