APIELE GQ19AF-10EZ
APIELE 10 Amp 19mm Latching Push Button Switch User Manual
Model: GQ19AF-10EZ
Introduzzjoni
This user manual provides detailed instructions for the installation, operation, and maintenance of the APIELE 10 Amp 19mm Latching Push Button Switch. This high-quality metal switch is designed for various applications, including automotive, motorcycle modification, and control equipment.
Informazzjoni dwar is-Sigurtà
- Kun żgur li l-enerġija hija skonnettjata qabel l-installazzjoni jew il-manutenzjoni biex tevita xokk elettriku.
- Ivverifika voltage and current ratings match your application to avoid damage to the switch or connected devices.
- Do not exceed the specified 10 Amp current rating or 12V operating voltage.
- Handle with care to avoid damaging internal components.
- Jekk m'intix ċert dwar xi passi tal-installazzjoni, ikkonsulta elettriċista kwalifikat.
Prodott Overview
The APIELE 10 Amp 19mm Latching Push Button Switch features a durable metal construction and an integrated LED ring. It is designed for reliable performance in various environments.
Karatteristiċi ewlenin:
- Latching Operation: Push once for ON, push again for OFF.
- Klassifikazzjoni ta' Kurrent Għoli: 10 Amps.
- Illuminazzjoni LED: 12V LED ring for status indication.
- Kostruzzjoni Durabbli: High-quality metal material.
- IP65 li ma jgħaddix ilma minnha: Suitable for wet or dusty environments.
- Ħajja twila: Electrical life of 200,000 times, mechanical life of 1,000,000 cycles.
Komponenti:
The product includes the push button switch and a connector for wiring.
- 1 x Latching Push Button Switch
- 1 x Connector with pre-attached wires

Figure 1: APIELE 10 Amp 19mm Latching Push Button Switch (Red LED, Silver Stainless Steel).

Figure 2: Various angles of the APIELE push button switch, showcasing id-disinn robust tiegħu.

Figure 3: Comparison highlighting the larger press part and stronger contact terminals of the new design (right) compared to the old design (left).

Figure 4: Illustration of the switch's durability, rated for 200,000 press times and 40,000 hours of lamp ħajja.

Figure 5: Visual representation of the IP65 waterproof protection, indicating suitability for wet or dusty environments.
Speċifikazzjonijiet
| Speċifikazzjoni | Valur |
|---|---|
| Numru tal-Mudell | GQ19AF-10EZ |
| Daqs tat-Toqba tal-Immuntar | 19mm (3/4 pulzier) |
| Mod ta' Operazzjoni | Latching (ON-OFF) |
| Kuntatt Konfigurazzjoni | 1NO (Normally Open) |
| Klassifikazzjoni kurrenti | 10 Amps |
| Vol Operattivtage | 12 Volts (for LED) |
| Grad ta' Protezzjoni | IP65 Waterproof |
| Ħajja Elettrika | 200,000 darba |
| Ħajja Mekkanika | 1,000,000 ċiklu |
| Materjal tal-qoxra | Stainless Steel (Silver) |
| Tip ta' Terminal | Invita |
| Dimensjonijiet tal-Prodott | 1.57 x 0.39 x 1.18 pulzieri |

Figure 6: Detailed technical specifications and dimensions of the switch.
Setup u Installazzjoni
Follow these steps for proper installation of your APIELE Latching Push Button Switch.
Dijagramma tal-Wiring:
The switch comes with a pre-wired connector for ease of installation. Refer to the diagram below for pin assignments:
- Wajer Aħmar: Positive LED Pin "+"
- Wajer Iswed: Negative LED Pin "-"
- Wajer Blu: Normal Open Pin

Figure 7: Wiring diagram showing the function of each colored wire on the connector.
Passi ta' Installazzjoni:
- Ipprepara t-Toqba tal-Immuntar: Drill a 19mm (3/4 inch) diameter hole in the desired mounting surface.
- Insert Switch: Insert the switch body into the prepared hole from the front.
- Waħħal bil-ġewż: Thread the securing nut onto the switch body from the back and tighten it to hold the switch firmly in place.
- Qabbad il-Wiring: Attach the provided connector to the switch terminals. Ensure correct polarity for the LED function.

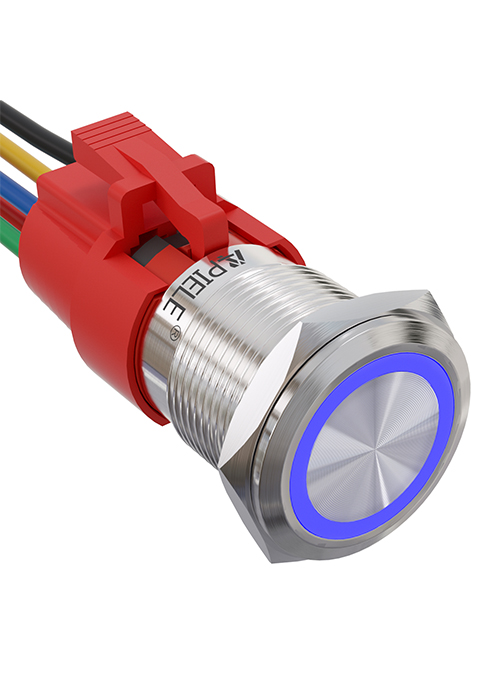
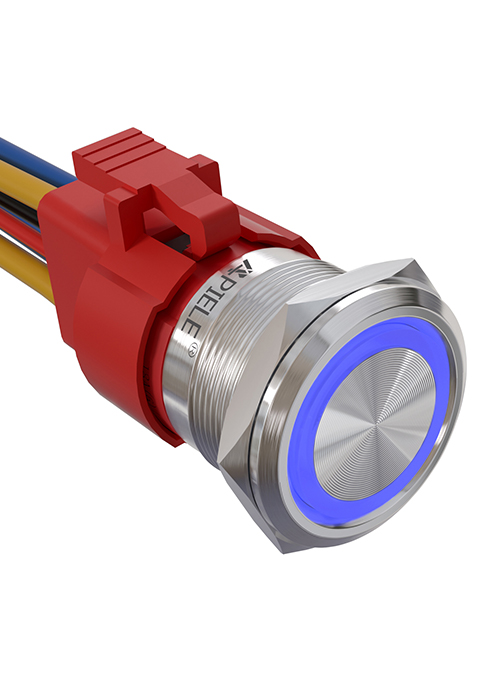

Figure 8: Visual guide for the installation process of the push button switch.
Video 1: This video demonstrates the features and installation of the 10 Amp Latching Push Button switch, including its waterproof capabilities and various applications.
Istruzzjonijiet Operattivi
The APIELE Latching Push Button Switch operates with a simple ON-OFF mechanism.
- To turn on the connected device, press the button once. The LED ring will illuminate, indicating the switch is in the ON state.
- To turn off the connected device, press the button again. The LED ring will turn off, indicating the switch is in the OFF state.
Video 2: This video showcases the functionality of the 10 Amp 19mm Latching/Momentary Push Button Switch, demonstrating its use in various applications like automotive dashboards and coffee machines.
Applikazzjonijiet:
This versatile switch is suitable for a wide range of applications, including but not limited to:
- Automobile and motorcycle modifications
- Control equipment switch modifications
- Doorbell buttons
- SOS buttons
- Elevator buttons
- Apparat tad-dar

Figura 9: Eżamples of common applications for the APIELE push button switch, including doorbell, car, and elevator buttons.
Manutenzjoni
The APIELE Latching Push Button Switch is designed for minimal maintenance due to its durable construction and IP65 waterproof rating.
- Tindif: Wipe the switch surface with a soft, damp drapp. Evita li tuża prodotti tat-tindif jew solventi li joborxu li jistgħu jagħmlu ħsara lill-finitura jew lill-komponenti interni.
- Spezzjoni: Periodically check the wiring connections to ensure they are secure and free from corrosion.
- Protezzjoni Ambjentali: While waterproof, prolonged submersion is not recommended. Ensure the mounting area is properly sealed if exposed to extreme moisture.
Issolvi l-problemi
| Problema | Kawża Possibbli | Soluzzjoni |
|---|---|---|
| Switch does not activate/deactivate device. | Incorrect wiring; Loose connection; No power to circuit; Faulty device. | Check wiring against diagram (Figure 7); Ensure all connections are secure; Verify power supply to the circuit; Test the connected device independently. |
| LED ma jixgħelx. | Incorrect LED wiring polarity; No power to LED circuit; Damaged LED. | Check LED wire polarity (Red for +, Black for -); Verify 12V power supply to LED pins; If LED is damaged, the switch may need replacement. |
| Switch feels loose after installation. | Mounting nut not tightened sufficiently. | Tighten the securing nut on the back of the switch. |
Garanzija u Appoġġ
APIELE products are manufactured to high standards. For any issues or support inquiries, please contact APIELE Electric directly through their official channels or the retailer from whom the product was purchased.
Żur il- APIELE Store on Amazon għal aktar informazzjoni u għażliet ta' kuntatt.
Ask a question about this manual
Ask about setup, troubleshooting, compatibility, parts, safety, or missing instructions. Manuals+ will review the question and use this page’s manual context to help answer it.