
1. Introduzzjoni
This manual provides detailed instructions for the installation, operation, and maintenance of your Amcrest AGPS18E16P-AT-190M 18-Port PoE+ Gigabit Ethernet Switch. This managed switch is designed for efficient network management, offering Power over Ethernet (PoE+) capabilities for various network devices such as IP cameras, wireless access points, and VoIP phones. Please read this manual thoroughly before using the device to ensure proper setup and functionality.
Vidjow: An official Amcrest video providing an overview of the product's reliability and security features, demonstrating its application in various settings.
2. Karatteristiċi tal-prodott
The Amcrest AGPS18E16P-AT-190M switch offers a robust set of features for demanding network environments:
- 18-Port POE+ 802.3at Desktop Power Ethernet Switch with 16-Port POE+ and Gigabit Uplink (10/100/1000mbps).
- Supports maximum 30W power (POE+ 802.3at) and 10/100mbps to each POE port.
- 190W total power available to all POE ports.
- 10/100/1000mbps Gigabit Ethernet Uplink and SFP Optical Fiber Uplink.
- Enterprise-level managed switch capability.
- Rack-mountable design for flexible installation.
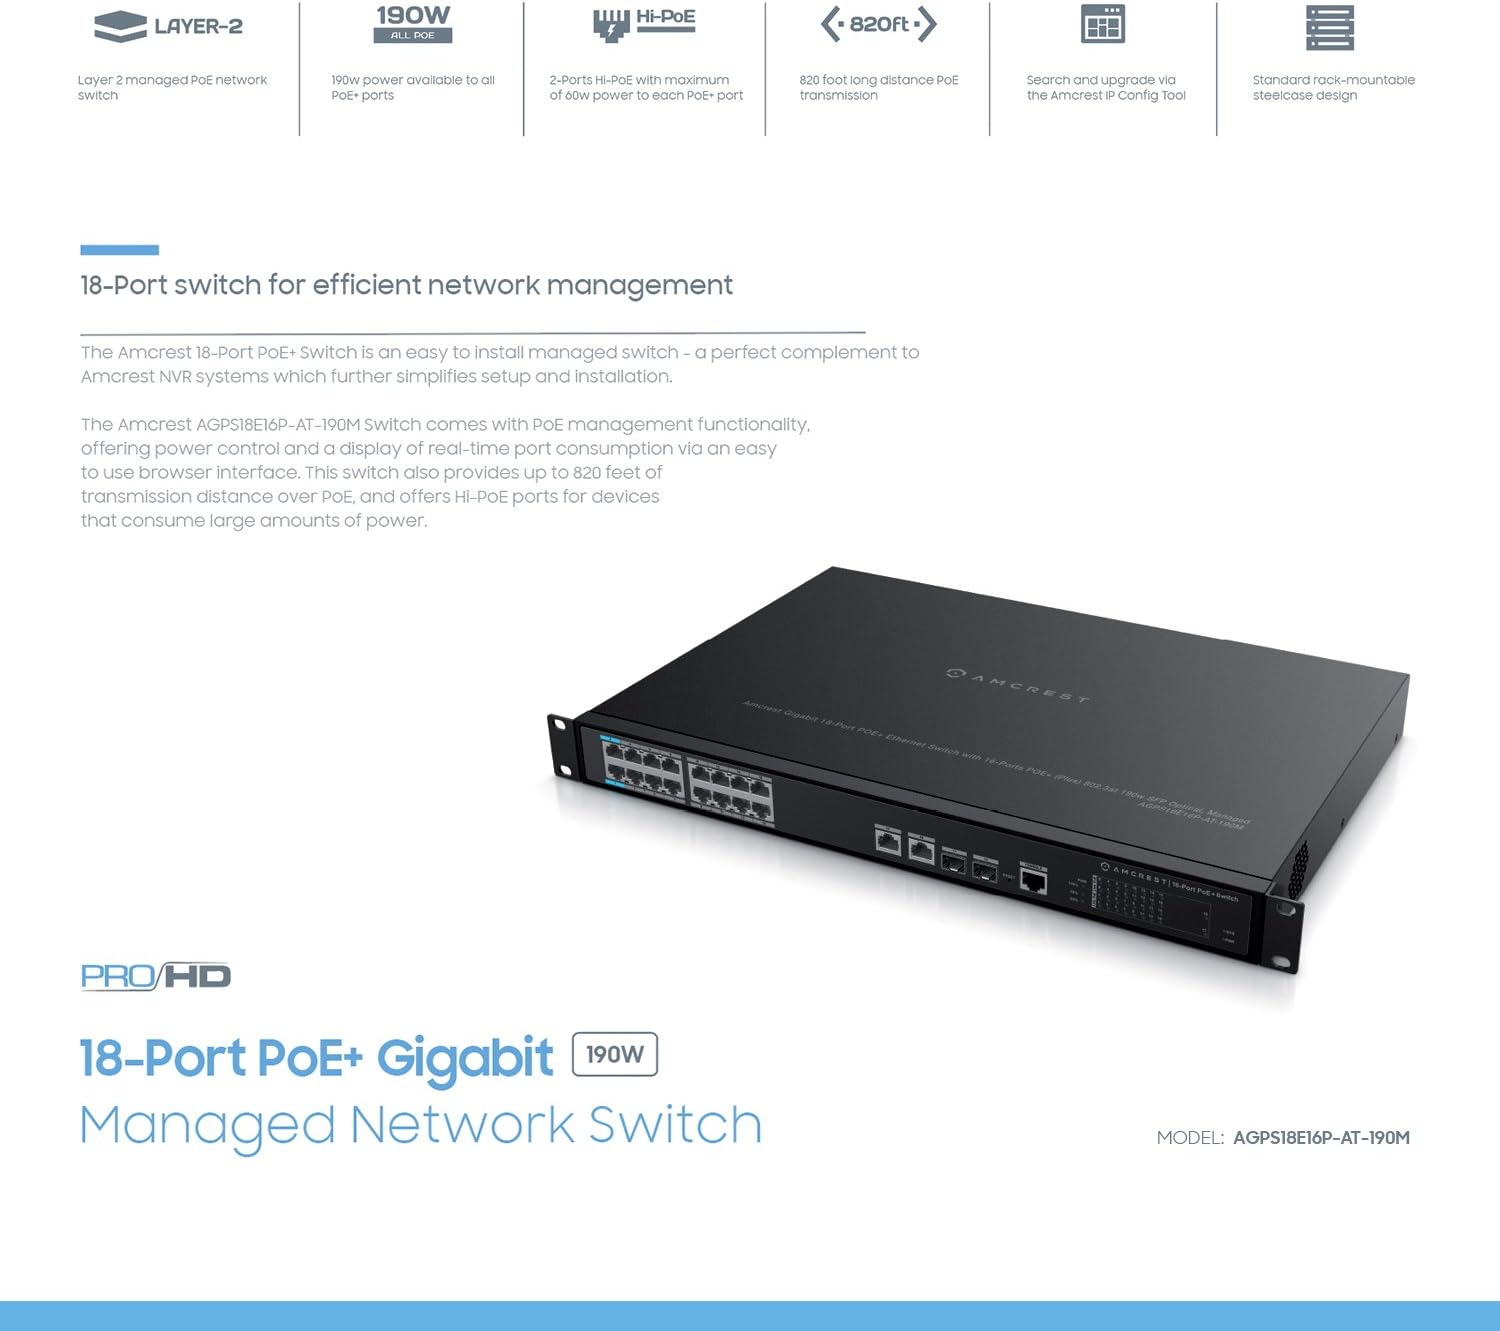
Immaġni: Diagram highlighting key features of the Amcrest 18-Port PoE+ Switch, including 190W power, Hi-PoE, 820ft long distance PoE transmission, and rack-mountable design.
3. Kontenut tal-Pakkett
Jekk jogħġbok ivverifika li l-oġġetti kollha huma preżenti fil-pakkett tiegħek:
- Amcrest AGPS18E16P-AT-190M 18-Port PoE+ Gigabit Ethernet Switch
- Korda tal-Enerġija
- Rackmount Ears (with screws)
- Gwida għall-Utent (dan id-dokument)
4. Deskrizzjoni Fiżika
Familiarize yourself with the ports and indicators on the switch.
Front Panel
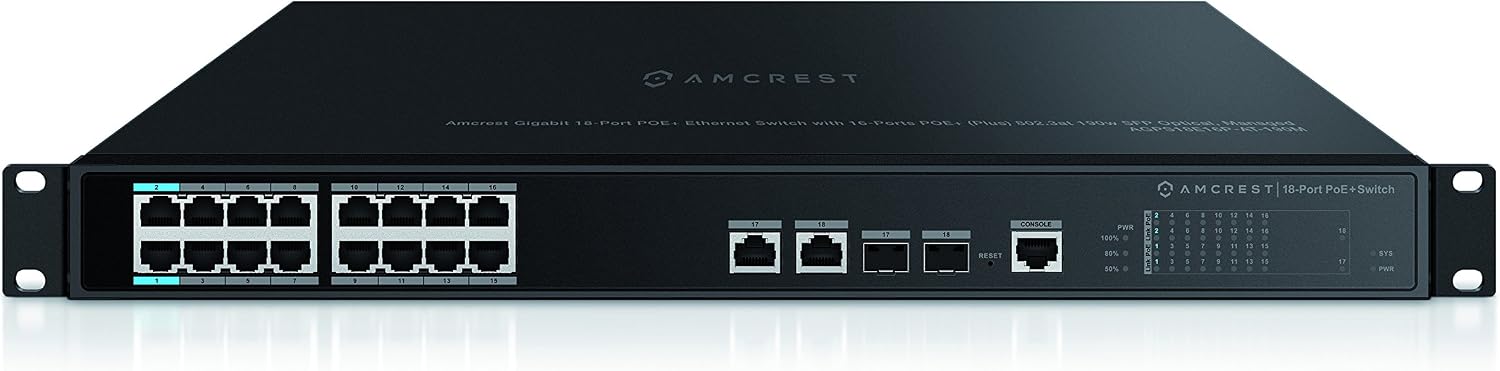
Immaġni: Quddiem view of the Amcrest 18-Port PoE+ Switch. This image shows the 16 PoE+ ports, 2 Gigabit uplink ports, 2 SFP ports, console port, reset button, and LED indicators.
- Portijiet PoE+ (1-16): 10/100Mbps ports supporting 802.3at/af PoE+.
- Gigabit Uplink Ports (17-18): 10/100/1000Mbps Ethernet ports for connecting to a core network or other switches.
- Portijiet SFP (17-18): Shared with Gigabit Uplink ports, these slots are for SFP fiber optic modules for long-distance connections.
- Port tal-Console: For command-line interface (CLI) management.
- Buttuna Irrisettja: Użat biex jirrestawra s-settings default tal-fabbrika.
- Indikaturi LED: Provide status for Power (PWR), System (SYS), Link/Act, and PoE status for each port.
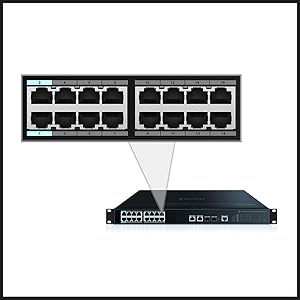
Immaġni: Close-up image of the ports on the Amcrest 18-Port PoE+ Switch, providing a clearer view of the Ethernet and SFP connections.
Dimensjonijiet

Immaġni: Dettaljati view of the Amcrest 18-Port PoE+ Switch showing its dimensions (17.3 inches wide, 1.7 inches high) and a clear layout of all ports and indicators.
5. Setup
Follow these steps to set up your Amcrest PoE+ switch:
- Immuntar: The switch is rack-mountable. Attach the included rackmount ears to the sides of the switch using the provided screws. Secure the switch into a standard 19-inch equipment rack. Ensure adequate ventilation around the switch.
- Konnessjoni tal-Enerġija: Connect the power cord to the AC power inlet on the rear panel of the switch and then to a grounded electrical outlet.
- Konnessjonijiet tan-Netwerk:
- Apparat PoE: Connect your PoE-compatible devices (e.g., IP cameras, access points) to ports 1-16 using standard Ethernet cables. The switch will automatically detect and provide power to these devices.
- Portijiet ta' Uplink: Connect the Gigabit uplink ports (17 or 18) to your router, NVR, or main network switch using an Ethernet cable.
- Moduli SFP: If using fiber optic connections, insert compatible SFP modules into the SFP slots (shared with ports 17-18) and connect fiber optic cables.
- Konfigurazzjoni Inizjali: For managed features, connect a computer to any non-PoE port or a Gigabit uplink port. The switch typically has a default IP address (refer to the included quick start guide or Amcrest support for the specific default IP and login credentials). Access the webinterface ta' ġestjoni bbażata fuq permezz ta' web browser to configure advanced settings.

Immaġni: Illustrative image showing various network devices, such as IP cameras and access points, connected to the Amcrest PoE+ Switch, demonstrating its application in a network setup.
6. Istruzzjonijiet Operattivi
Tixgħel/Jitfi
Once the power cord is connected, the switch will power on automatically. The PWR LED indicator will illuminate. To power off, disconnect the power cord from the electrical outlet.
Indikaturi LED
- PWR: Solid green when the switch is powered on.
- SYS: Indicates system status (e.g., solid for normal operation, blinking for activity).
- Link/Act (per port): Solid green when a device is connected and a link is established. Blinking green indicates data activity.
- PoE (per port): Solid green when PoE power is being supplied to a connected device.
Managed Features
As a managed switch, the AGPS18E16P-AT-190M offers advanced configuration options via its web-based interface. These include:
- VLAN configuration for network segmentation.
- Quality of Service (QoS) settings to prioritize network traffic.
- Port Aggregation (LACP) for increased bandwidth and redundancy.
- PoE management, including power scheduling and monitoring.
- System logs and diagnostics.
Refer to the switch's online documentation or Amcrest support for detailed instructions on configuring these advanced features.
7. Manutenzjoni
Proper maintenance ensures the longevity and optimal performance of your switch:
- Tindif: Naddaf regolarment il-barra tas-swiċċ b'ċarruta ratba u niexfa. Tużax prodotti tat-tindif likwidi jew aerosol. Kun żgur li l-fetħiet tal-ventilazzjoni huma ħielsa mit-trab u l-ostruzzjonijiet.
- Aġġornamenti tal-Firmware: Periodically check the Amcrest official website for available firmware updates. Applying updates can improve performance, add features, and address security vulnerabilities. Follow the instructions provided with the firmware update carefully.
- Kundizzjonijiet Ambjentali: Operate the switch within its specified temperature and humidity ranges. Avoid exposing the switch to direct sunlight, excessive heat, or moisture.
8 Issolvi l-problemi
If you encounter issues with your switch, refer to the following common problems and solutions:
- Ebda Qawwa:
- Kun żgur li l-korda tal-enerġija hija konnessa sew kemm mas-swiċċ kif ukoll ma' sokit elettriku li jaħdem.
- Ivverifika li s-sokit tal-enerġija jaħdem billi tqabbad apparat ieħor.
- Ebda Link/Konnettività:
- Check that Ethernet cables are securely connected to both the switch port and the connected device.
- Kun żgur li l-apparat imqabbad ikun mixgħul u qed jaħdem sew.
- Ipprova kejbil jew port Ethernet differenti.
- For SFP connections, ensure the SFP module is correctly inserted and compatible.
- PoE Not Delivering Power:
- Verify the connected device is PoE-compatible (802.3at/af).
- Check the PoE LED for the specific port; if it's off, power is not being supplied.
- Ensure the total power consumption of all PoE devices does not exceed the switch's 190W budget.
- Aċċess għall- web management interface to check PoE settings and status for the port.
- Veloċità baxxa tan-Netwerk:
- Iċċekkja għal kejbils jew konnessjonijiet difettużi.
- Ensure connected devices are operating at their expected speeds (e.g., 100Mbps devices on 10/100 ports).
- Review QoS settings in the management interface if traffic prioritization is configured.
- Resetting the Switch: If issues persist, you may need to reset the switch to factory default settings. With the switch powered on, use a paperclip or similar pointed object to press and hold the Reset button for approximately 5-10 seconds until the LEDs flash. The switch will then reboot with default settings.
9. Speċifikazzjonijiet
Detailed technical specifications for the Amcrest AGPS18E16P-AT-190M switch:
| Karatteristika | Speċifikazzjoni |
|---|---|
| Brand | Amcrest |
| Numru tal-Mudell | AGPS18E16P-AT-190M |
| Numru ta' Portijiet | 18 (16 PoE+, 2 Gigabit Uplink/SFP) |
| Standard PoE | IEEE 802.3at/af |
| Qawwa PoE Massima għal kull Port | 30W |
| Baġit totali tal-Enerġija PoE | 190W |
| Veloċità tal-Port Ethernet | 10/100Mbps (PoE+ ports), 10/100/1000Mbps (Uplink ports) |
| Uplink Interface | Gigabit Ethernet, SFP |
| Tip ta' Swiċċ | Immexxi |
| Materjal tal-Każ | Metall |
| Immuntabbli fuq ix-xtilliera | Iva |
| Provvista tal-Enerġija | AC 100-240V |
| Dimensjonijiet (W x H x D) | 17.3 x 1.7 x [Depth not specified, typical for 1U rackmount] inches |
| Umdità Operattiva | 10% - 90% RH (non-condensing) |
| Garanzija | 1 Sena |
10. Garanzija u Appoġġ
The Amcrest AGPS18E16P-AT-190M switch comes with a 1-Sena Garanzija mid-data tax-xiri. Din il-garanzija tkopri difetti fil-materjali u l-abbilità taħt użu normali.
For technical support, warranty claims, or additional product information, please contact Amcrest customer service through their official website or the contact information provided with your purchase. Ensure you have your product model number (AGPS18E16P-AT-190M) and proof of purchase available when contacting support.
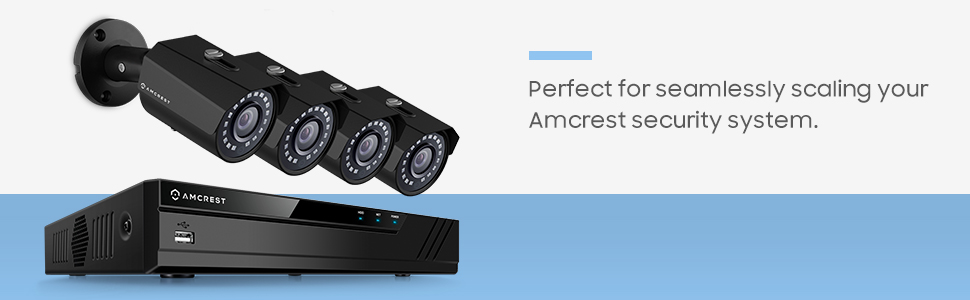
Immaġni: An image depicting the Amcrest PoE+ Switch as part of a larger security system, connecting multiple surveillance cameras.

