
Introduzzjoni
The Cooler Master Hyper 212 LED is a high-performance CPU cooler designed to efficiently dissipate heat from your processor. It features a PWM (Pulse Width Modulation) Red LED fan, four direct contact heat pipes, and funnel-shaped aluminum fins for optimized cooling. The universal bracket design ensures compatibility with various CPU platforms, providing a straightforward installation process.
Kontenut tal-Pakkett
Qabel tibda l-installazzjoni, kun żgur li l-komponenti kollha huma preżenti:
- Hyper 212 LED CPU Cooler (Heatsink and Fan Assembly)
- Brackets tal-Immuntar Universali (għal sokits Intel u AMD)
- Mounting Hardware (screws, standoffs, backplate)
- Pejst Termali
- Additional fan clips (for optional second fan)
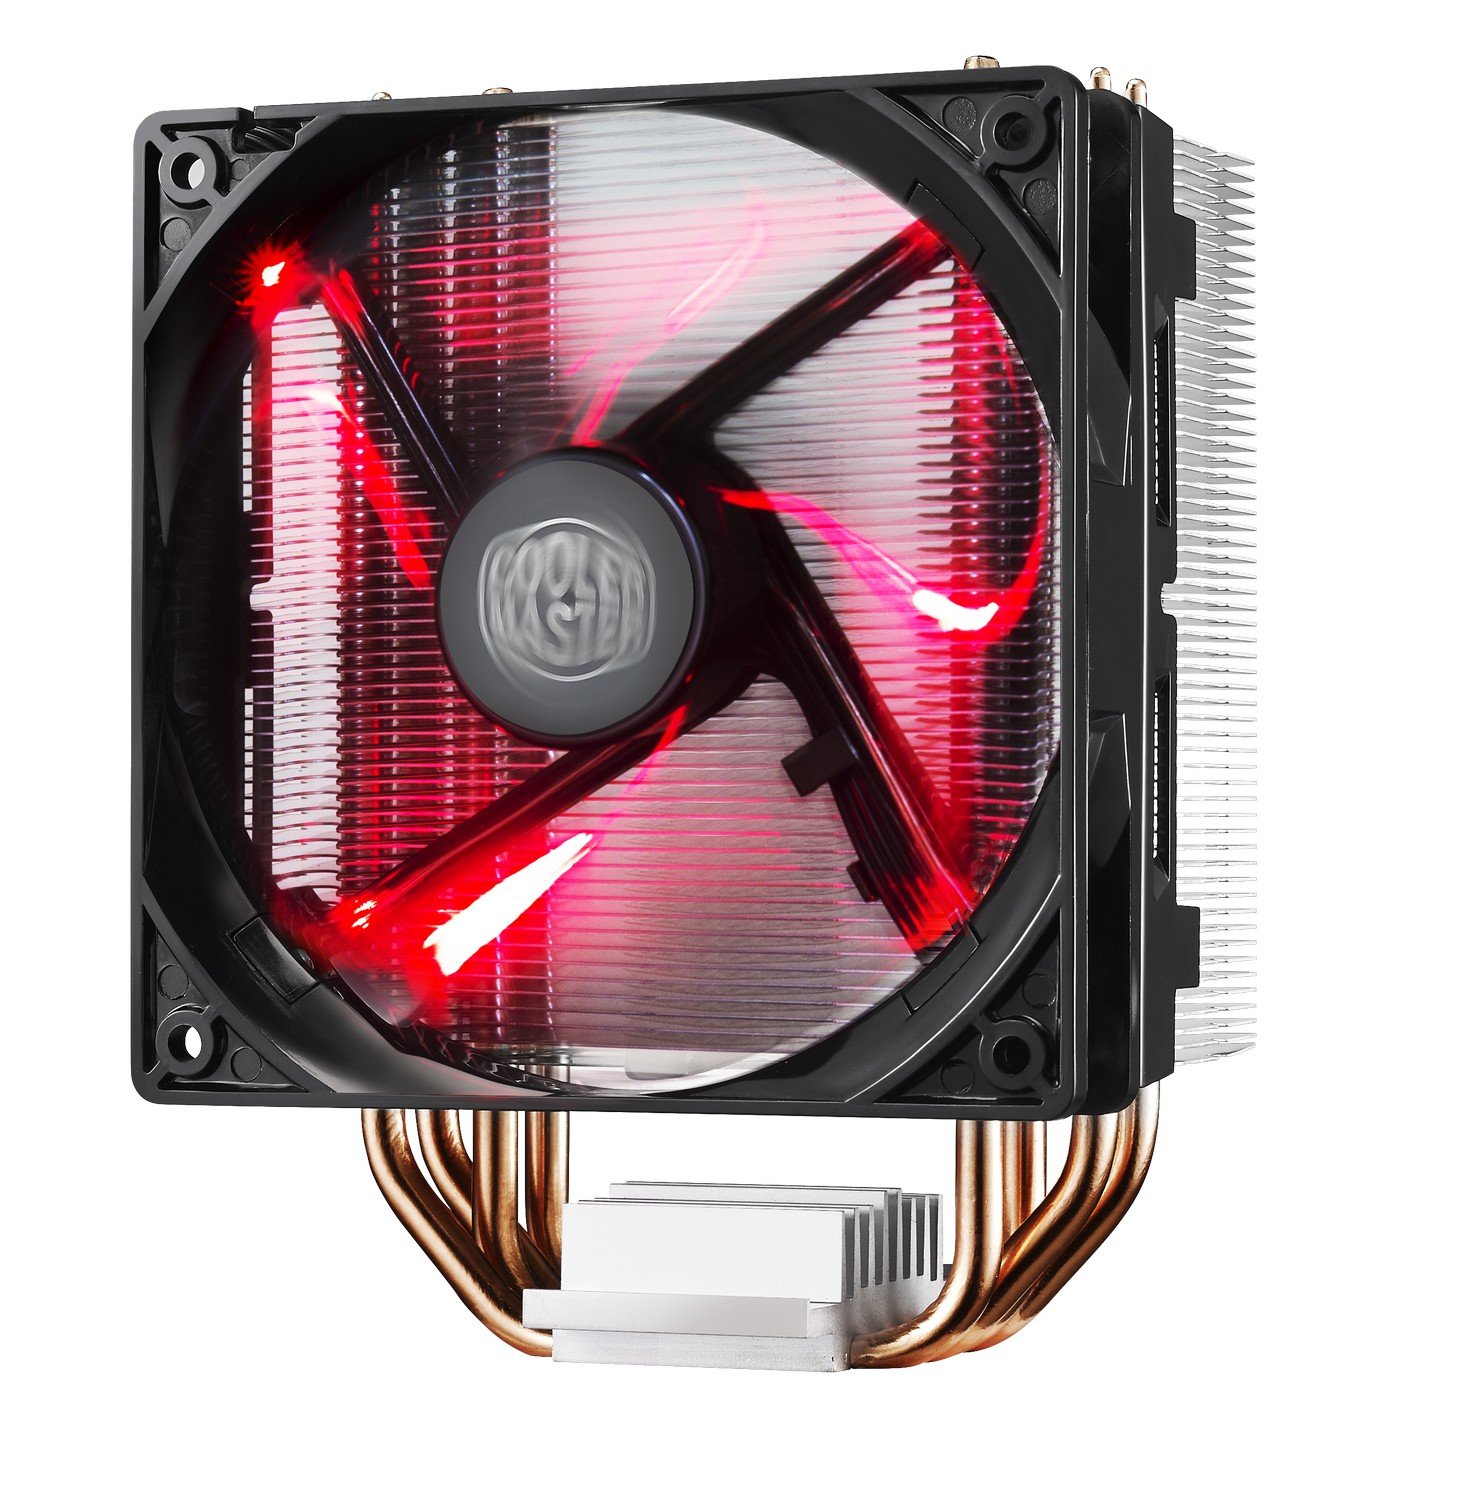
Image: The Cooler Master Hyper 212 LED CPU Cooler, showing the heatsink, fan, and copper heat pipes.
Setup u Installazzjoni
Proper installation is crucial for optimal performance. Please follow these steps carefully. Refer to the official installation video for visual guidance.
- Ipprepara Motherboard: Depending on your CPU socket (Intel or AMD), select the appropriate backplate and mounting studs. Secure the backplate to the rear of your motherboard.
- Applika Pejst Termali: Clean the surface of your CPU and the cooler's base. Apply a small, pea-sized amount of the included thermal paste to the center of your CPU's integrated heat spreader (IHS). Do not spread it manually; the pressure from the cooler will distribute it evenly.
- Immonta l-Cooler: Carefully align the cooler with the mounting studs on the motherboard. Place the cooler onto the CPU, ensuring the heat pipes make direct contact. Secure the cooler using the provided screws, tightening them in a diagonal pattern until snug. Avoid over-tightening.
- Qabbad il-Kejbil tal-Fann: Qabbad il-kejbil tal-fann PWM b'4 pinnijiet mal-header CPU_FAN fuq il-motherboard tiegħek.
- Check RAM Clearance: Due to the cooler's size, verify that it does not obstruct your RAM modules. If necessary, adjust RAM placement or consider low-profile RAM.
Video: Official Cooler Master installation guide for the Hyper 212 LED CPU Cooler. This video demonstrates the step-by-step process of mounting the cooler onto a motherboard, including backplate installation, thermal paste application, and securing the heatsink.

Immaġni: Alternattiva view of the Cooler Master Hyper 212 LED CPU Cooler, highlighting its dimensions and fan design.
Istruzzjonijiet Operattivi
The Hyper 212 LED operates automatically once installed and connected to the CPU_FAN header. The PWM function allows the motherboard to control the fan speed based on CPU temperature, ensuring efficient cooling and reduced noise levels during lighter loads.
- PWM Fan Control: The fan speed adjusts dynamically to maintain optimal CPU temperatures.
- Red LED Illumination: The fan features integrated red LEDs that illuminate when the fan is operational. These LEDs are always on when the fan is running and cannot be independently controlled or disabled without modification.
- Direzzjoni tal-fluss tal-arja: Ensure the fan is oriented to draw cool air through the heatsink and exhaust warm air towards your case's rear or top exhaust fans for effective system cooling.
Manutenzjoni
Manutenzjoni regolari tgħin biex tiżgura l-lonġevità u l-prestazzjoni ottimali tas-CPU cooler tiegħek.
- Tindif tat-Trab: Periodically inspect the heatsink fins and fan blades for dust accumulation. Use compressed air or a soft brush to gently remove dust. Ensure the fan is not spinning during cleaning to prevent damage.
- Pejst Termali: If you remove the cooler for any reason, it is recommended to clean off the old thermal paste from both the CPU and the cooler base and apply fresh thermal paste before reinstallation.
Issolvi l-problemi
If you encounter issues with your Hyper 212 LED CPU Cooler, consider the following:
- Temperaturi Għolja tas-CPU:
- Verify that the cooler is securely mounted and making proper contact with the CPU.
- Kun żgur li l-pejst termali ġie applikat b'mod korrett u uniformi.
- Check that the fan cable is securely connected to the CPU_FAN header on the motherboard.
- Confirm fan is spinning. If not, check connections or consider fan replacement.
- Aċċerta ruħek li l-fluss tal-arja fil-kaxxa tal-PC tiegħek huwa xieraq.
- Ħoss tal-fann:
- Iċċekkja għal xi kejbils jew ostruzzjonijiet li qed jolqtu x-xfafar tal-fann.
- Ensure the fan is securely attached to the heatsink.
- Dust accumulation can cause increased noise; clean the fan and heatsink.
- Diffikultajiet fl-Installazzjoni:
- Refer to the detailed installation video and diagrams. Pay close attention to backplate orientation and screw placement.
- Ensure correct mounting hardware is used for your specific CPU socket.
Speċifikazzjonijiet
| Numru tal-Mudell | RR-212L-16PR-R1 |
| Dimensjonijiet tal-Prodott (L x W x H) | 0.9"T x 4.7"W x 4.7"Għ |
| Materjal | Aluminum (Heatsink), Copper (Heat Pipes) |
| Metodu tat-tkessiħ | Fan, Heat Pipes |
| Tip ta 'fann | PWM Red LED Fan |
| Veloċità ta' Rotazzjoni Massima | 1800 RPM |
| Kapaċità tal-Fluss tal-Ajru | 66.3 pied kubu fil-minuta (CFM) |
| Livell ta' Storbju | 31 Deċibel (dB) |
| Tip ta 'Konnettur tal-Enerġija | 4-Pin |
| Voltage | 12 Volts |
| Wattage | 2.28 watt |
| Apparati Kompatibbli | Desktop CPUs (Universal Socket Support) |
| Piż tal-oġġett | 1.7 Liri |
Informazzjoni dwar Garanzija
This Cooler Master Hyper 212 LED CPU Cooler comes with a 1 Snin Garanzija. For warranty claims or detailed terms and conditions, please refer to the official Cooler Master websit jew ikkuntattja lill-appoġġ tal-klijenti tagħhom.
Appoġġ
For further assistance, technical support, or to download the latest drivers and manuals, please visit the official Cooler Master websit:
You may also contact Cooler Master customer service directly for product-specific inquiries.


