1. Introduzzjoni
Thank you for choosing the Superfish Smart Timer. This digital timer is designed to automate the on/off cycles of your aquarium lighting and other electrical devices, providing a consistent and stable environment for your aquatic life. Please read this manual carefully before use to ensure proper operation and safety.
2. Istruzzjonijiet tas-Sigurtà
- Always disconnect the timer from the power supply before handling or performing any maintenance.
- This device is designed for indoor use only. Do not expose it to water splashes or high humidity.
- Ensure your hands are dry when plugging in or unplugging the timer.
- Do not exceed the maximum load capacity specified for this timer.
- Żomm fejn ma jintlaħaqx mit-tfal.
- If the timer appears damaged, do not use it. Contact customer support.
- Do not attempt to open or repair the timer yourself. This will void the warranty.
3. Prodott Aktarview
The Superfish Smart Timer is a compact digital timer featuring a clear display and intuitive buttons for programming. It allows for precise control over the power supply to connected devices.
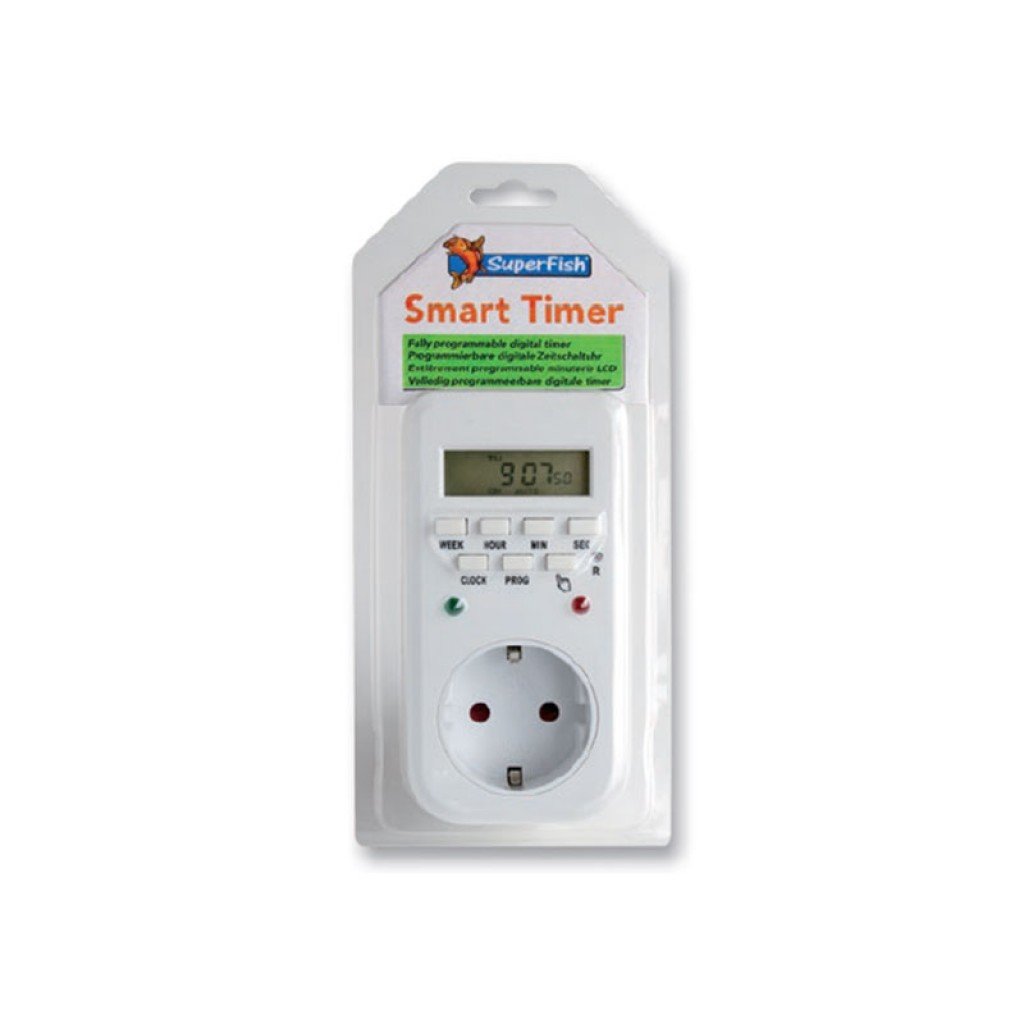
Image 1: Superfish Smart Timer. This image shows the front of the Superfish Smart Timer, highlighting its digital display and control buttons. The timer is designed for easy programming and monitoring of connected devices.
Il-komponenti ewlenin tipikament jinkludu:
- Wirja Diġitali: Shows current time, program status, and settings.
- Buttuni tal-Kontroll: For setting time, programs, and manual override.
- Żbokk tal-Enerġija: Where you connect your appliance.
- Ipplaggja l-Enerġija: To connect the timer to a wall socket.
4. Setup
- Initial Charge (if applicable): If your timer has a built-in battery for memory backup, plug it into a wall socket for at least 30 minutes before first use to charge the internal battery.
- Ċara l-issettjar kollha: Press the "R" (Reset) button with a pointed object (e.g., a pen tip) to clear all previous settings. The display will show "00:00".
- Issettja l-Ħin Kurrenti:
- Agħfas il-buttuna "ARLOĠĠ" u żommha.
- While holding "CLOCK", press "WEEK" to set the day of the week.
- While holding "CLOCK", press "HOUR" to set the hour.
- While holding "CLOCK", press "MINUTE" to set the minute.
- Release the "CLOCK" button. The current time is now set.
- Qabbad Appliance: Plug the appliance you wish to control (e.g., aquarium light) into the outlet on the Superfish Smart Timer.
- Plug Timer into Wall Socket: Insert the Superfish Smart Timer's plug into a standard wall socket.
5. Joperaw
5.1 Programming On/Off Cycles
The Smart Timer allows you to set multiple ON/OFF programs. Follow these steps to program your desired cycles:
- Agħfas il-buttuna "PROG" darba. Id-displej se juri "1 ON".
- Press "WEEK" to select the day(s) for this program (e.g., MO, TU, WE, TH, FR, SA, SU, or combinations like MO-FR, SA-SU, MO-SU).
- Agħfas "HOUR" biex tissettja s-siegħa mixgħula mixtieqa.
- Press "MINUTE" to set the desired ON minute.
- Agħfas "PROG" mill-ġdid. Id-displej se juri "1 OFF".
- Irrepeti l-passi 2-4 biex tissettja l-ħin OFF mixtieq għall-ewwel programm.
- Continue pressing "PROG" to cycle through "2 ON", "2 OFF", and so on, up to the maximum number of programs supported by your timer.
- Wara li tissettja l-programmi mixtieqa kollha, agħfas il-buttuna "CLOCK" biex terġa' lura għall-wiri tal-ħin attwali.
5.2 Manwal Override
The "MANUAL" button allows you to override the programmed settings temporarily:
- Press "MANUAL" repeatedly to cycle through modes:
- FUQ: The connected appliance will remain ON continuously, ignoring programs.
- MITFI: The connected appliance will remain OFF continuously, ignoring programs.
- AUTO: The timer will operate according to the programmed ON/OFF cycles. This is the standard operating mode.
- Always ensure the timer is set to "AUTO" for automatic operation.
5.3 Random Function (if available)
Some models may include a "RANDOM" function, which can slightly vary the ON/OFF times to simulate a more natural environment or deter intruders. Consult your specific model's features for activation.
6. Manutenzjoni
- Tindif: Disconnect the timer from the power supply. Wipe the exterior with a soft, dry cloth. Do not use abrasive cleaners or immerse the timer in water.
- Ħażna: Jekk se taħżen it-tajmer għal perjodu twil ta' żmien, kun żgur li jkun nadif u niexef. Aħżen f'post frisk u niexef 'il bogħod mix-xemx diretta.
- Backup tal-batterija: The internal battery (if present) is designed for memory backup. If the display becomes dim or resets frequently after power outages, the internal battery may need recharging by keeping the timer plugged in for several hours.
7 Issolvi l-problemi
| Problema | Kawża Possibbli | Soluzzjoni |
|---|---|---|
| Il-wiri tat-tajmer huwa vojt. | Ebda provvista ta 'enerġija. | Check if the timer is properly plugged into a live wall socket. Check the wall socket with another appliance. |
| L-apparat ma jixgħelx/jitfiex kif ipprogrammat. | Incorrect program settings; Timer in Manual ON/OFF mode; Appliance not working. | Review program settings carefully. Ensure the timer is in "AUTO" mode. Test the appliance by plugging it directly into a wall socket. |
| Time or programs reset after power outage. | Internal backup battery low or not charged. | Keep the timer plugged into a live socket for at least 4 hours to fully charge the internal battery. |
| Il-buttuni ma jirrispondux. | Problema temporanju tas-softwer. | Perform a full reset using the "R" button. Re-program all settings. |
8. Speċifikazzjonijiet
- Mudell: SF-SMARTIMER
- ASIN: B01CZTS47E
- Piż tal-oġġett: 349.27 g
- Batteriji Meħtieġa: No (internal backup battery for memory, not user-replaceable)
- Assemblaġġ Meħtieġa: Nru
- Referenza tal-Manifattur: SF-SMARTIMER
- L-Ewwel Data Disponibbli: 2 ta’ Diċembru 2022
- Aġġornamenti tas-Softwer Garantiti Sa: Mhux magħruf
- Twaqqaf mill-Manifattur: Nru
- Note: Specific electrical ratings (Voltage, Max Load) are typically printed on the device itself. Always adhere to these ratings.
9. Garanzija u Appoġġ
Superfish products are manufactured to high-quality standards. For warranty information, please refer to the documentation provided with your purchase or visit the official Superfish websit. Żomm il-prova tax-xiri tiegħek għal talbiet ta' garanzija.
For technical support or further assistance, please contact your retailer or the Superfish customer service department. Contact details can usually be found on the product packaging or the official Superfish websit.
Websit: www.superfish.com (Nota: Dan huwa detentur tal-post URL, jekk jogħġbok ivverifika l-uffiċjal attwali website for Superfish.)