VILTROX JY-610C
Viltrox JY-610C Mini Flash Light User Manual
Model: JY-610C
1. Introduzzjoni
The Viltrox JY-610C is a compact and lightweight mini speedlite designed for Canon DSLR cameras. It supports E-TTL, Manual (M), and Multi (Stroboscopic) flash modes, offering versatile lighting control. This manual provides detailed instructions for the proper setup, operation, and maintenance of your JY-610C flash unit.
2. Informazzjoni dwar is-Sigurtà
- Tiżżarmax jew tippruvax issewwi l-unità int stess. Irreferi għal persunal tas-servizz kwalifikat.
- Keep the unit dry. Do not expose it to rain or moisture.
- Use only specified AA batteries. Do not mix old and new batteries or different types of batteries.
- Evita l-espożizzjoni diretta tal-għajnejn għad-dawl tal-flash, speċjalment minn distanza qrib, għax jista' jikkawża indeboliment temporanju tal-vista.
- Żomm fejn ma jintlaħaqx mit-tfal.
3. Kontenut tal-Pakkett
Ivverifika li l-oġġetti kollha huma preżenti fil-pakkett:
- Viltrox JY-610C Mini Speedlite
- Borża tal-Ġarr
- User Manual (English and Chinese)
Nota: Il-batteriji AA mhumiex inklużi u jridu jinxtraw separatament.
4. Prodott Aktarview
Familiarize yourself with the components and controls of the Viltrox JY-610C Mini Flash Light.
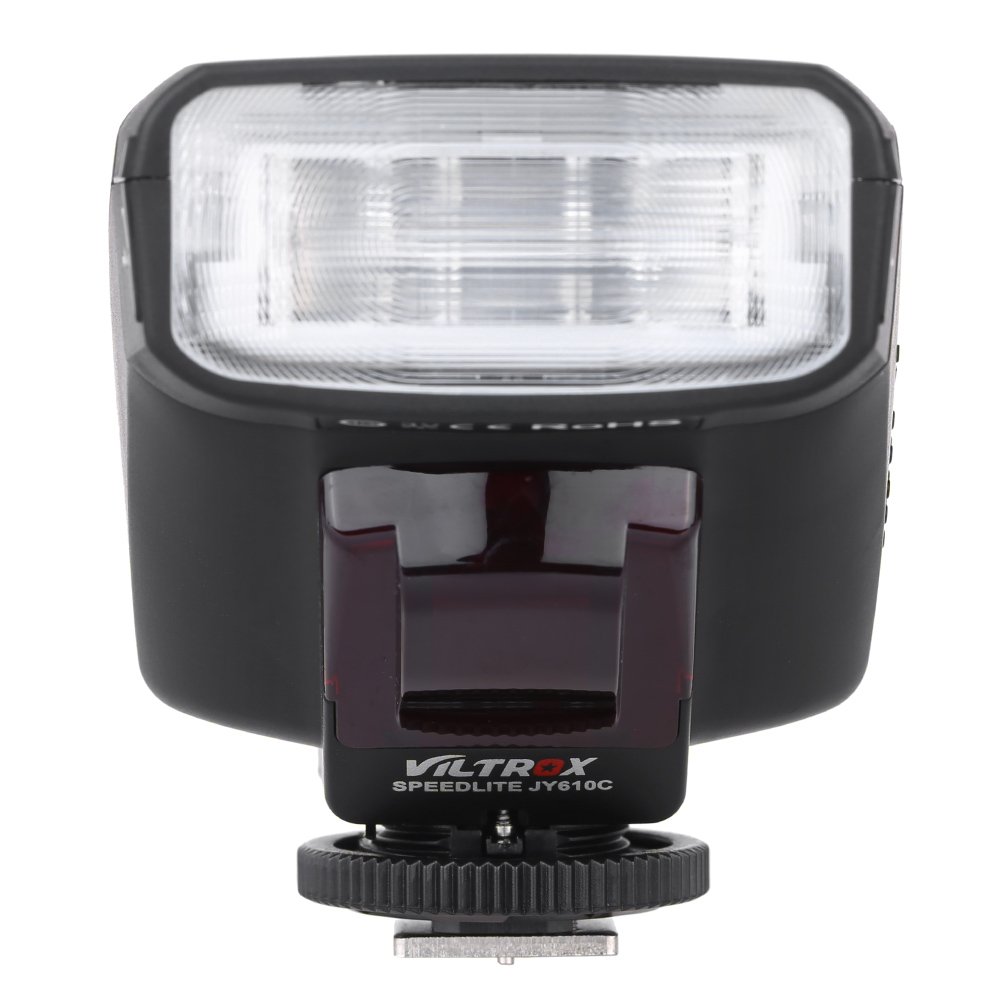
Figura 4.1: Quddiem View
This image shows the front of the Viltrox JY-610C flash unit, highlighting the LCD display, control buttons (Pilot, Mode, T/CH/D, Hz/GR, ON/OFF), and the hot shoe mount with its locking mechanism.

Figura 4.2: Fuq View
Il-quċċata view of the Viltrox JY-610C, displaying the "SPEEDLITE JY610C" branding and the flash head. This perspective shows the compact design of the unit.

Figura 4.3: Ġenb View with Battery Compartment Open
This image illustrates the side of the flash unit with the battery compartment door open, revealing the slots for AA batteries. This is where batteries are inserted or replaced.
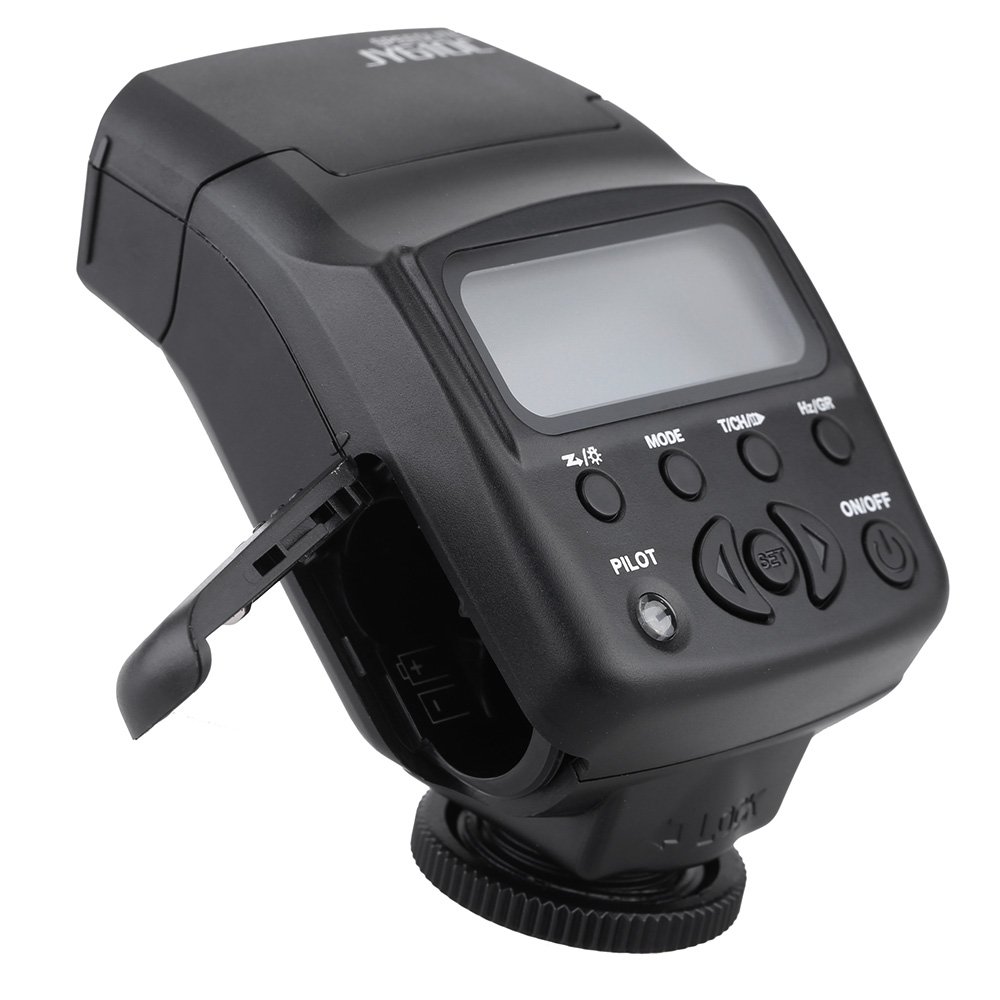
Figura 4.4: Wara View
In-naħa ta’ wara view of the Viltrox JY-610C, showing the hot shoe connection point for mounting on a camera, the slave sensor (red window), and regulatory markings. The locking ring for secure attachment is also visible.

Figure 4.5: LCD Display Modes
This composite image shows the Viltrox JY-610C flash unit alongside close-ups of its LCD screen displaying different operational modes: Manual (M) with power setting, Multi (Stroboscopic) with frequency and flash count, and E-TTL with exposure compensation. This demonstrates the user interface for mode selection and settings adjustment.
4.1. Panel tal-Kontroll
- Skrin LCD: Displays current settings and mode.
- Buttuna ON/OFF: Jixgħel jew jitfi l-unità.
- Buttuna MODE: Cycles through E-TTL, M (Manual), and Multi (Stroboscopic) flash modes.
- T/CH/D Button: Used for setting channels/groups in slave mode or other parameters.
- Hz/GR Button: Used for setting frequency in Multi mode or groups.
- PILOT Button: Test flash button. Also serves as a flash-ready indicator (red light).
- Buttuni Direzzjonali ('il fuq/'l isfel/'il fuq/'il fuq/'il fuq): Innaviga l-menus u aġġusta s-settings.
- Buttuna SET: Jikkonferma l-għażla.
5. Setup
5.1. Installazzjoni tal-batterija
- Open the battery compartment cover located on the side of the flash unit (refer to Figure 4.3).
- Insert two (2) AA-size batteries according to the polarity indicators inside the compartment.
- Agħlaq l-għatu tal-kompartiment tal-batterija sew.
Nota: Kun żgur li l-batteriji huma mdaħħla sew biex tevita li ssir ħsara lill-unità.
5.2. Immuntar mal-Kamera
- Slide the hot shoe mount of the JY-610C into the hot shoe of your Canon DSLR camera.
- Rotate the locking ring clockwise until the flash unit is securely fastened to the camera's hot shoe. Do not overtighten.
- To remove, rotate the locking ring counter-clockwise and slide the flash unit off the hot shoe.
6. Modi Operattivi
Agħfas il- MODALITÀ button to cycle through the available flash modes: E-TTL, M (Manual), and Multi (Stroboscopic).
6.1. E-TTL Mode (Automatic Flash)
In E-TTL mode, the flash output is automatically controlled by the camera to achieve optimal exposure. This mode is ideal for general photography.
- Agħfas MODALITÀ until "E-TTL" appears on the LCD screen (refer to Figure 4.5).
- You can adjust Flash Exposure Compensation (FEC) using the directional buttons (e.g., +1/3, +2/3, etc.) if needed. Press SET biex tikkonferma.
- The flash will fire automatically based on the camera's metering.
6.2. Modalità Manwali (M)
Manual mode allows you to set the flash output power manually, providing precise control over lighting.
- Agħfas MODALITÀ until "M" appears on the LCD screen (refer to Figure 4.5).
- Use the directional buttons to adjust the flash output from 1/1 (full power) to 1/128, with 22 levels of fine tuning.
- Agħfas SET to confirm the power setting.
6.3. Modalità Multipla (Stroboskopika)
Multi mode fires the flash multiple times during a single exposure, creating stroboscopic effects for capturing motion.
- Agħfas MODALITÀ until "Multi" appears on the LCD screen (refer to Figure 4.5).
- Use the directional buttons to set the flash frequency (Hz) and the number of flashes.
- Agħfas SET biex tikkonferma.
6.4. Slave Modes (S1/S2)
The JY-610C can function as an optical slave unit, triggered by another flash.
- Modalità S1: The flash will fire in response to the first flash it detects. Suitable for manual flash triggers.
- Modalità S2: The flash will ignore the pre-flash from a master E-TTL flash and fire on the main flash. Suitable for E-TTL master flashes.
- To activate slave mode, press and hold the T/CH/D button until "SLAVE" appears, then use directional buttons to select S1 or S2.
- The unit supports 4 channels in 3 groups for more complex multi-flash setups.
7. Karatteristiċi Avvanzati
7.1. Exposure Compensation
In E-TTL mode, you can adjust the flash exposure compensation to fine-tune the brightness of your subject. Use the directional buttons to increase or decrease the exposure value.
7.2. Front-Curtain Sync / Rear-Curtain Sync
The JY-610C supports both front-curtain and rear-curtain sync. This setting is typically controlled via your camera's flash menu. Consult your camera's manual for specific instructions on how to enable these features.
- Front-Curtain Sync: The flash fires immediately after the shutter opens.
- Sinkronizzazzjoni tal-Purtiera ta' Wara: The flash fires just before the shutter closes. Useful for creating motion blur effects with the flash freezing the subject at the end of the exposure.
7.3. Adjustable Vertical Angle
The flash head can be tilted vertically to angles of 60, 75, and 90 degrees. This allows for bounce flash photography, directing the light off a ceiling or wall for softer, more natural illumination.
8. Manutenzjoni
- Tindif: Uża drapp artab u niexef biex tnaddaf l-unità tal-flash. Għal ħmieġ iebes, neħħi ftit drapp.amp Jista' jintuża drapp, segwit minn drapp niexef. Tużax deterġenti jew solventi qawwija.
- Ħażna: When not in use for extended periods, remove the batteries to prevent leakage and store the unit in its carrying bag in a cool, dry place.
- Kura tal-batterija: Replace batteries when the recycle time becomes excessively long or the flash-ready indicator does not light up.
9 Issolvi l-problemi
| Problema | Kawża Possibbli | Soluzzjoni |
|---|---|---|
| Il-flash ma jaħdimx. |
|
|
| Ħin twil ta' riċiklaġġ. |
|
|
| Il-ħruġ tal-flash huwa qawwi/skur wisq. |
|
|
| Slave mode not triggering. |
|
|
10. Speċifikazzjonijiet
| Karatteristika | Dettall |
|---|---|
| Numru ta' Gwida | GN27 (ISO 100/m) |
| Modalità Flash | E-TTL / M / Multi |
| Modalità Slav | Slave / S1 / S2 (4 channels in 3 groups) |
| Kontroll tal-Flash | 8 levels of output control (1/128 - 1/1), 22 levels of fine tuning |
| Indikatur tal-flash lest | Dawl pilota aħmar |
| Medda Flash effettiva | 0.7 - 19.3m (Quick flash: 0.7 - 11.1m) |
| Ħin tar-riċiklaġġ | 0.1 - 4 sekondi |
| Flash Times | 100 - 680 times (with fresh AA batteries) |
| Provvista tal-Enerġija | 2 x batteriji AA (mhux inklużi) |
| Daqs tal-Oġġett | 8.5 x 6 x 4.5cm / 3.3 x 2.4 x 1.8in |
| Piż tal-oġġett | 145g / 5.1oz |
| Angolu Vertikali Aġġustabbli | 60 / 75 / 90 degrees |
| Sync Support | Front-curtain sync / Rear-curtain sync |
| Kumpens ta' Espożizzjoni | Appoġġjati |
11. Garanzija u Appoġġ
For warranty information and technical support, please refer to the warranty card included with your product or visit the official Viltrox websit. Żomm l-irċevuta tax-xiri tiegħek bħala prova tax-xiri għal talbiet ta' garanzija.
Ask a question about this manual
Ask about setup, troubleshooting, compatibility, parts, safety, or missing instructions. Manuals+ will review the question and use this page’s manual context to help answer it.